Yesterday, Adobe released Photoshop CC 2019. This update gives you lots of new tools and improvements. Adobe also, after 20 years, fixed the most ridiculous thing about Photoshop (the undo hotkey). In this article, you’re going to get a quick update on what’s new in Photoshop CC 2019.
Frame Tool
If you look at the toolbar, you’ll see something new. This is the new Frame Tool which lets you put placeholders.
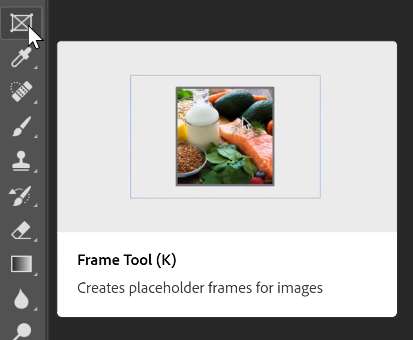
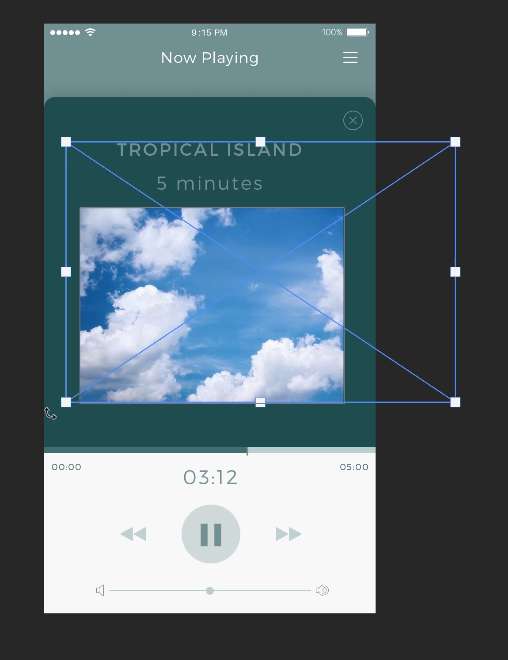
So how is this useful? Let’s say you’re designing an app interface but you don’t have the image for it yet. You can use the Frame Tool to draw a placeholder and when you have the image, you can drop it in. Your image will also confine to the frame so you don’t have to waste time creating layer masks.
Content-Aware Fill Workspace
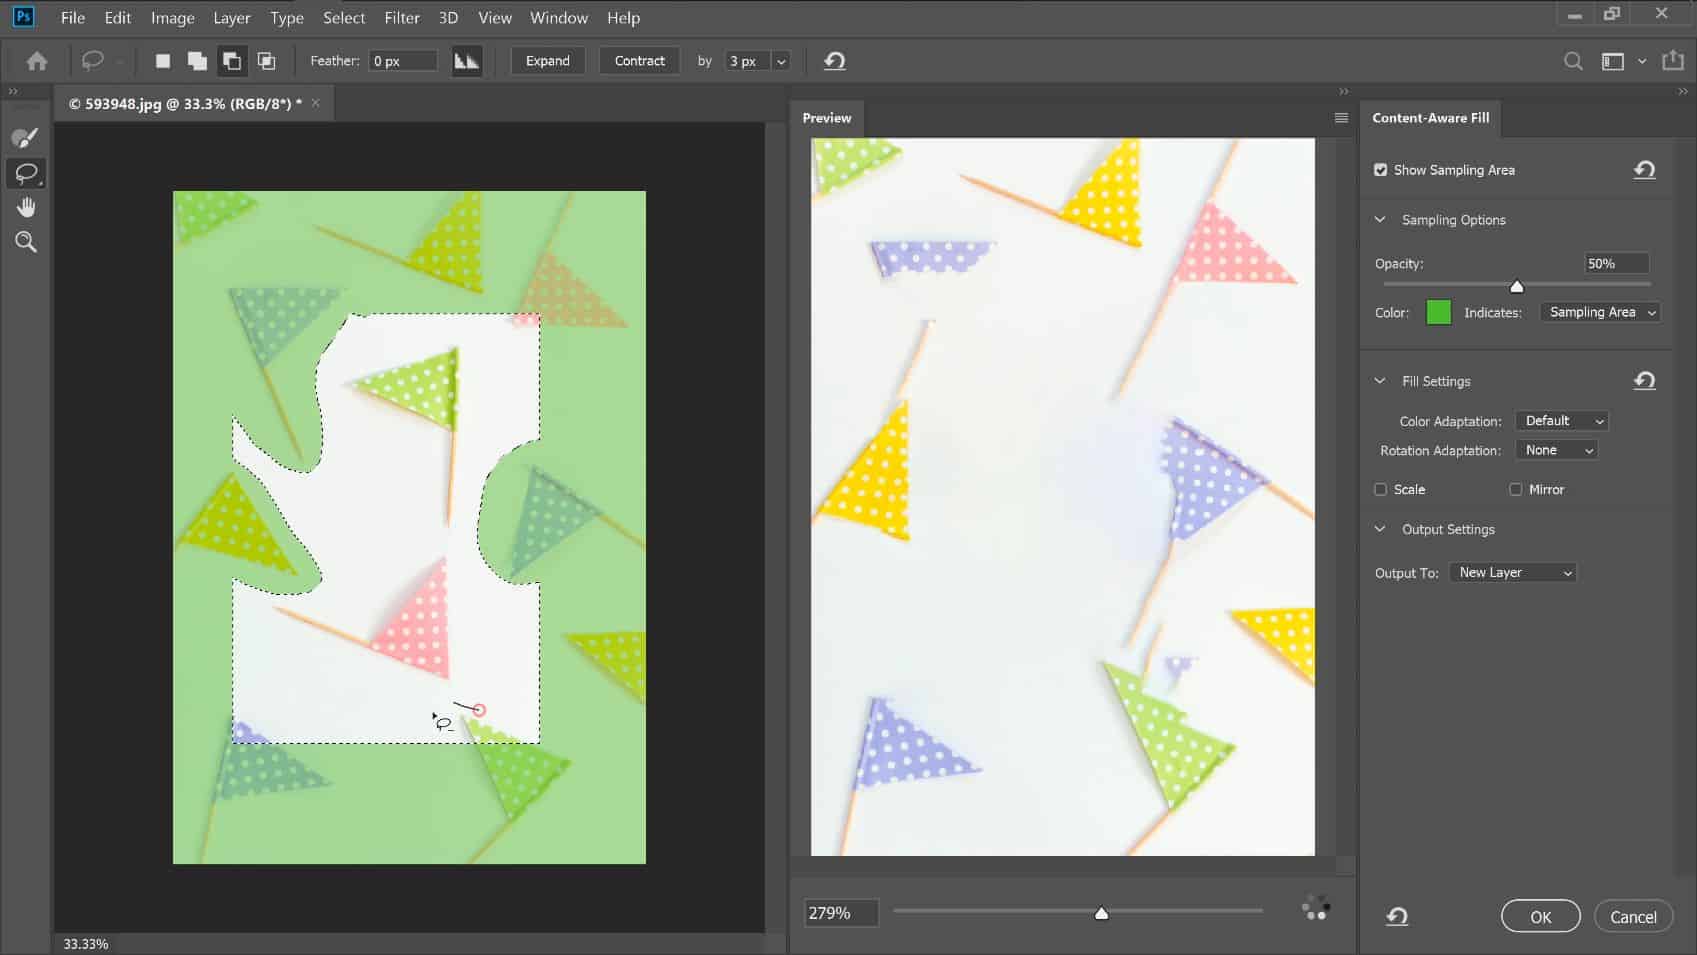
There’s a new workspace for content-aware filling. This workspace makes it easier to remove objects. There’s a preview so that you can see the before and after. There’s also a lot of settings to fine-tune your results.
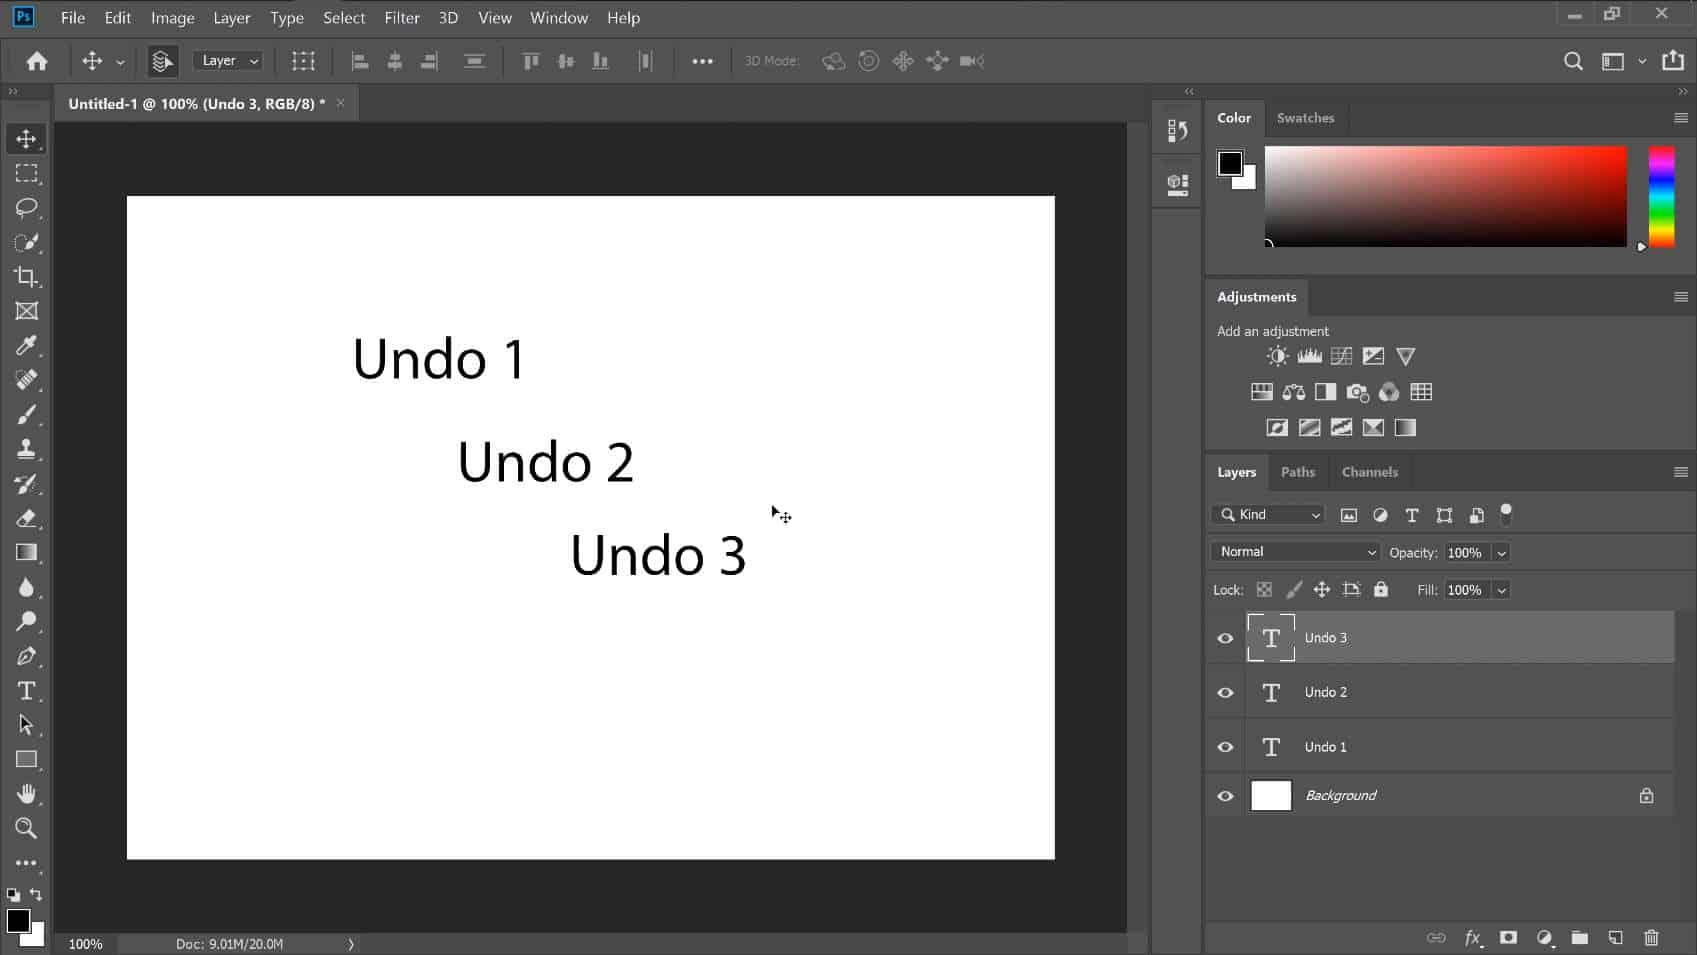
Multiple Undo Mode
Okay, this is really stupid but I’m glad Adobe finally had the courage to do it after 20 years.
Now by default, the Undo hotkey (Ctrl+Z on Windows or Cmd+Z on Macs), works like every other software. This means that if you press Ctrl+Z three times, it will actually undo three times. Whereas before, it would undo, redo (because it’s undoing the undo), and then undo again. To redo, you can press Shift+Ctrl+Z (Shift+Cmd+Z on Macs).
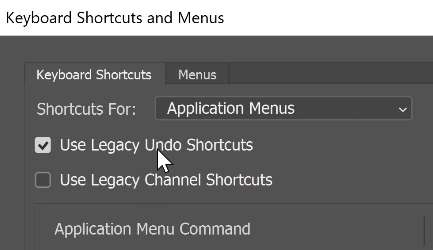
If you don’t like this and want to change it back, you can go to Edit > Keyboard Shortcuts. Checkmark “Use Legacy Undo Shortcuts” and Photoshop is back to how it was before.
Symmetry Mode
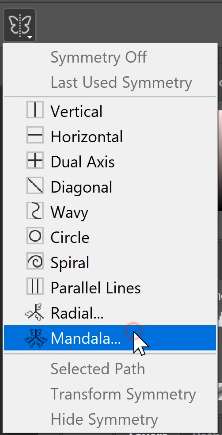
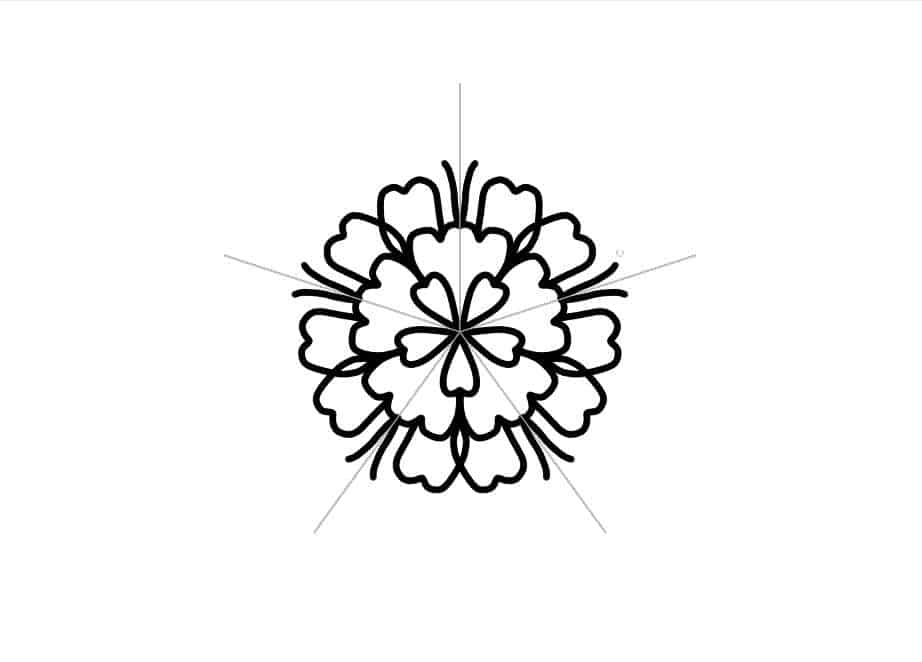
If you select the Brush tool, you’ll find a new butterfly icon in the options bar. This is a really cool feature called Symmetry Mode. I’m going to click on it and you can see that there are 10 styles for you to choose from. I’m going to choose Mandala and set the segments to 5.
As you paint, you’ll see your brush stroke repeat on the other sides.
More Improvements
There’s also a lot of new improvements in Photoshop CC 2019. Here’s a quick overview of it.
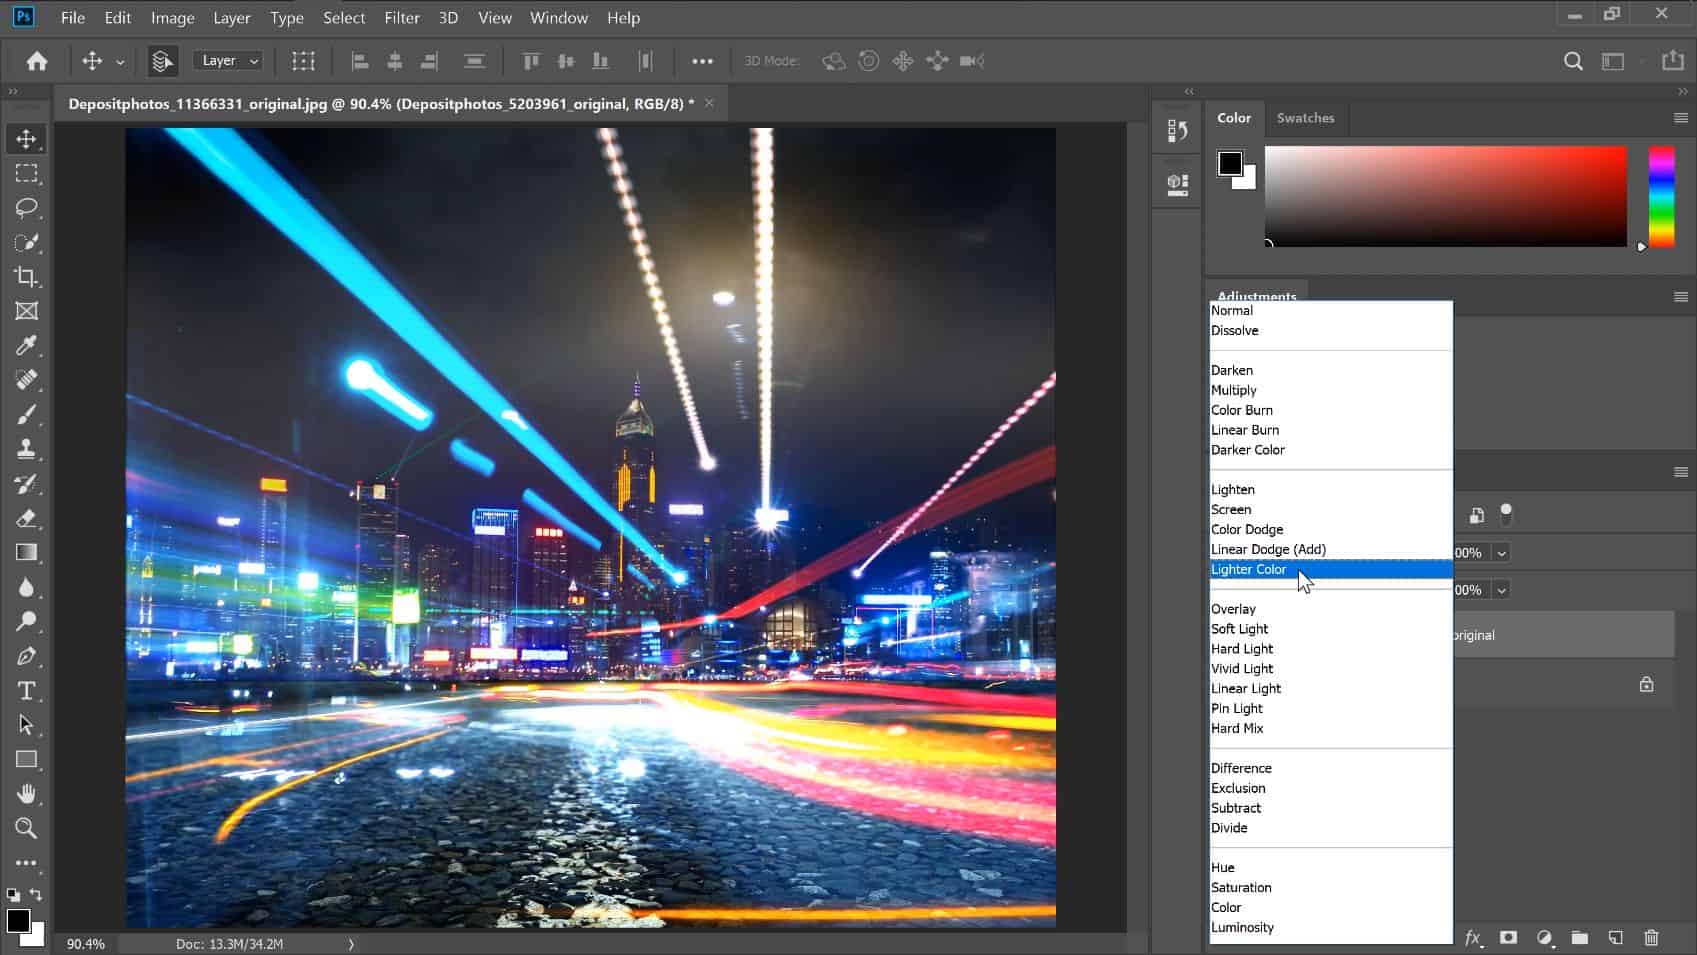
You can now hover over the blending modes in the Layers panel to preview how it looks.
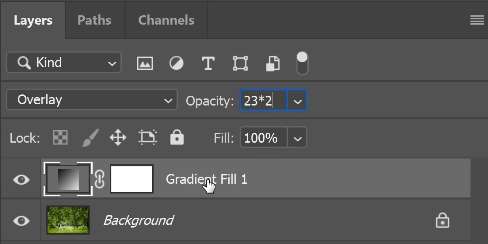
You can enter simple math formulas into every field.
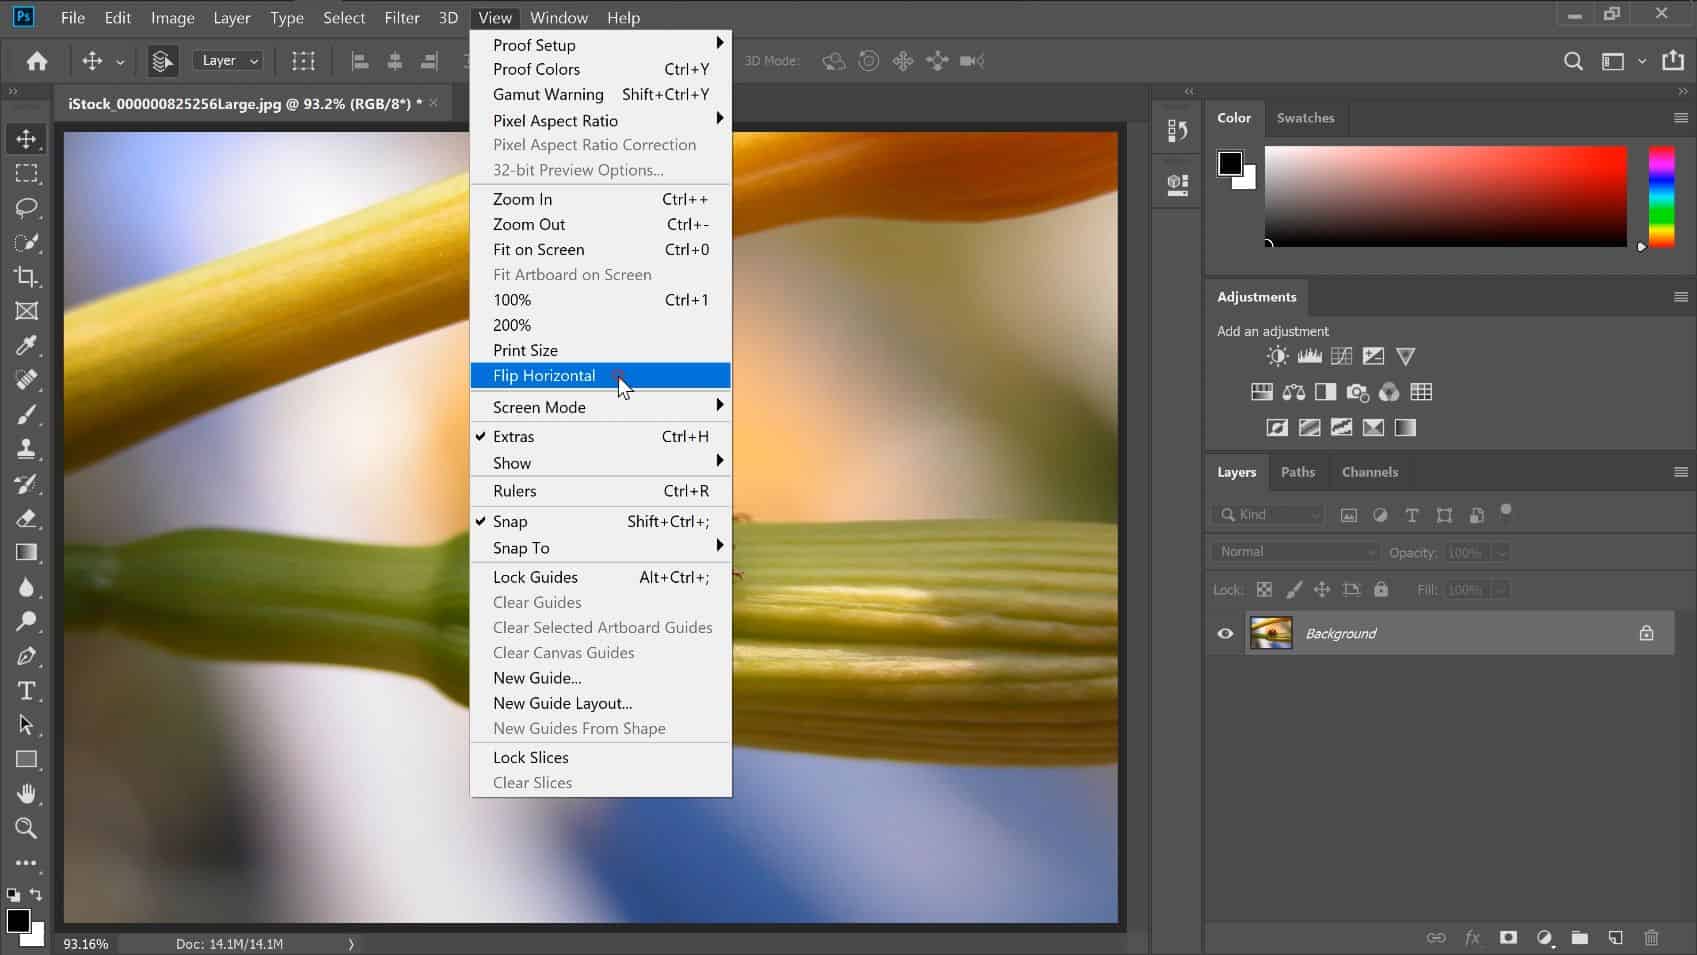
You can preview how your image looks flipped without changing any of your layers (View > Flip Horizontal).
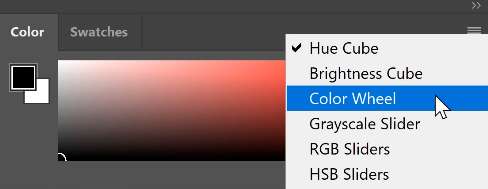
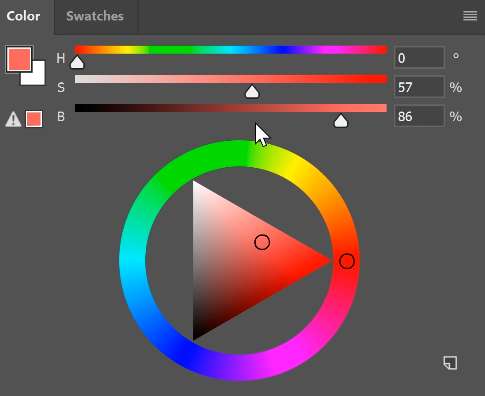
In the Color panel (Window > Color), there’s a new Color Wheel that you can access from the panel menu (top-right of the panel).
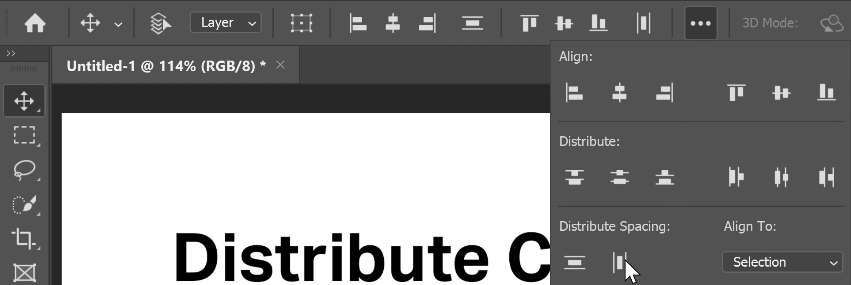
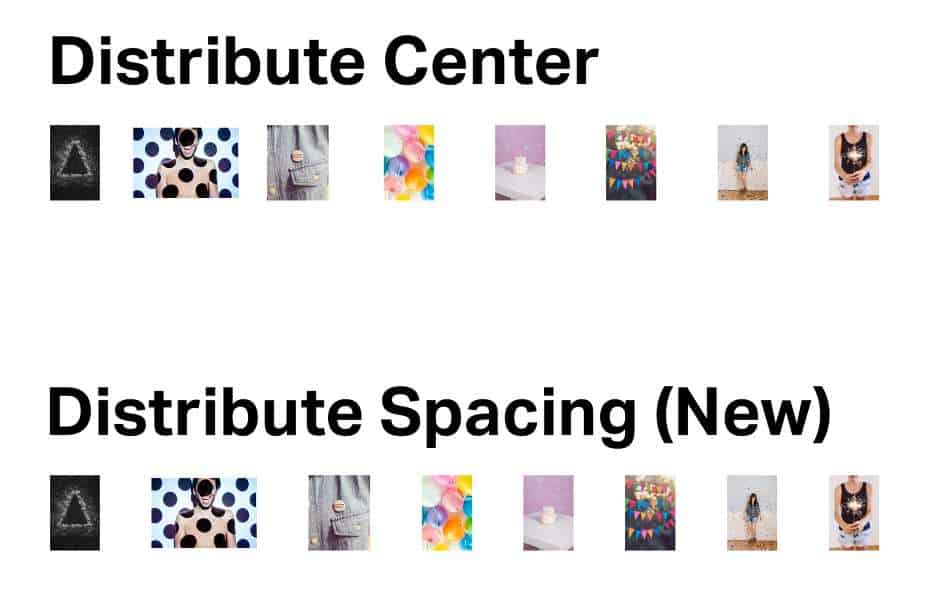
You can distribute the spacing between objects like in Adobe Illustrator.
The type tool places sample Lorem Ipsum text so that you can see your font and font size right away.

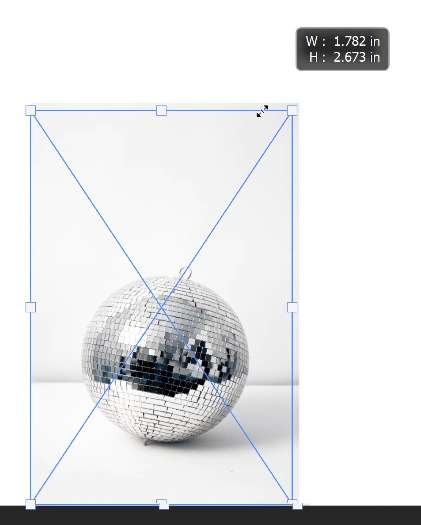
When transforming a layer, you don’t need to hold the Shift key. It keeps it proportional by default.
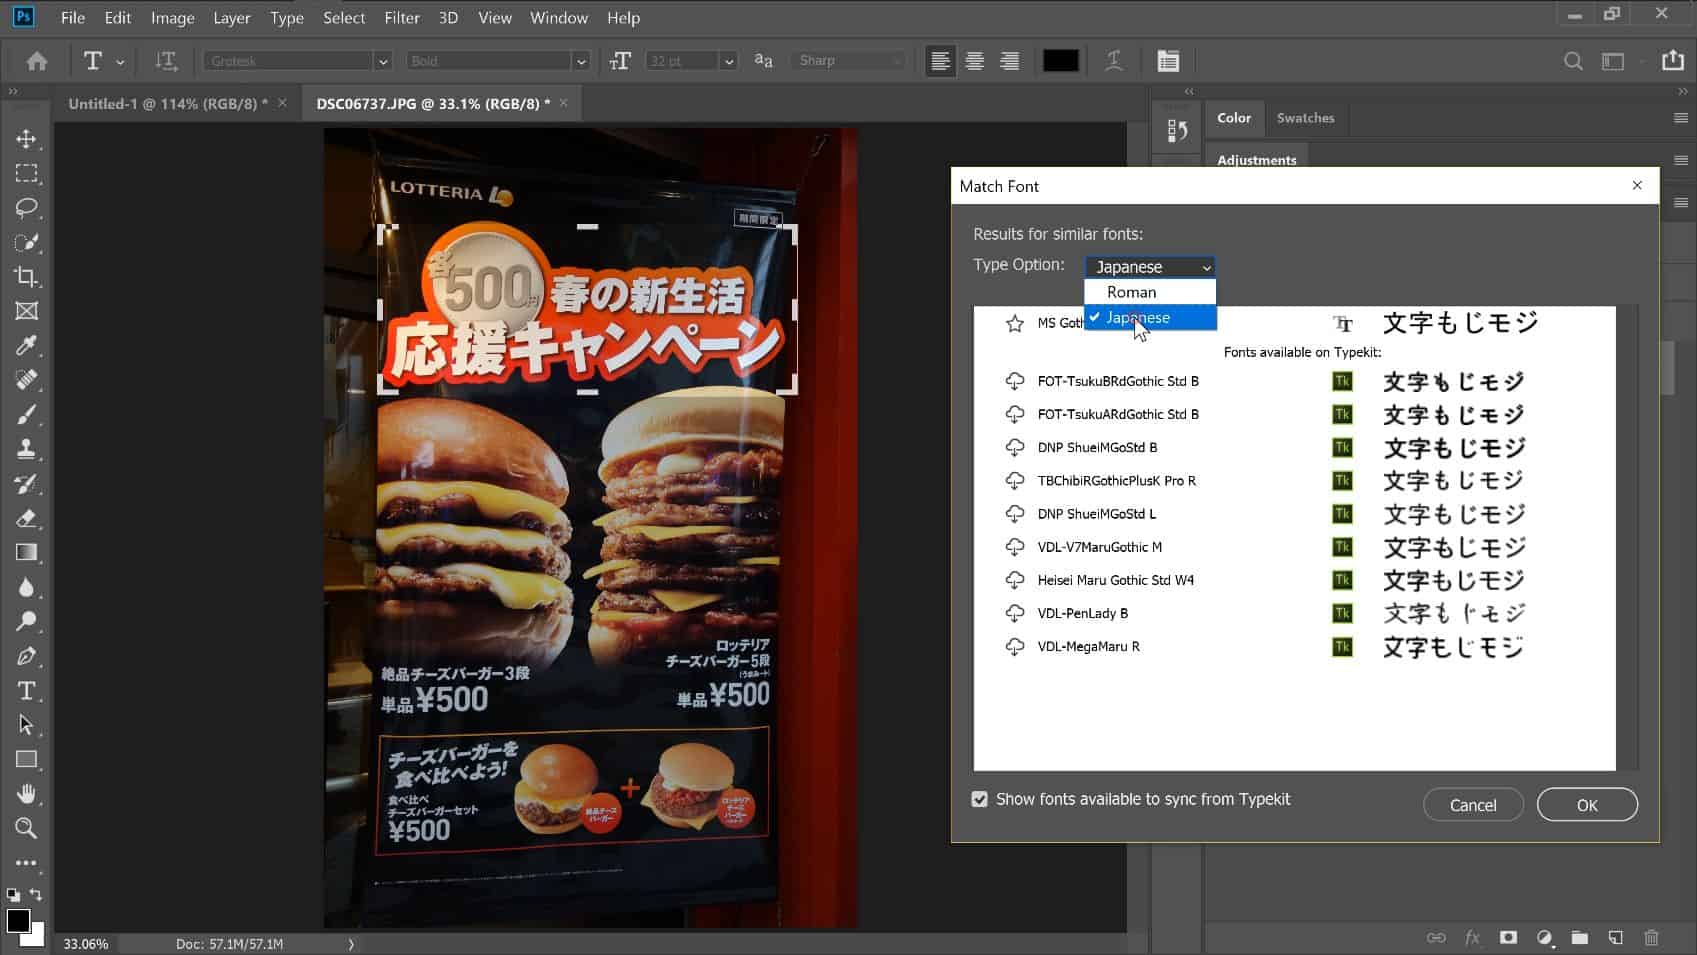
The Match font feature now supports Japanese fonts.
There’s support for five more South Asian languages.

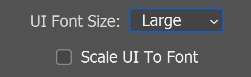
Finally, there’s a new option in the preferences to scale the UI to your font size. So if you set your font to large, the UI will also get larger.