Hey guys Denny here. Like most people, you’ve seen the Lightroom profile browser. But what’s the difference between Lightroom profiles and presets? Are they Lightroom presets repackaged in a new look?
I’ve created hundreds of presets over the past 5 years. When Adobe announced profiles, I switched over immediately and started experimenting. Because for the first time, you were not restrained to Lightroom’s develop settings. You could create more dynamic looks with other software and use it in Lightroom.
Lightroom profiles solve the biggest problems with Lightroom presets. They protect your workflow, render super fast… even on a mobile phone, and let you achieve results that were never possible.
Profiles have a better interface with opacity support
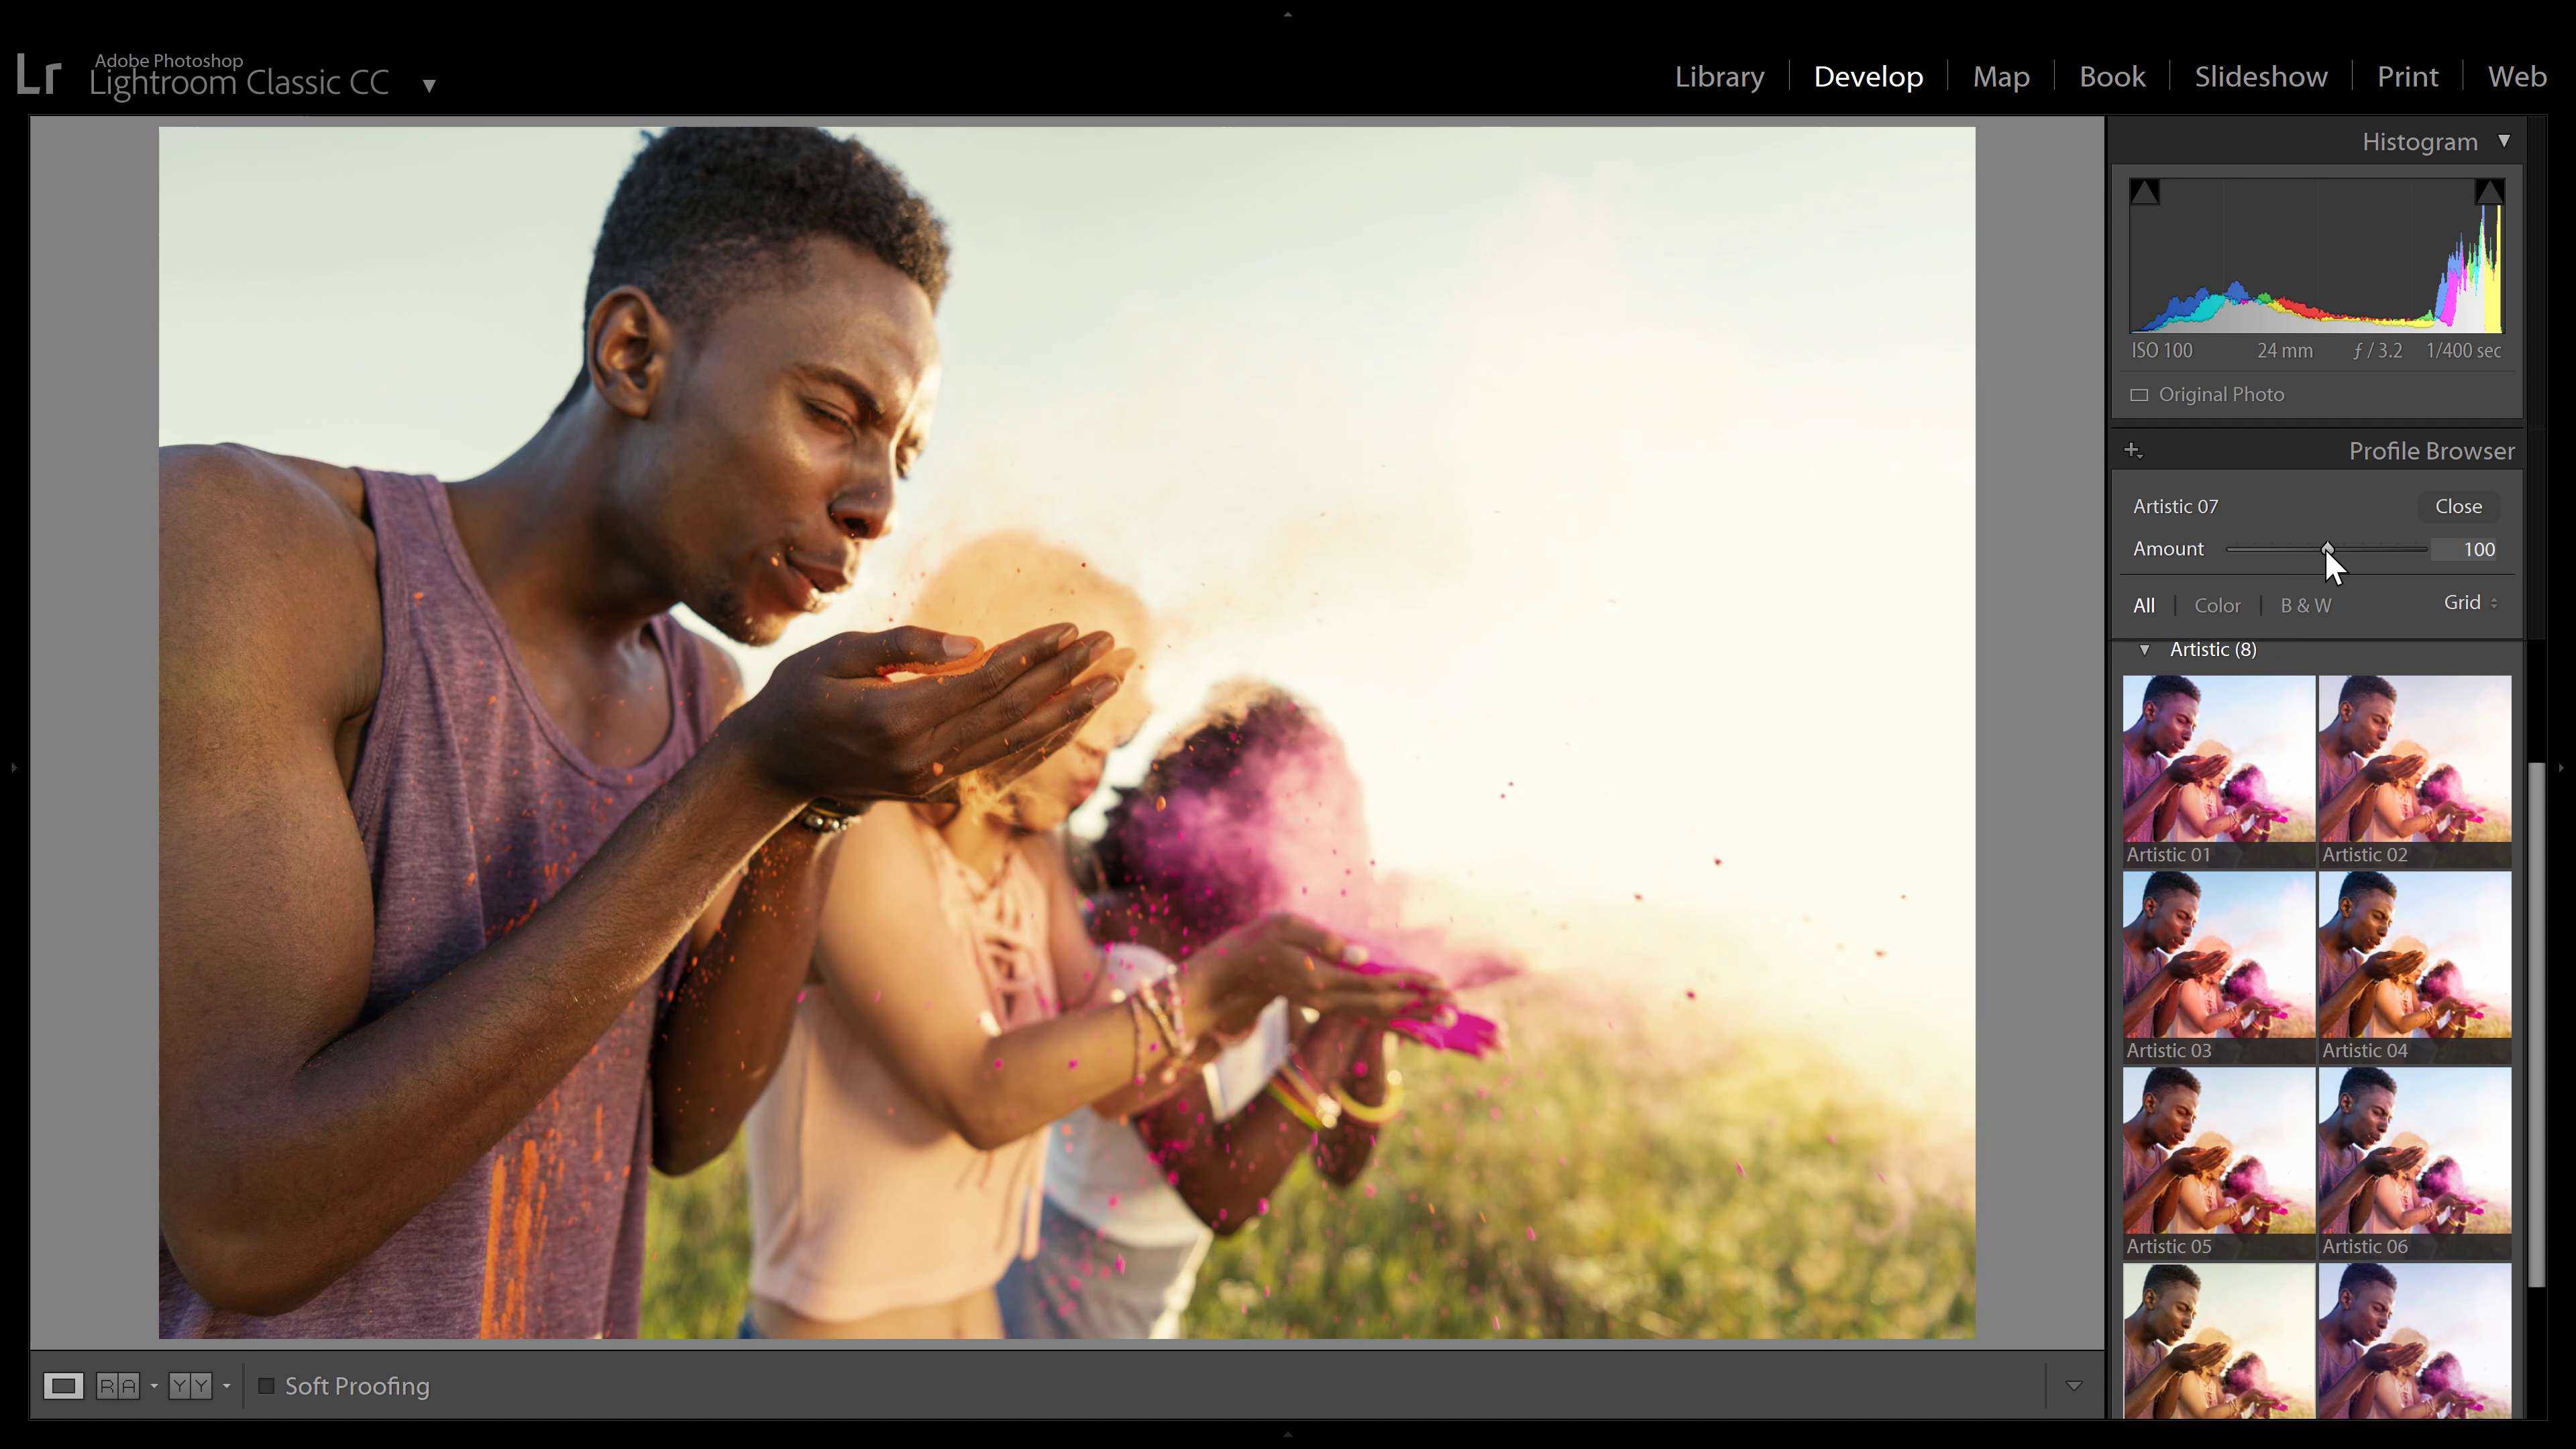
You can find Lightroom profiles in the profile section. It comes in a new interface with thumbnail previews. I like the thumbnail previews because it shows you how it looks without having to hover over each one.
There’s also opacity support. In the past with Lightroom presets, you had to install 3rd party plugins like The Fader or OPAL. This is now built into the profile browser. You can change the opacity from 0 to 200%.
Profiles don’t override your settings
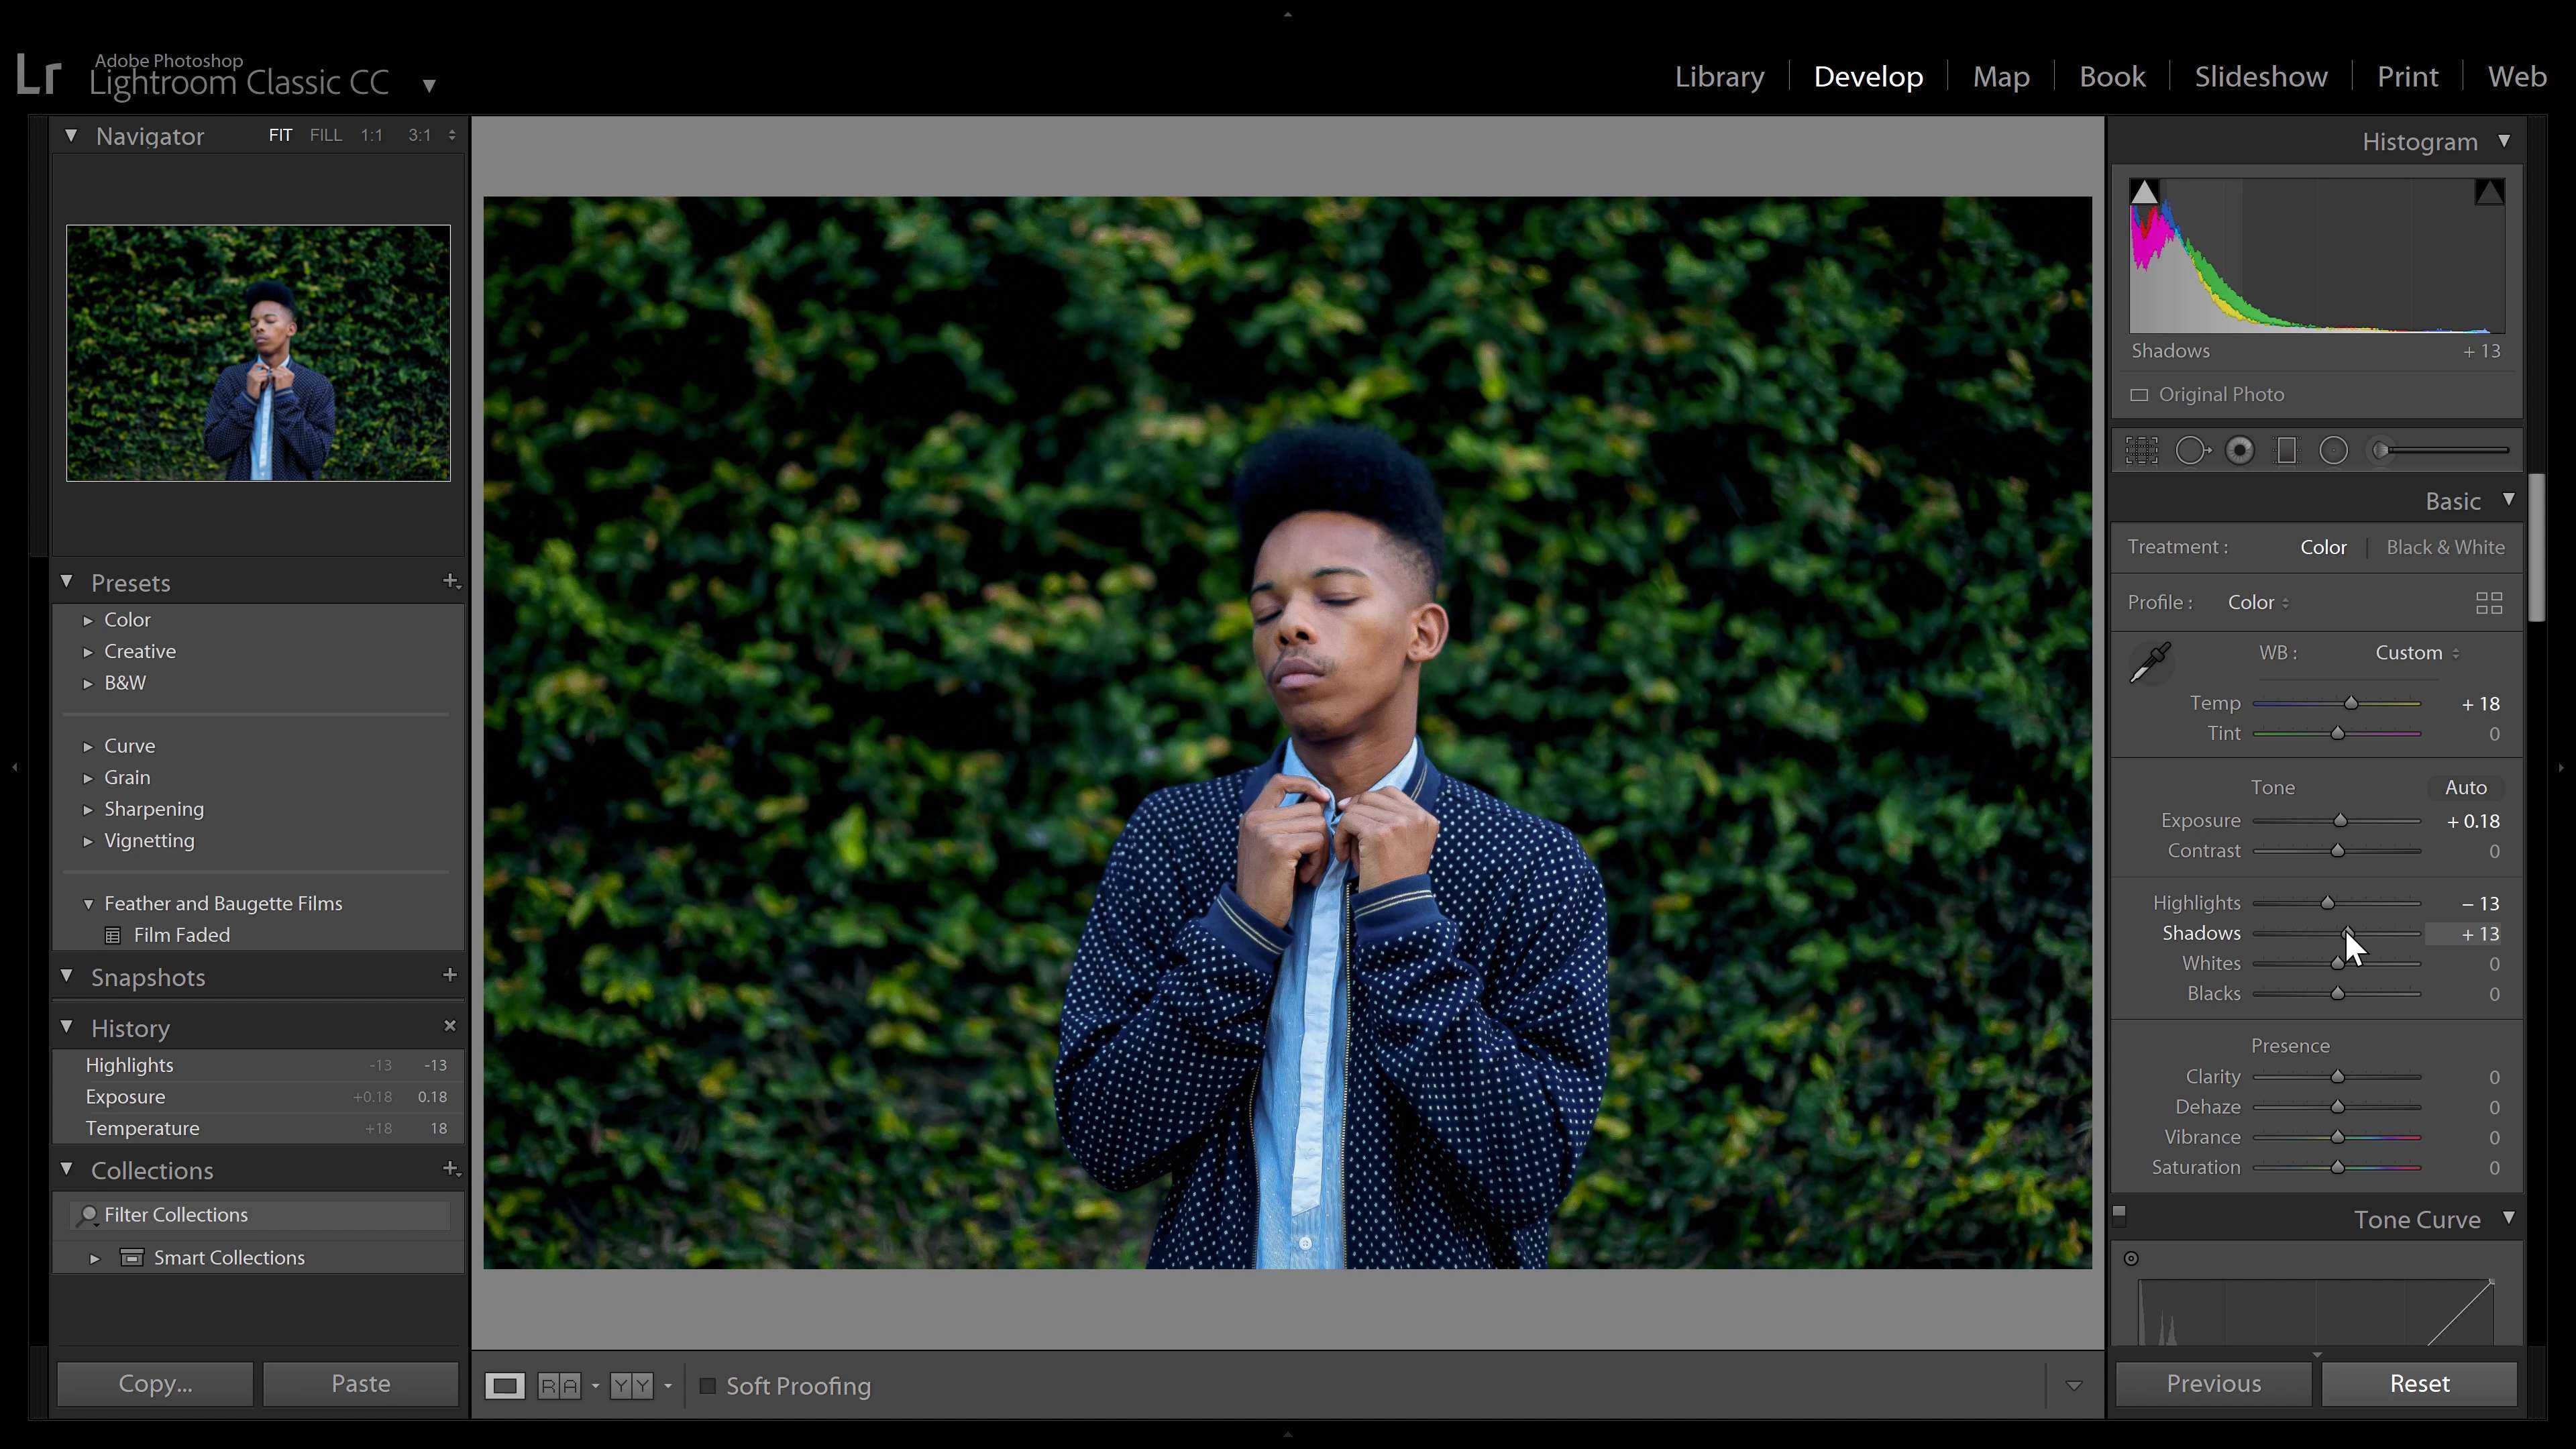
The standard Lightroom workflow is to fix your photo and then color grade it afterward.
Lightroom presets ruin your workflow by overriding your develop settings. Low-quality presets can change your white balance and exposure. This is bad because it forces you to redo your retouching and is a big waste of time.
Lightroom profiles solve this by separating the color grading from your develop setting. It doesn’t touch your develop settings.
The downside is that you can’t edit the Lightroom profile settings. This is because they’re not always created using Lightroom’s develop settings. We’ll talk more about this later.
Profiles are faster

Lightroom presets are slow. Speed is a huge issue for Lightroom, and the most significant speed issue is in the develop settings. Most Lightroom presets use a lot of develop settings. Every setting is another calculation that makes rendering slow.
But Lightroom profiles are super fast. They can use more efficient files called LUTs (Lookup Tables). LUTs work by remapping colors instead of giving math equations.
When you have 20 adjustments, the calculations and processing times stack up.
Speed is more critical when you’re using Lightroom on your phone. They will render fast even on an old phone. Lightroom profiles are fast, reduce CPU usage, and save battery life.

With that said, this speed boost only works on profiles created with LUTs. Lightroom profiles created with
Profiles give you better color grading
This is my favorite thing about Lightroom profiles.
With Lightroom profiles, you are no longer restrained to Lightroom’s develop settings. You can create the color grading in other software like Photoshop.
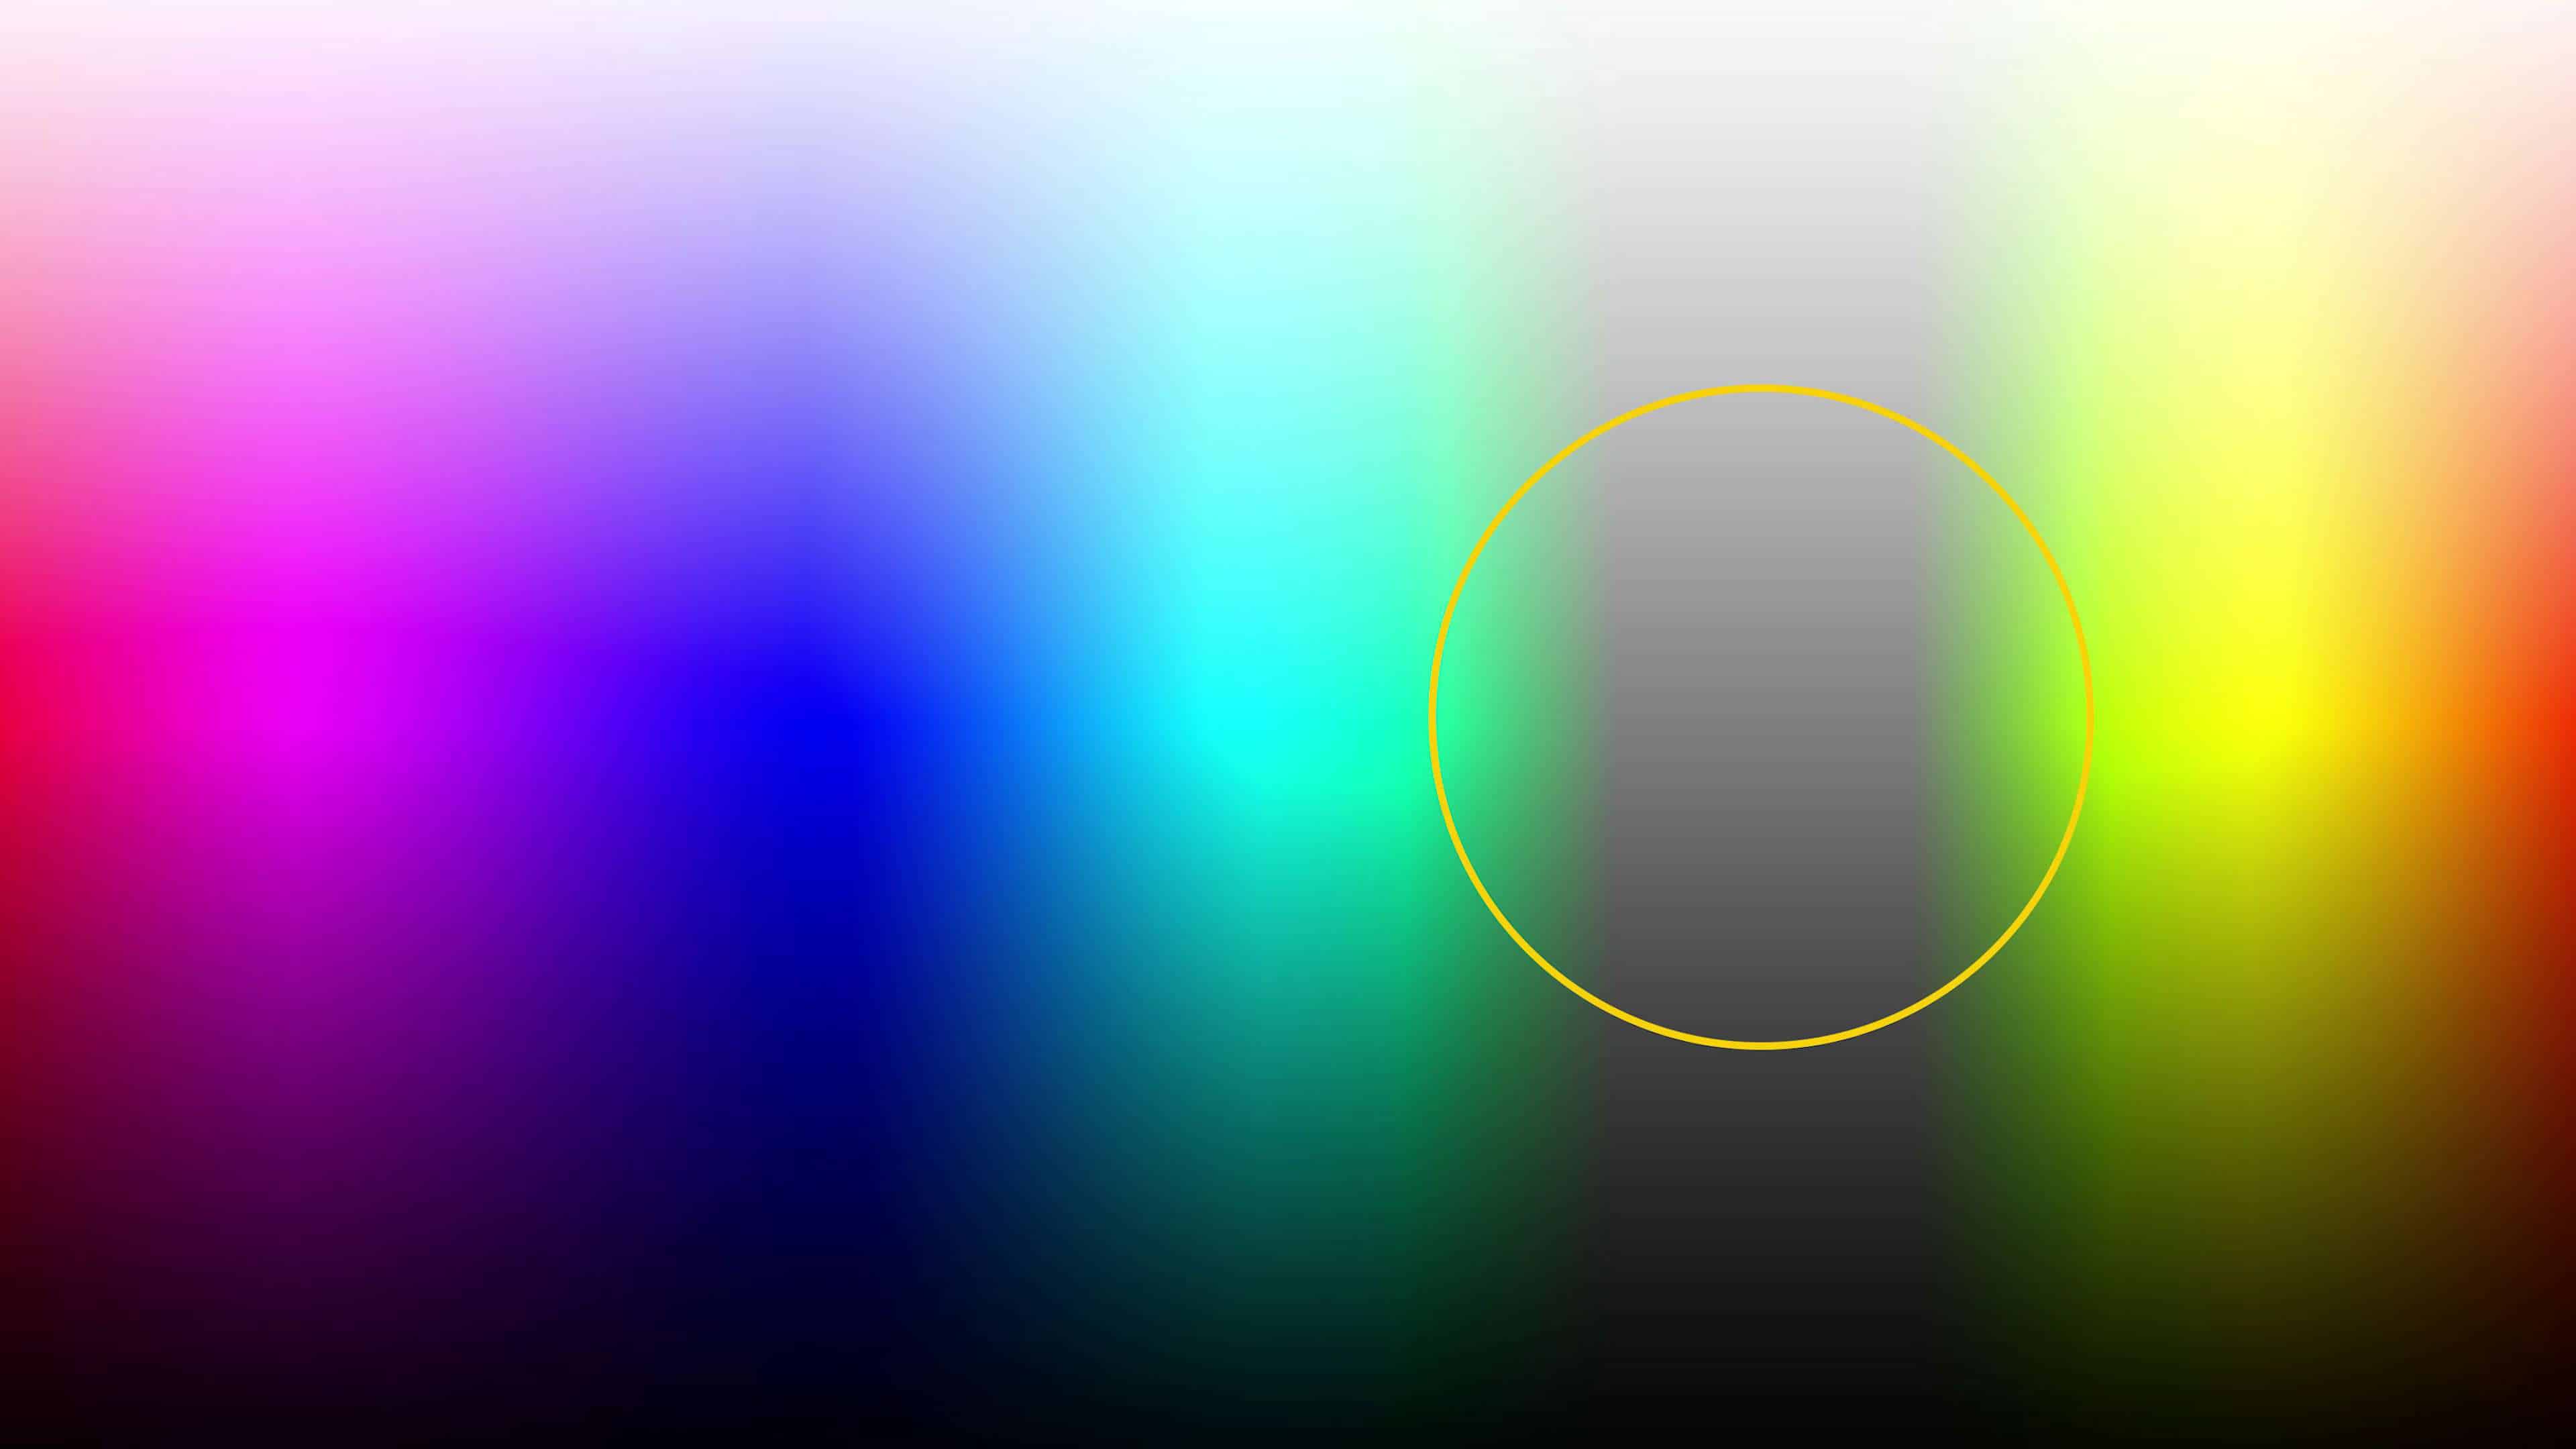
For example, you can make Lightroom presets that desaturate the greens. But to make it only affect the midtones, you would need to use Lightroom profiles.
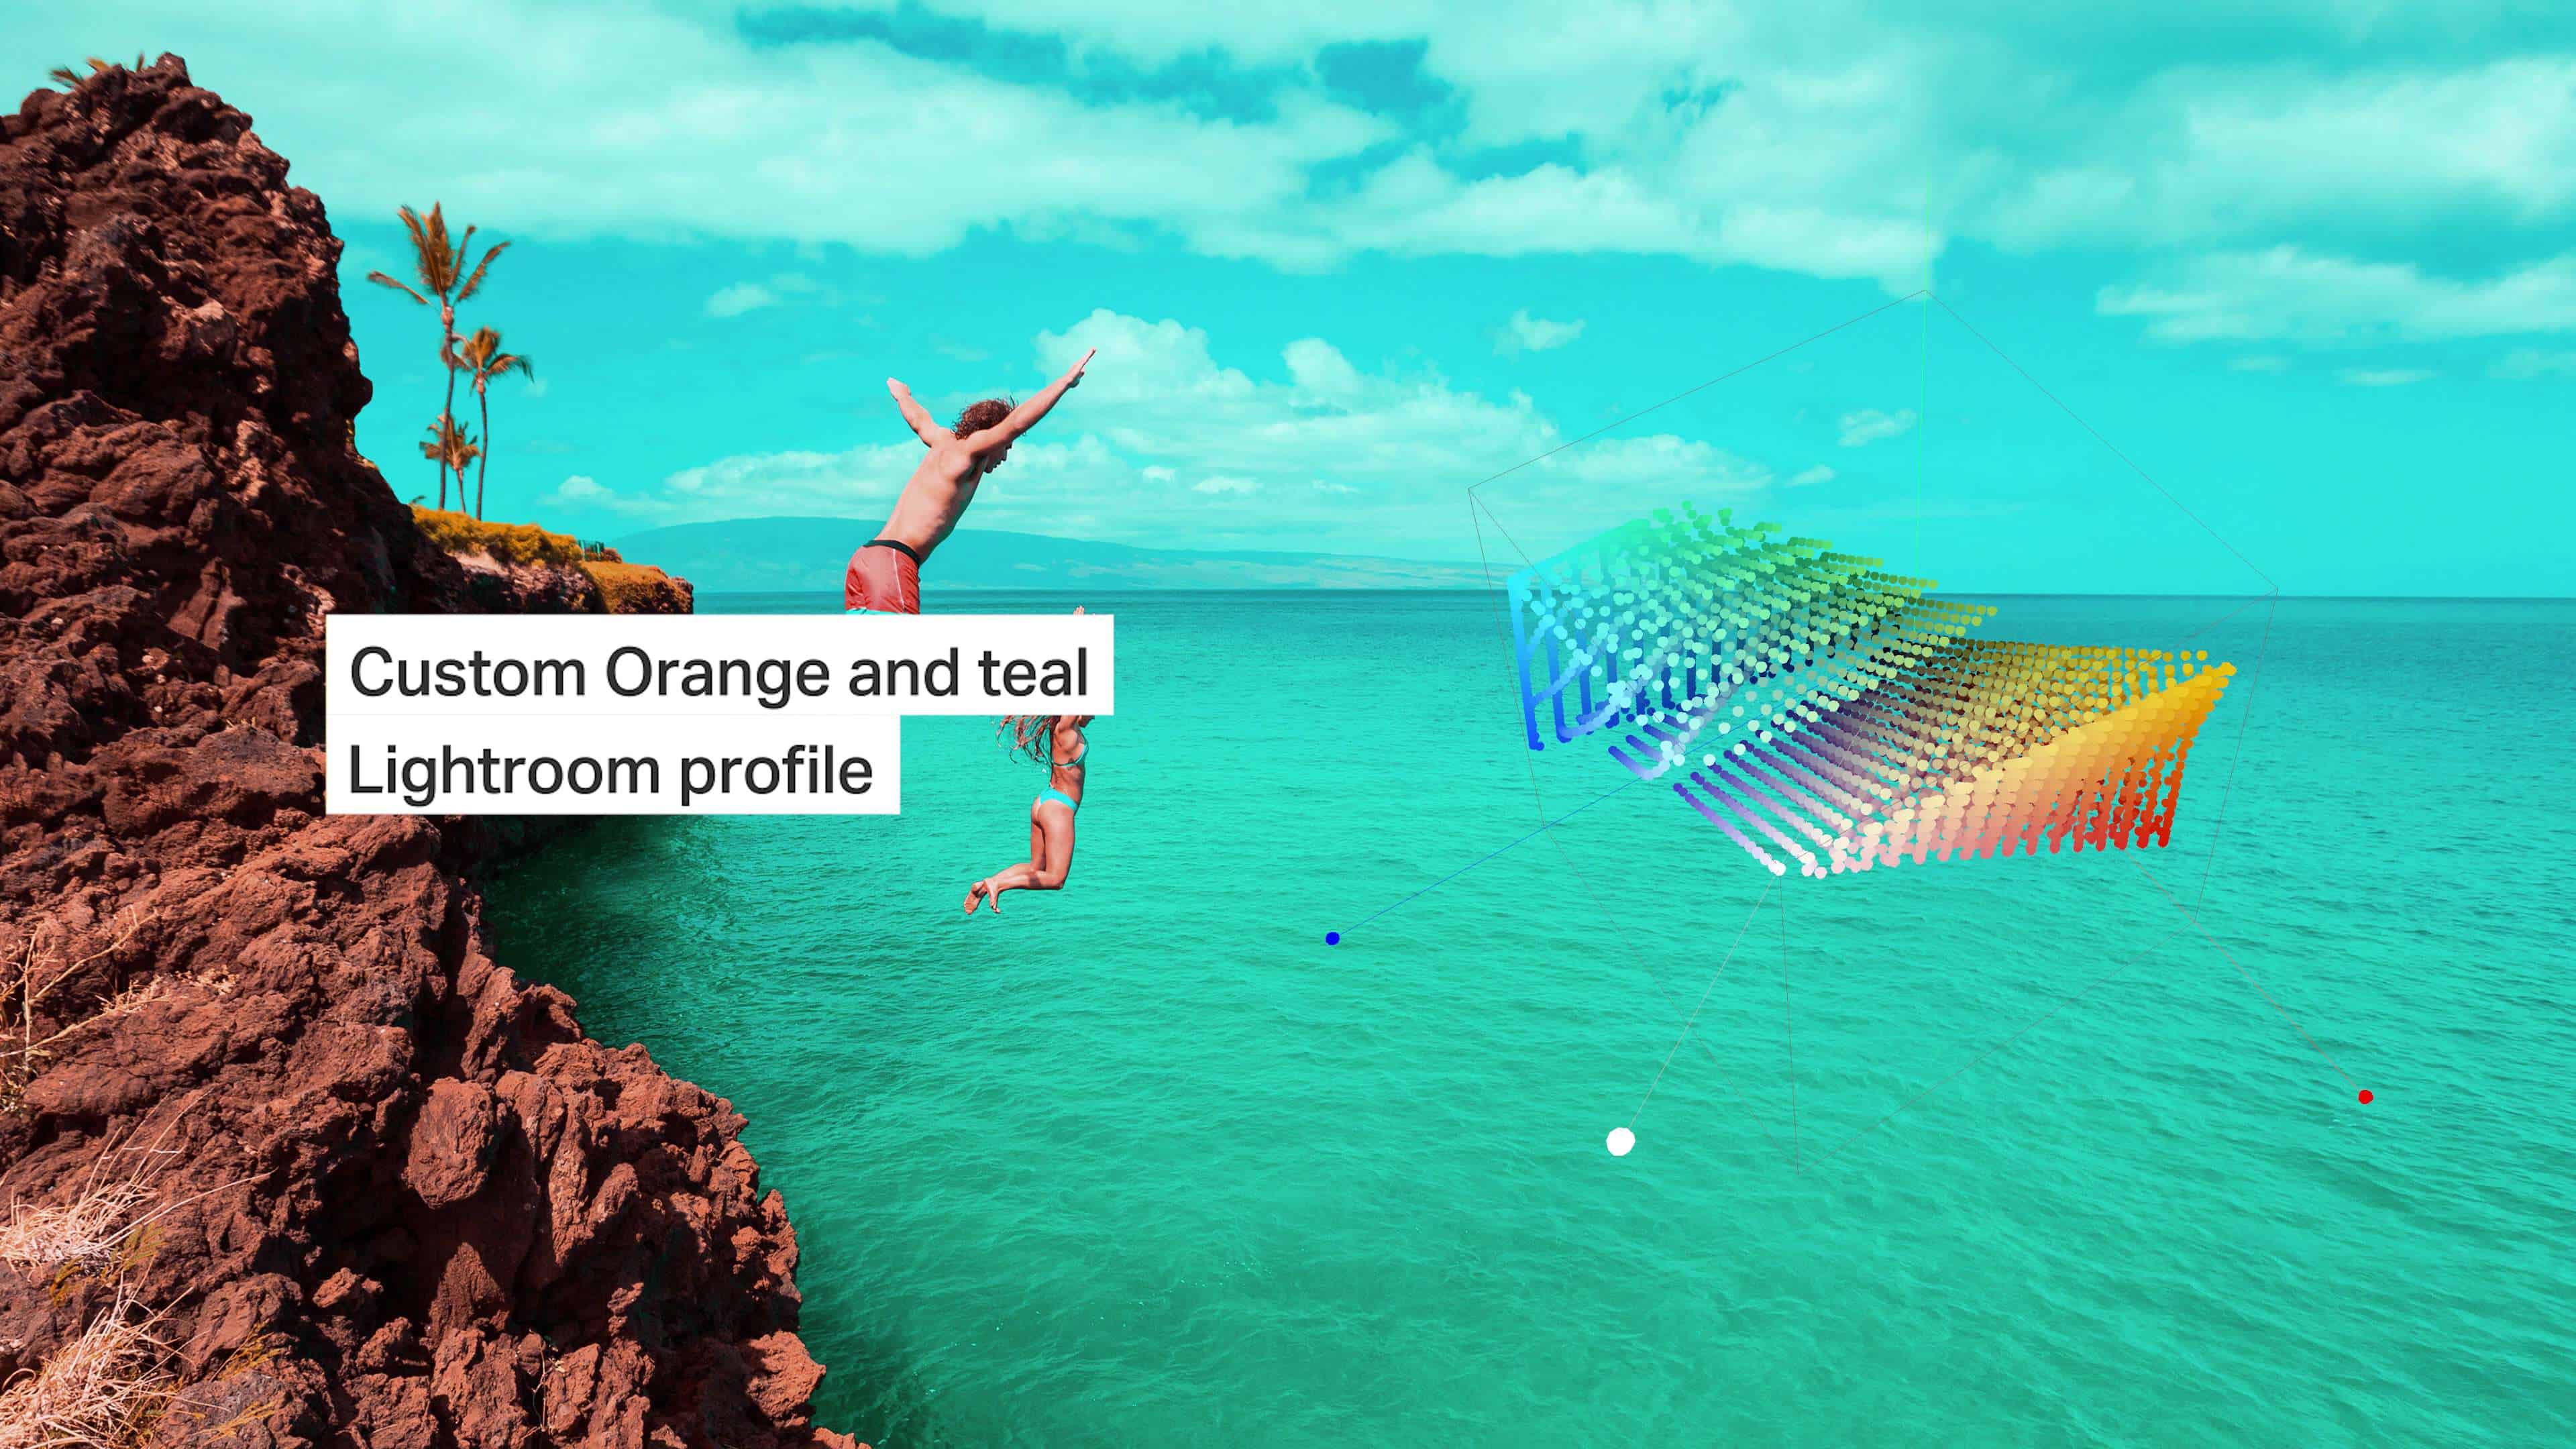
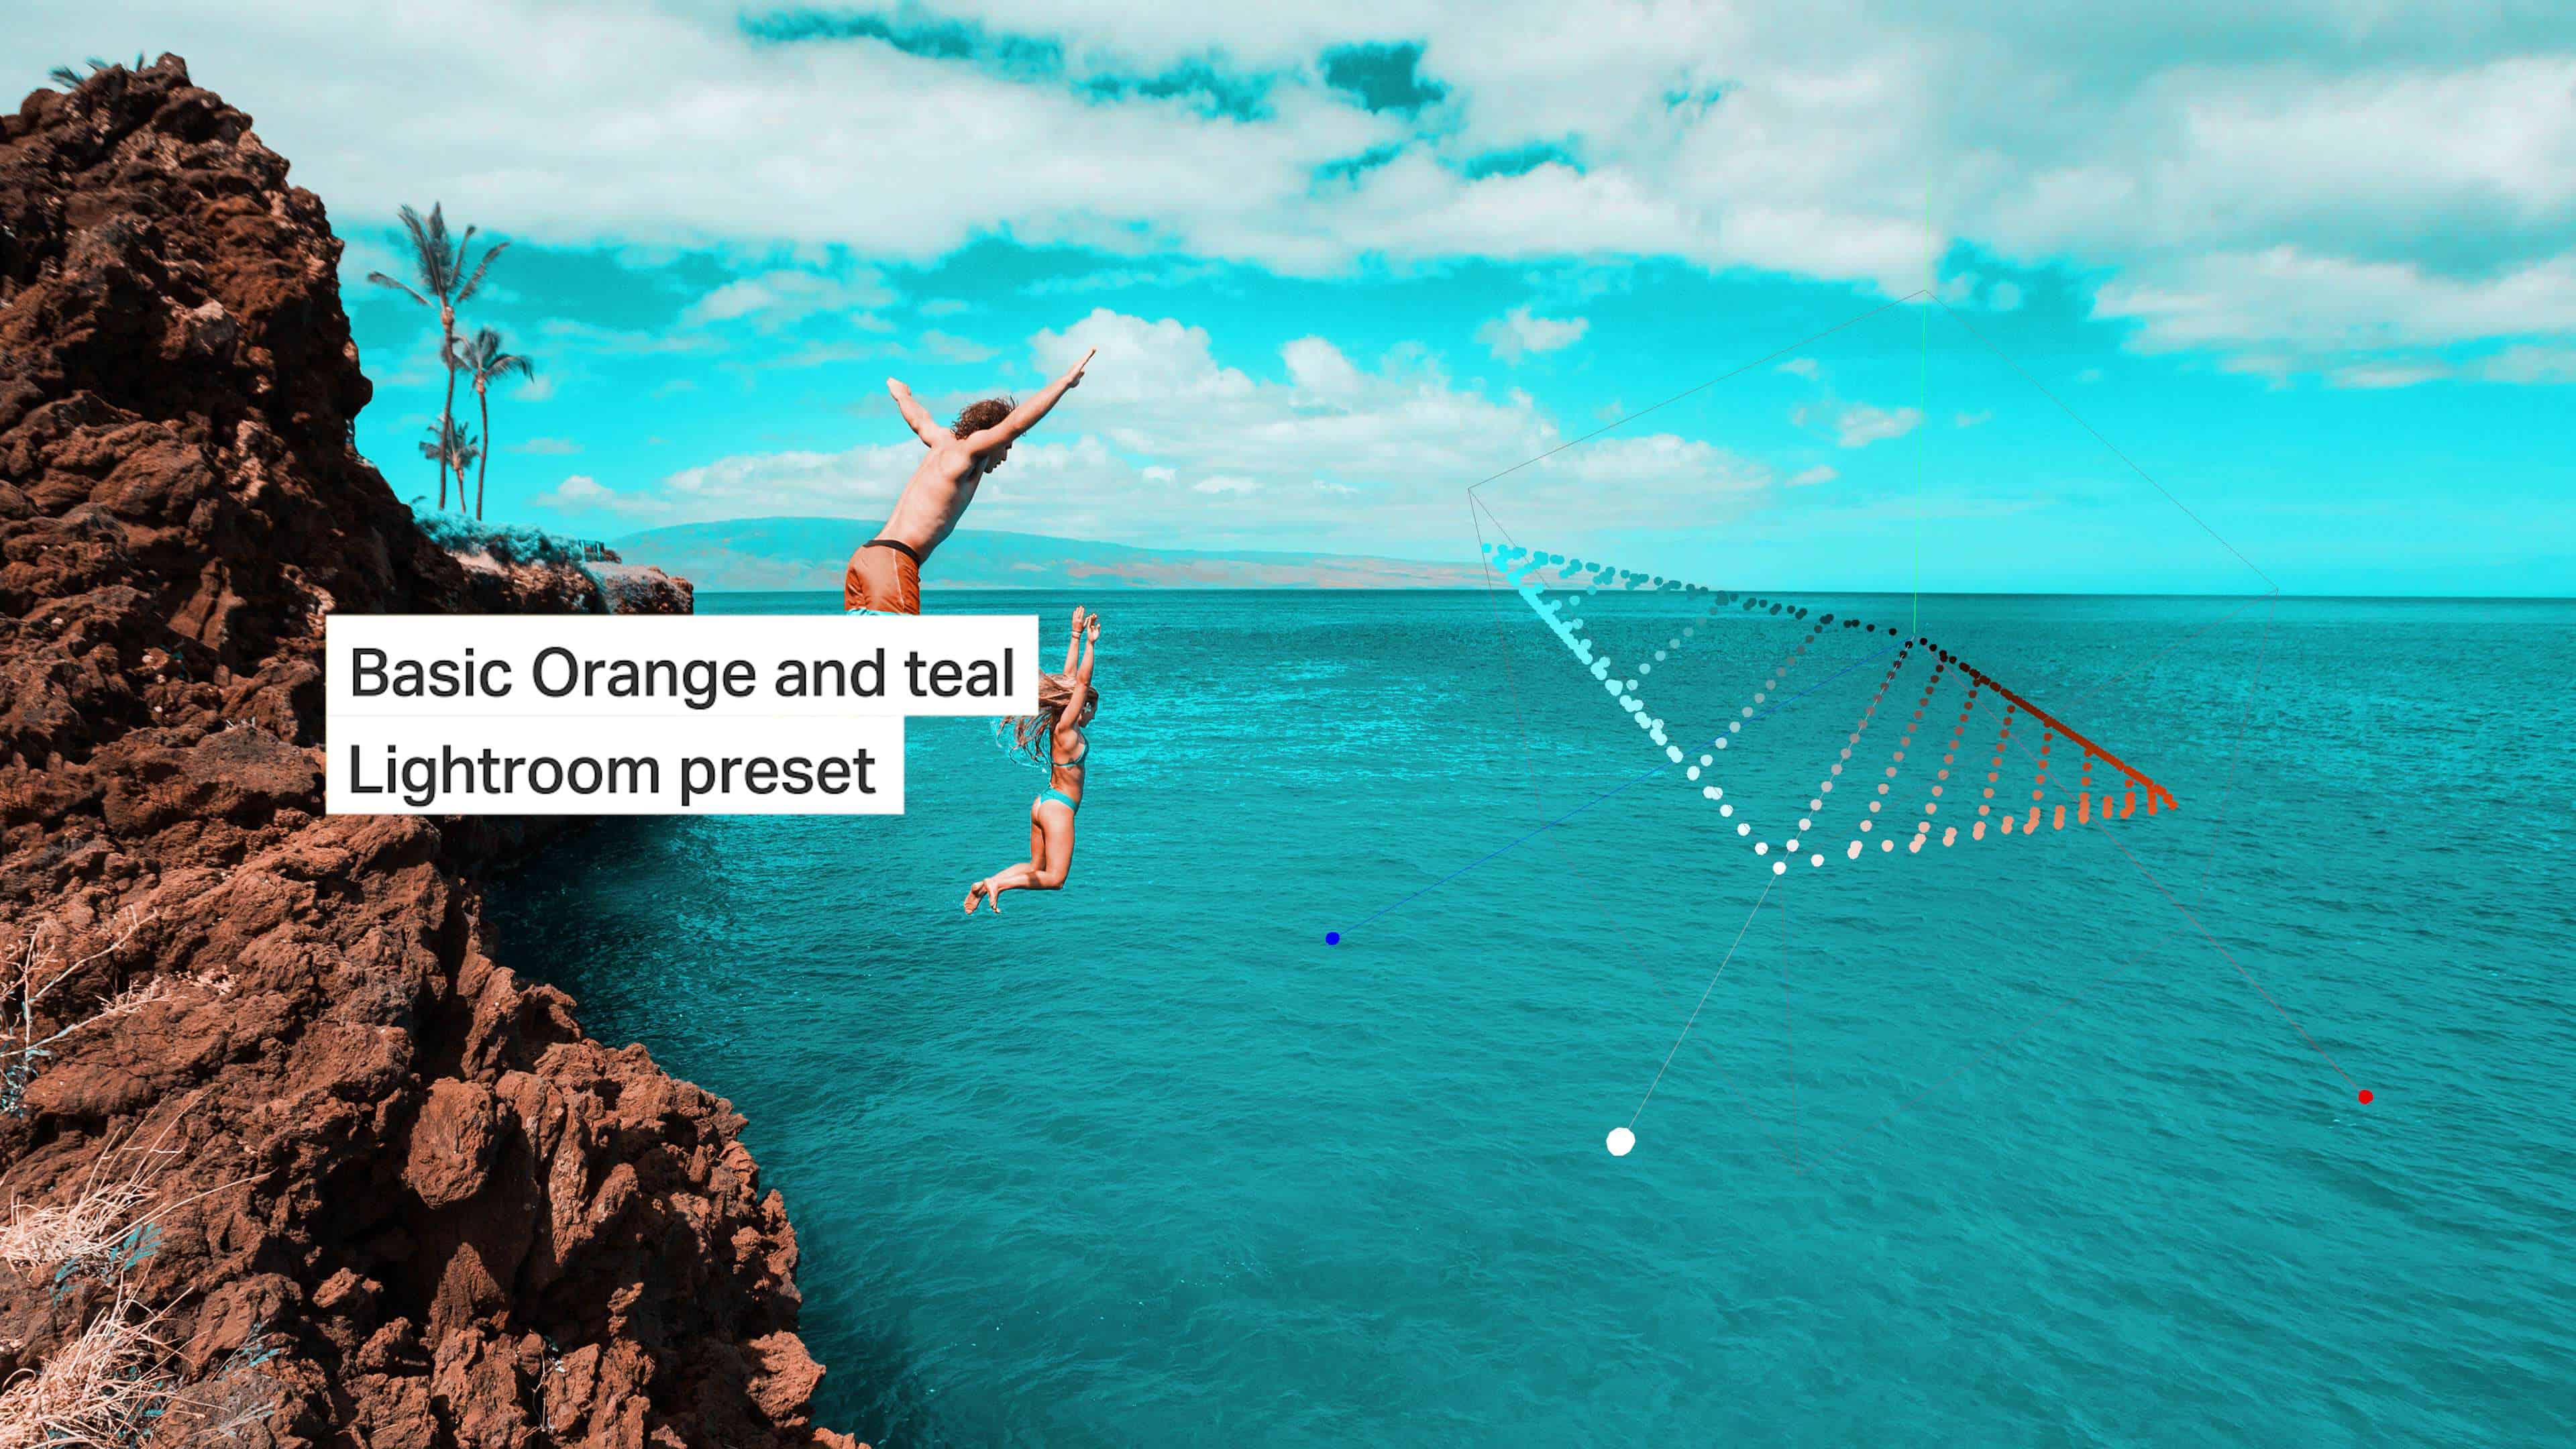
Here are some examples of what you can achieve with Lightroom profiles. I created most of these effects using non-Adobe software and my own custom scripts. But I want to show you the powerful color gradings you can achieve with Lightroom profiles.
The first example is a more dynamic orange and teal effect.

Profiles also let you do vibrancy masking. In the past, this was done in Photoshop.


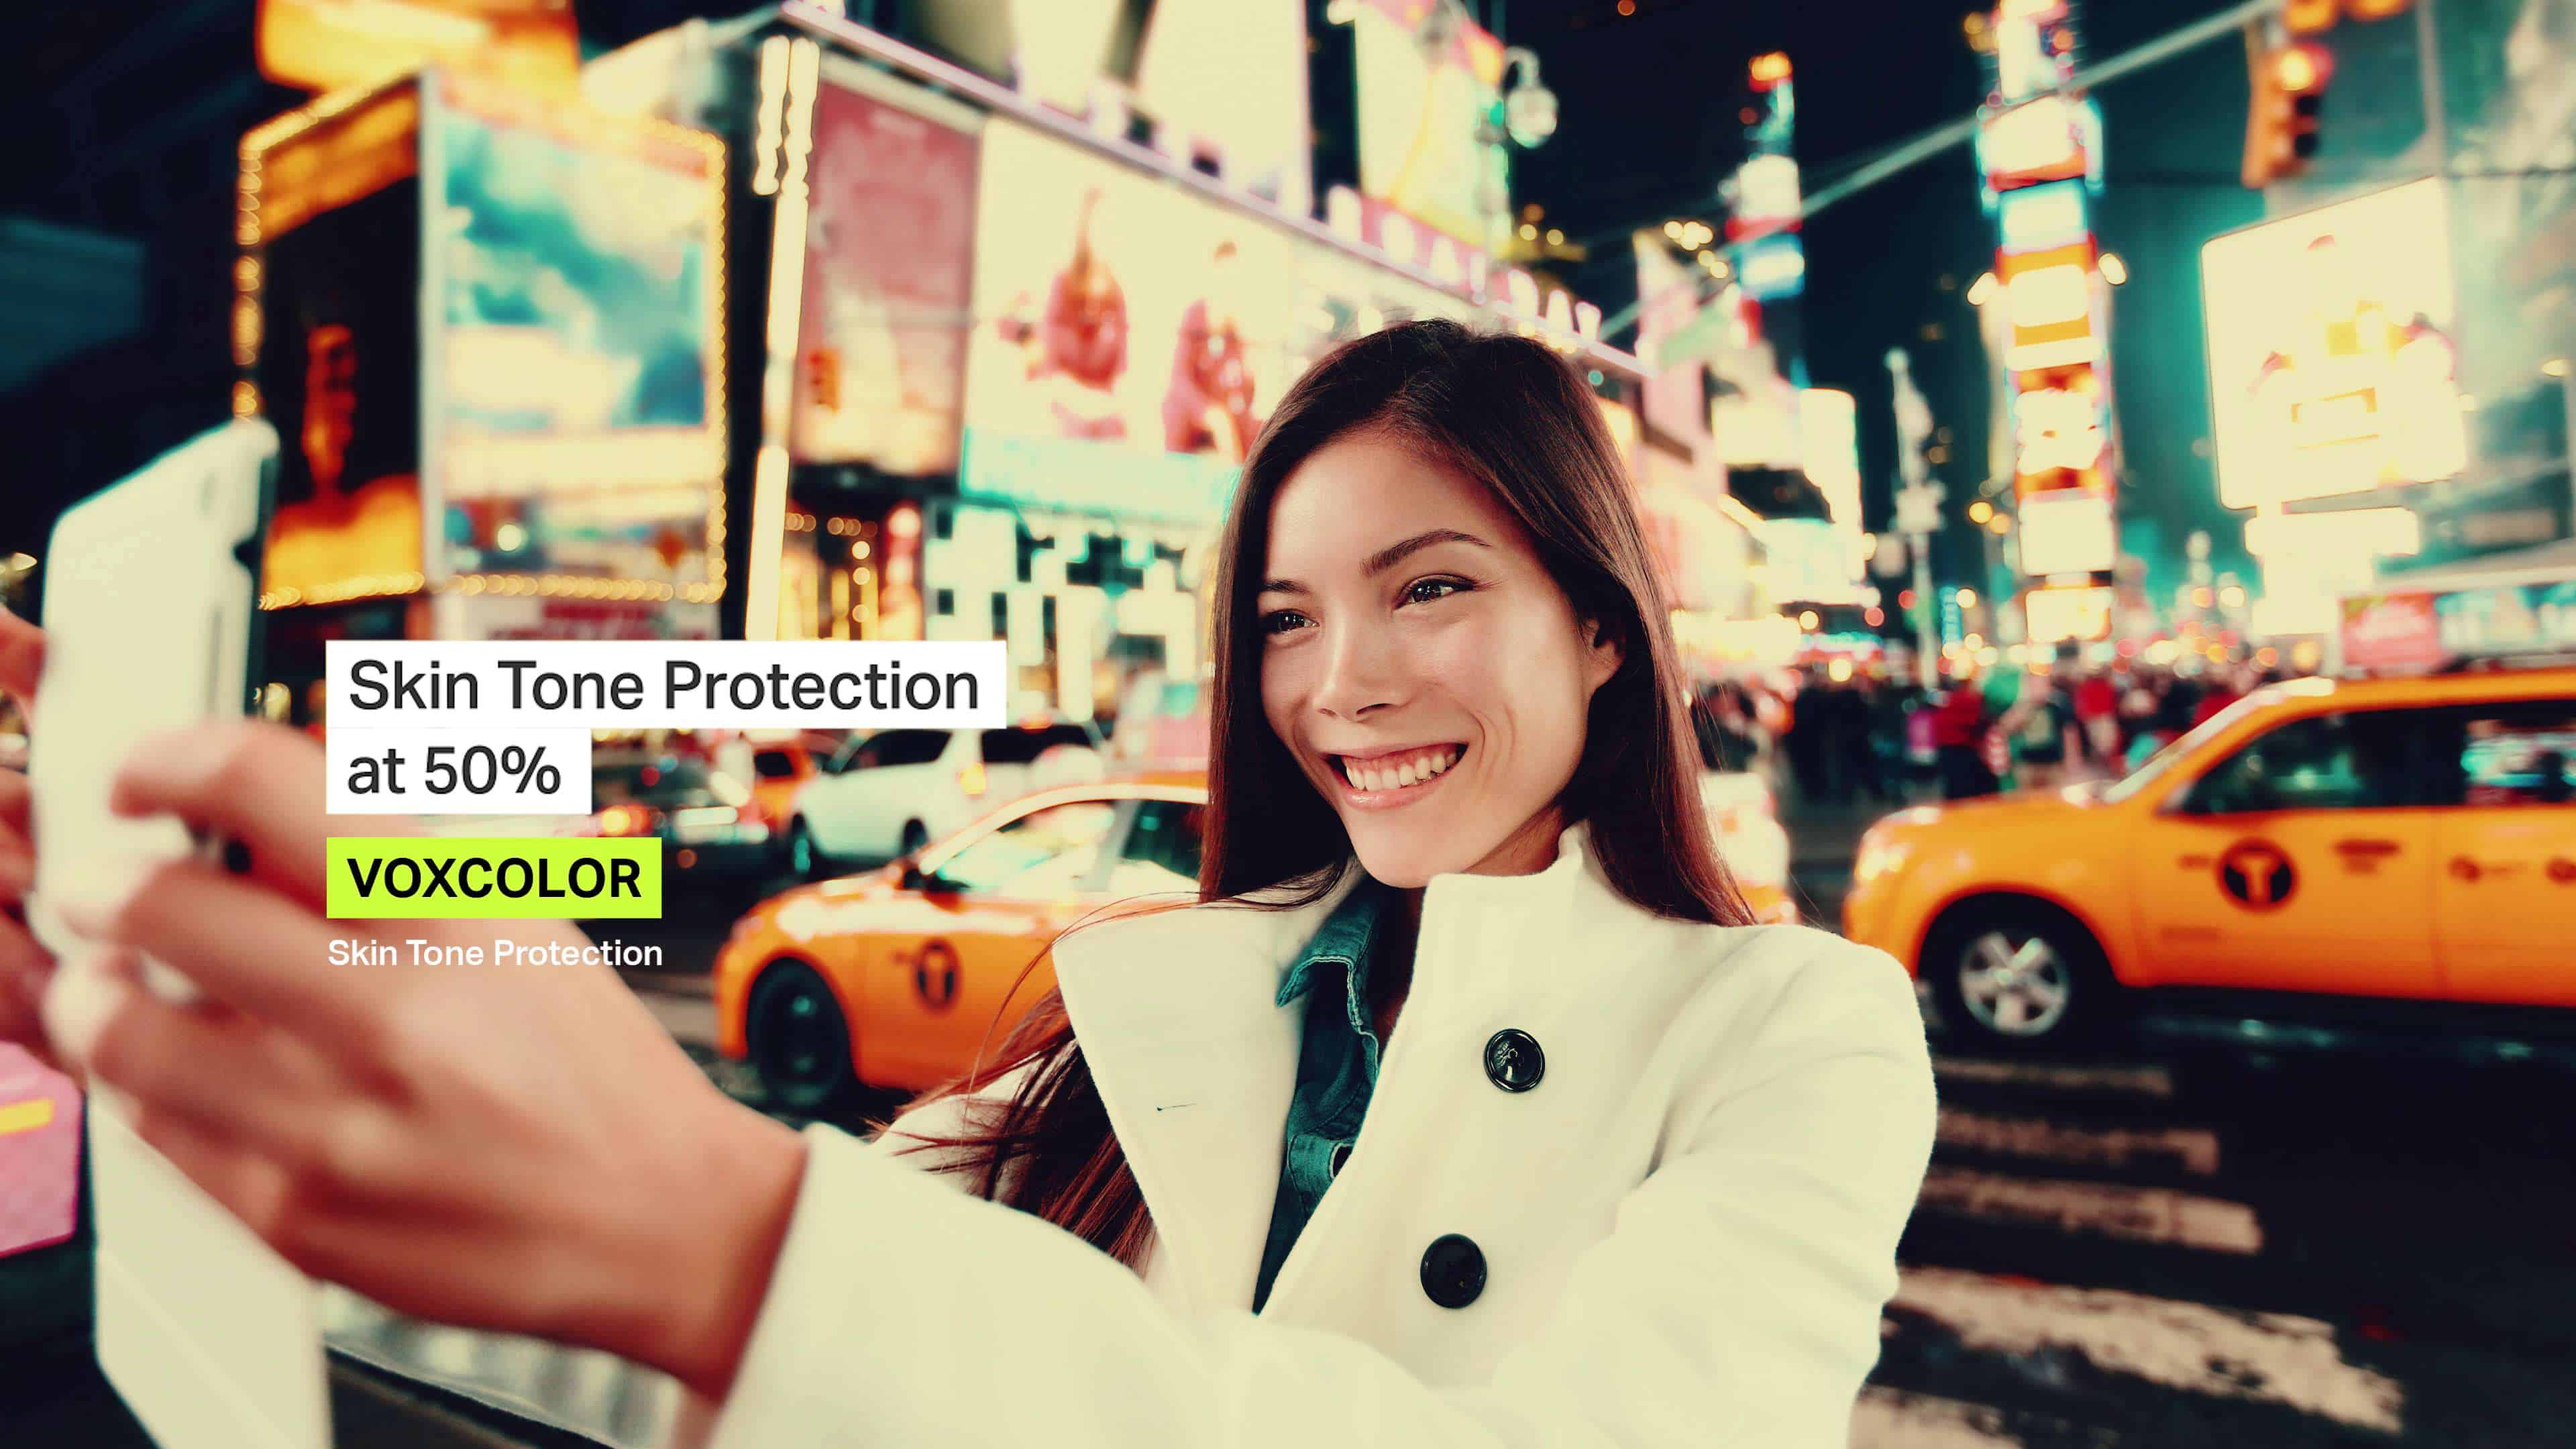
My favorite is skin tone protection. VOXCOLOR STP lets you restore up to 100% of the original skin tones. It works on both dark and light skin with consistent results.

If you want to try
If you’re an established colorist and want to use STP in your profiles or LUTs, contact