So the curves. Why would you use it over other tools? We all know that it can replace a lot of Lightroom adjustments, but it’s harder to use. So why do people like me keep insisting that you use the curves over the much easier sliders? What can you do with curves that you can’t do with other adjustments? You’ll find out in this tutorial.
Contrast
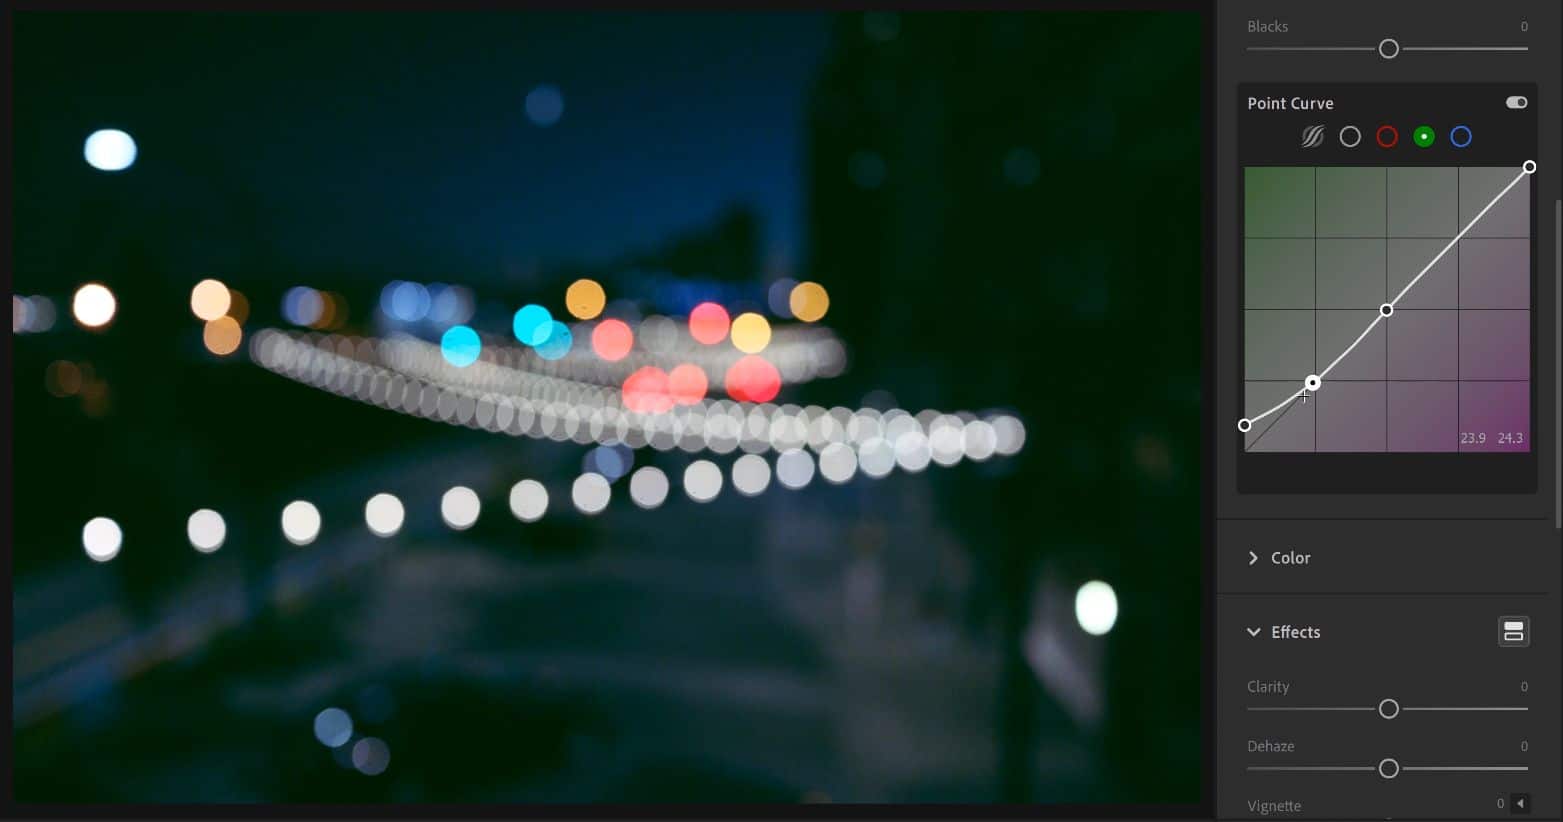
Let’s start with the easiest one. Curves let you create many different types of contrast. For example, you can create a standard S-curve and then choose how strong it is in the shadows or highlights.
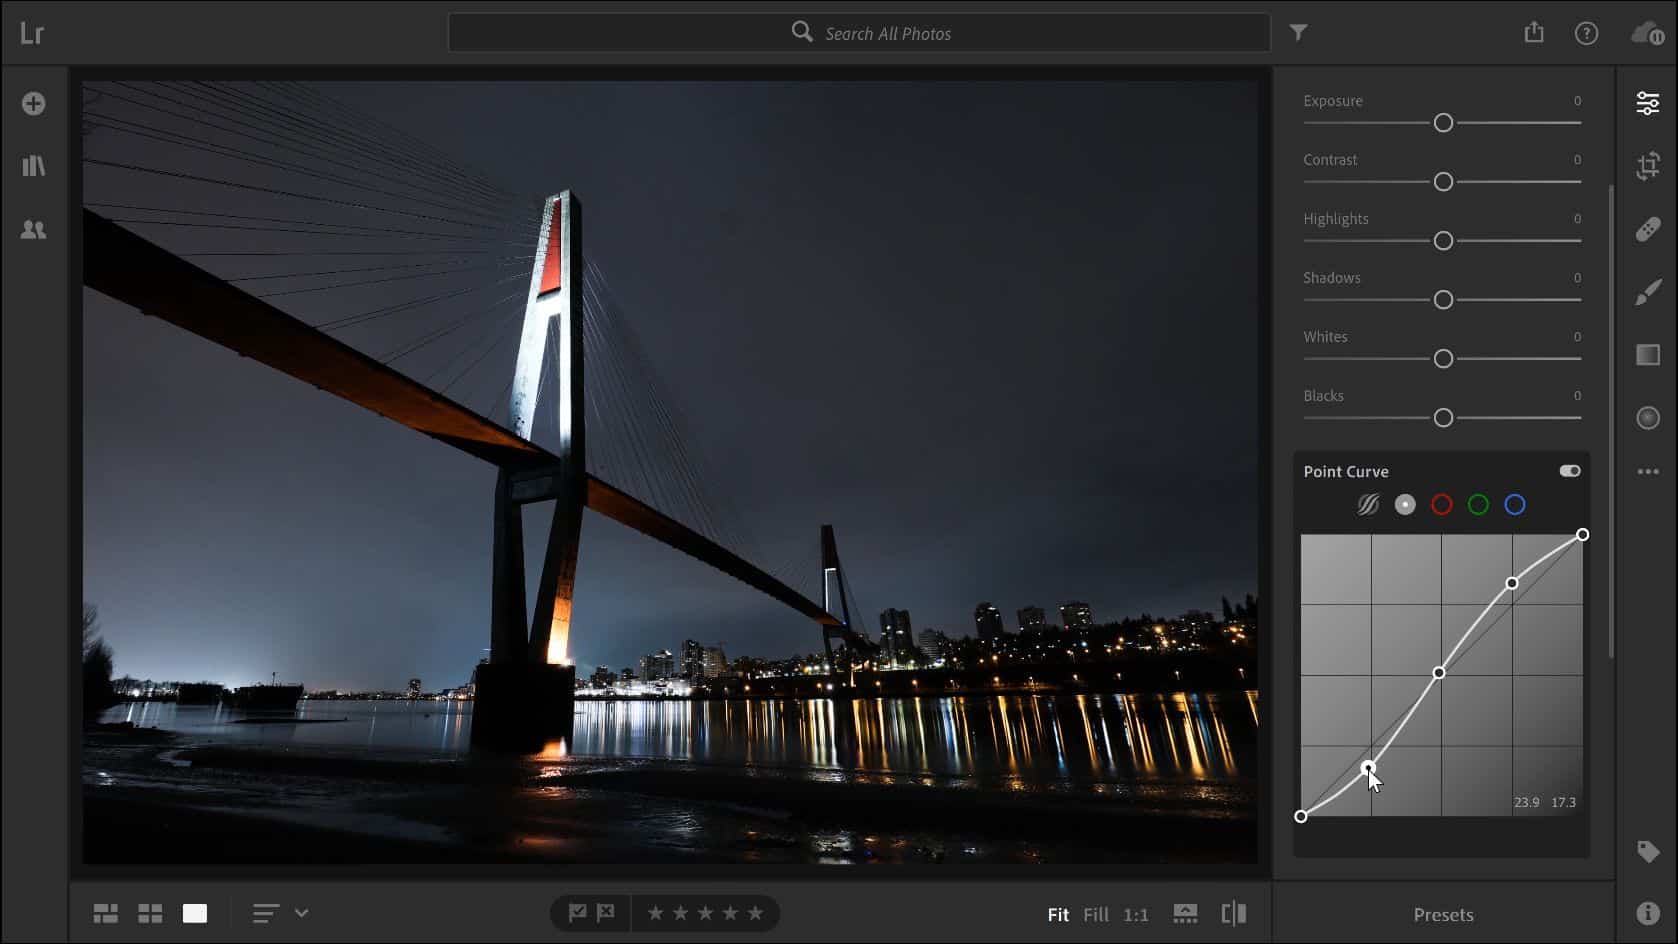
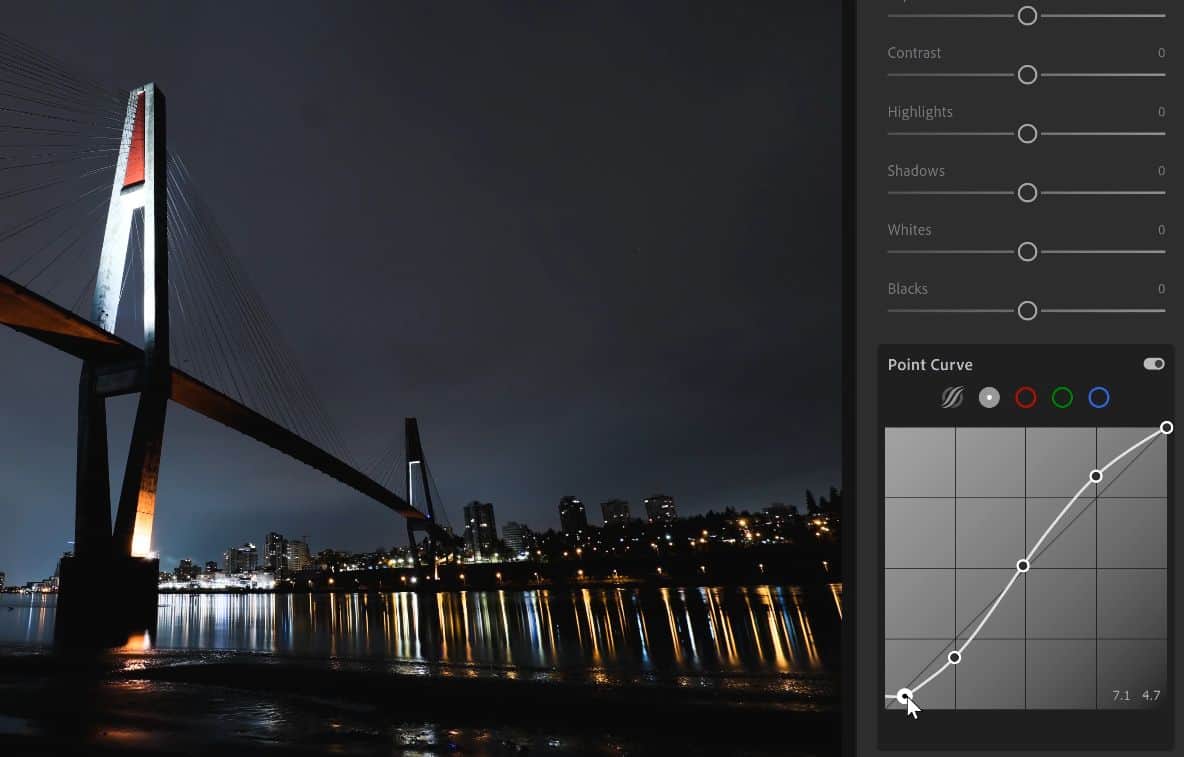
You can also use it to create a faded film look – something that you can’t do with any other Lightroom setting. Lifting the blacks up will give you grays. Crushing it will reduce the dynamic range which is useful if you want to hide details.
Exposure
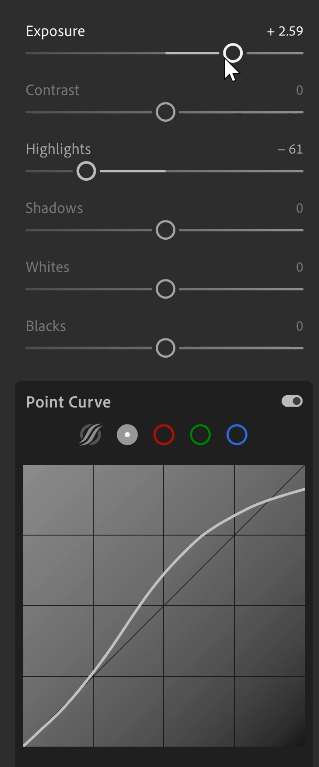
Unlike contrast, exposure is not something that a lot of people use the curves for. First of all, the exposure slider does a better job than the tone curves. You should always use the exposure slider to fix the exposure. But if you’re using it as an effect, such as creating a high or low-key effect, you should use the curves.
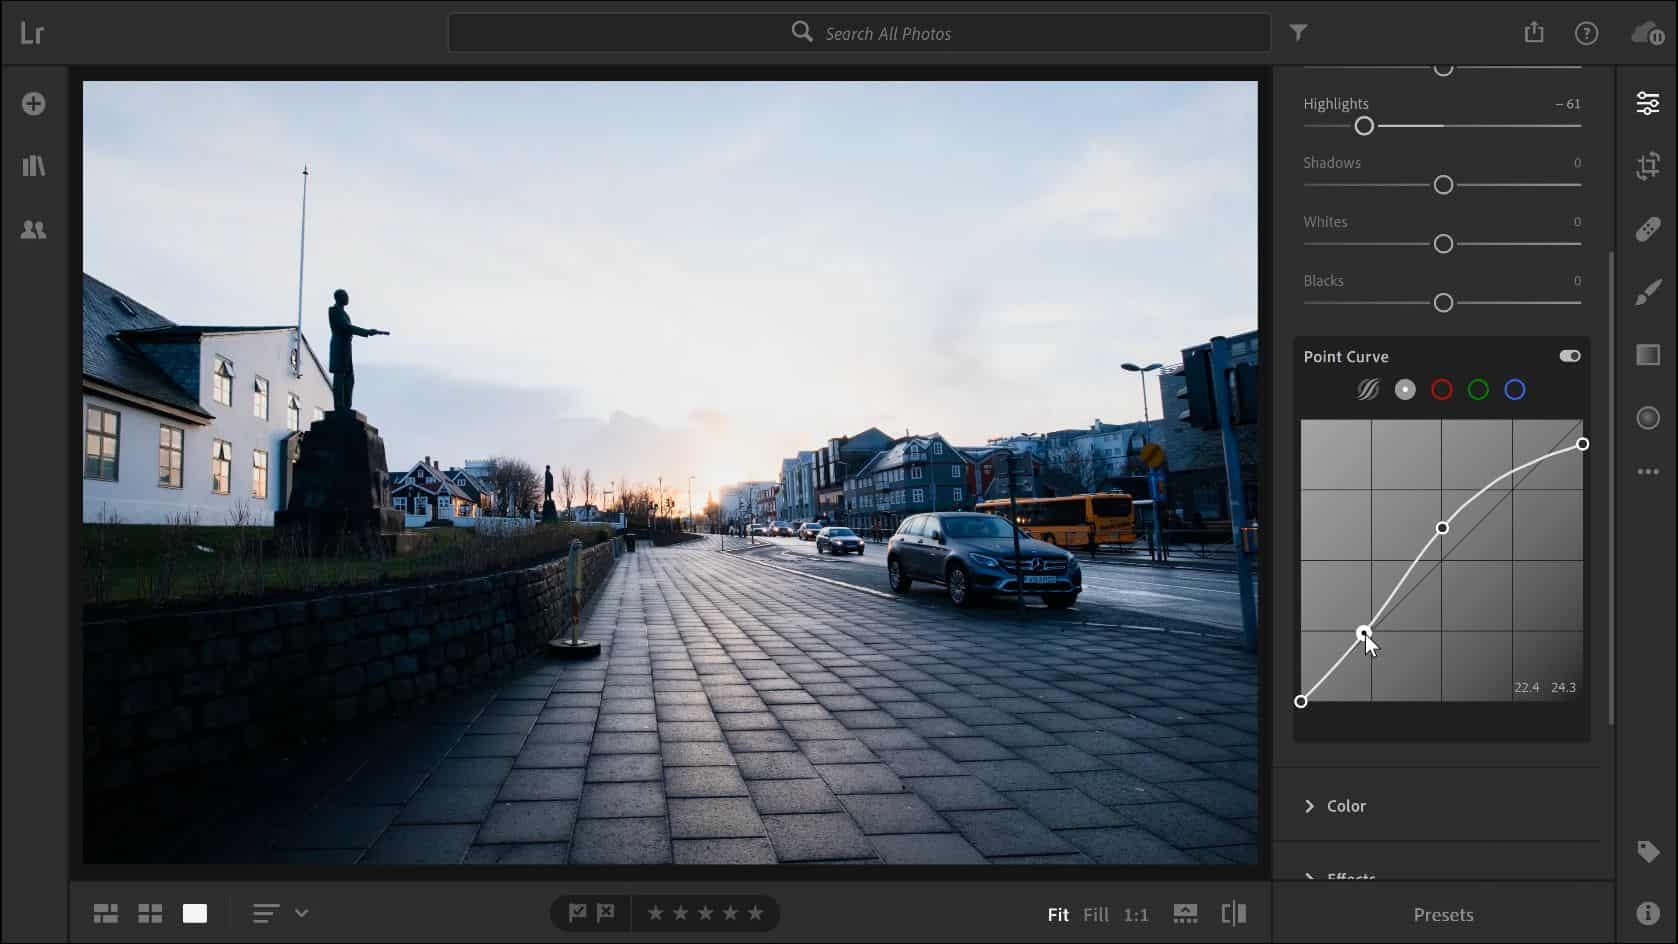
This lets you have two exposure settings. One for correcting your photo and one as a Color grading. So if you create a preset and use it on the rest of your photos, it won’t overwrite the exposure setting – everything is inside the tone curves.
White Balance
The white balance makes your photo warmer or cooler. But this should only be used to fix the white balance, not used as an effect.
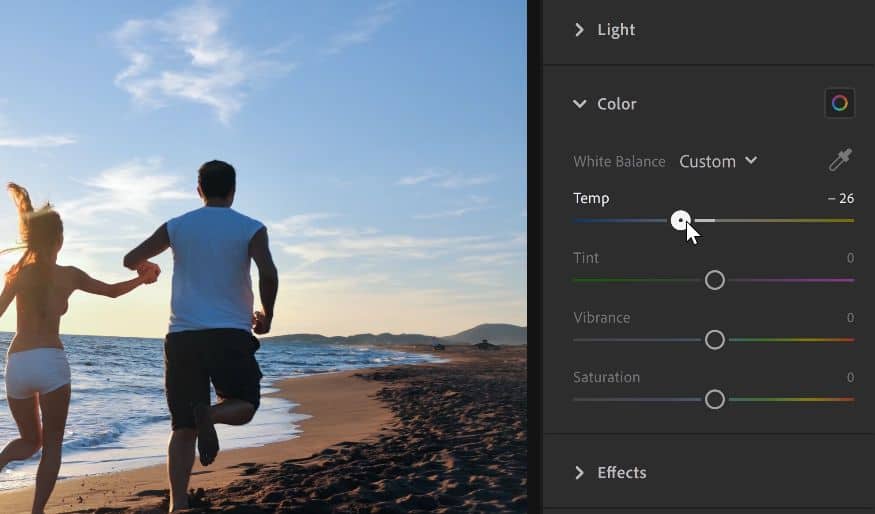
Again, just like with the exposure setting, we use the tone curves so that it doesn’t overwrite the retouching settings in your other photos. You can make it warmer or cooler in the RGB tone curves. For example, you can switch to the blue channel and drag up to increase the blues or down to reduce it..

You can also choose how warm or cool you want it to be depending on if it’s in the shadows or highlights.

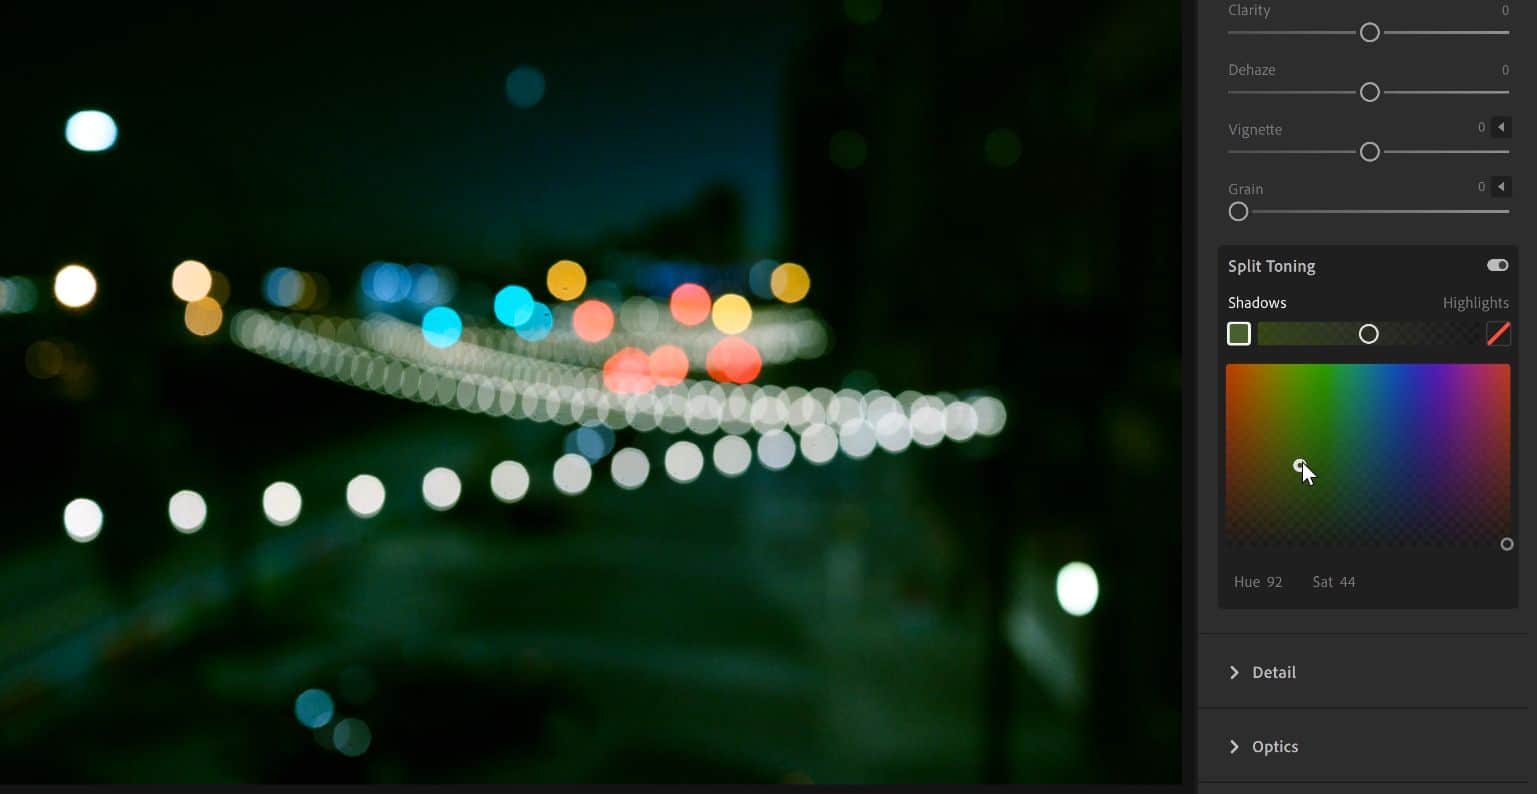
Split Toning
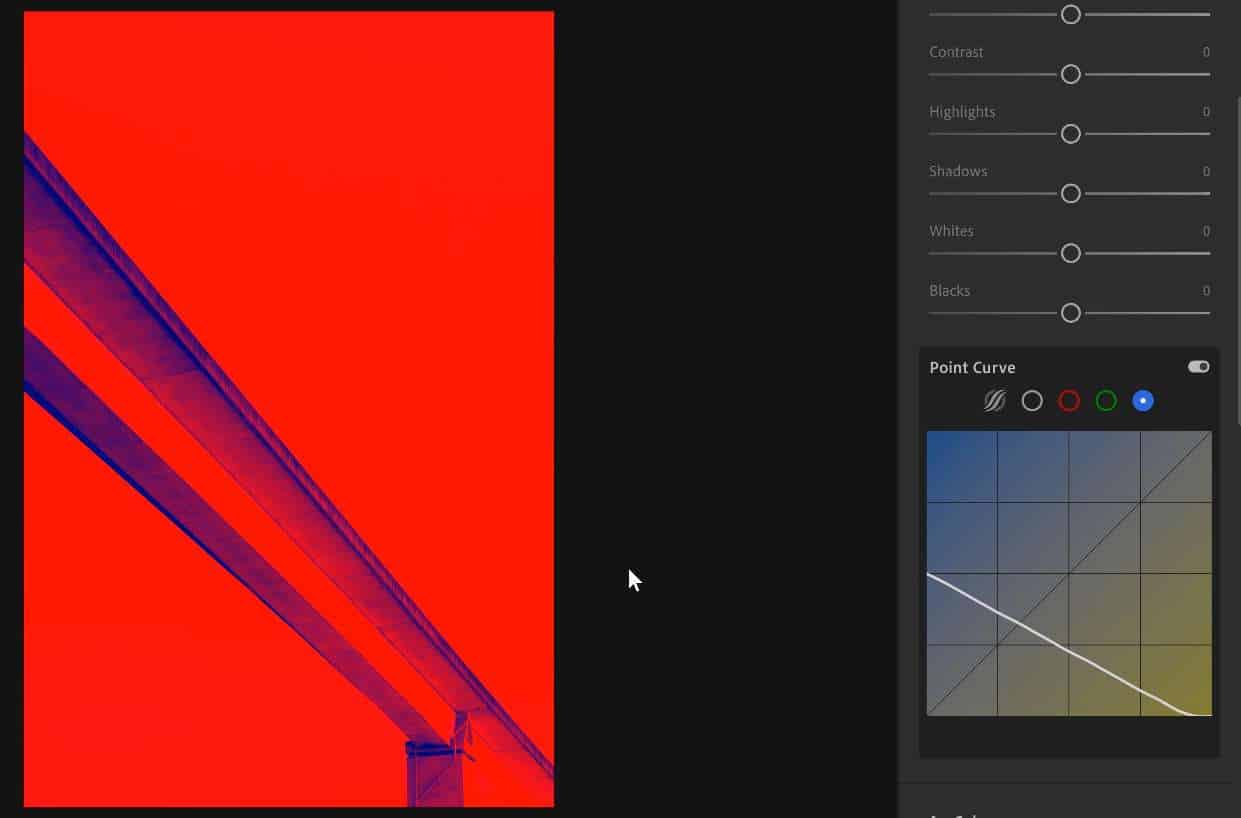
Finally, split toning. You can replicate any split toning with the RGB curves. It’s harder but better. With split toning, you can create basic smooth tints like this. You can then adjust the balance.
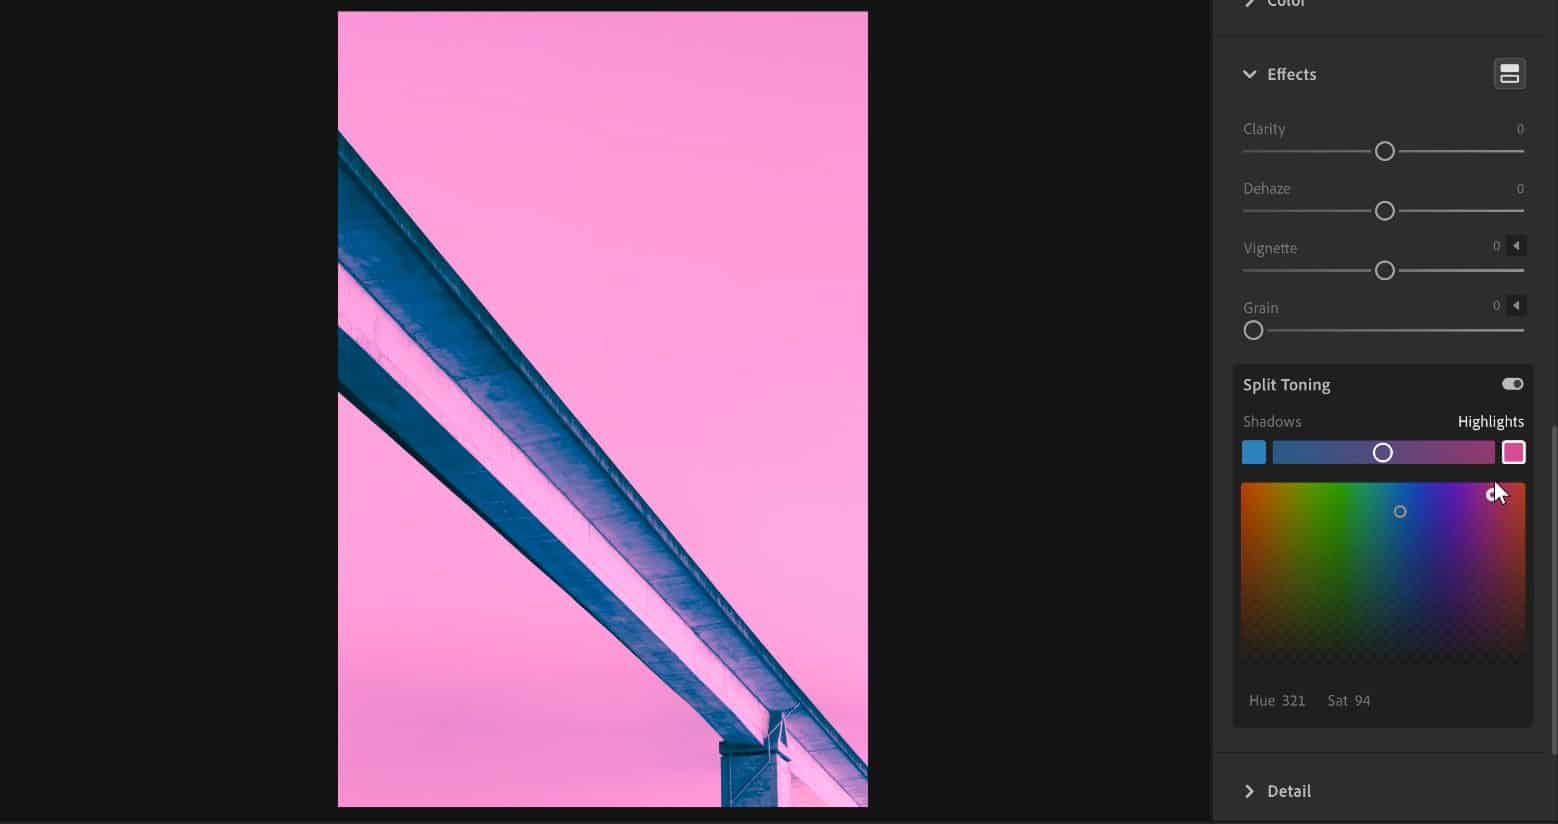
There are two things that the curves do better. One is that you can choose more saturated colors. If you go far enough, you can get a nice duotone effect.
The other is that you can choose where the tint gets cut off. For example, if we tint the shadows green like this, it looks quite flat.
But with the curves, you can control where that tint ends.
Summary
So overall, the curves can replace a lot of Lightroom settings and gives you more control. It also separates the Color correction from the Color grading which is why you see it used heavily in Lightroom presets.
If you want to learn how to use the RGB curves, check out my tutorial on the tone chart technique. The secret to learning curves is not by memorizing shapes, but by developing the instinctive feeling for how it works. And the tone chart technique will give that to you.