Learn how to create highlighted text in Photoshop. This is one of the most popular text style especially on Facebook, Twitter, and other social media networks. Marketers love it because it’ll work no matter what you have as the background and it’s very attention grabbing. This should be a easy process like it is in Adobe InDesign but unfortunately it’s not that easy in Photoshop. But I do have a neat little trick that will give you really good results and once you find out how it’s done, you can do it in less than a minute. In this tutorial, you’ll learn how to create the highlighted text style in Photoshop.
The Quick Way
Let’s start off with the quick way of doing this. Most people simply draw rectangles behind the text with the Rectangle tool. Duplicate the layer, reposition it, and then transform the width to fit the other line. Repeat this until you’re done.
This method seems very obvious and it doesn’t look like it takes a lot of time. The downside is that you end up with rectangles that don’t have equal spacing around the text. You can be very careful and precise with the transformations but if you have 3 or more lines of text, it’s going to take a lot of time and effort.
If you’re more picky about the results and you want even spacing around the text or if you have many lines of text, then keep reading and I’ll show you a quick easy trick to creating a highlighted text style with better results.
Creating the Text
Start by typing your text. This trick only works for capitalized text by the way. It won’t work for descenders like the letters j, g, p, etc.
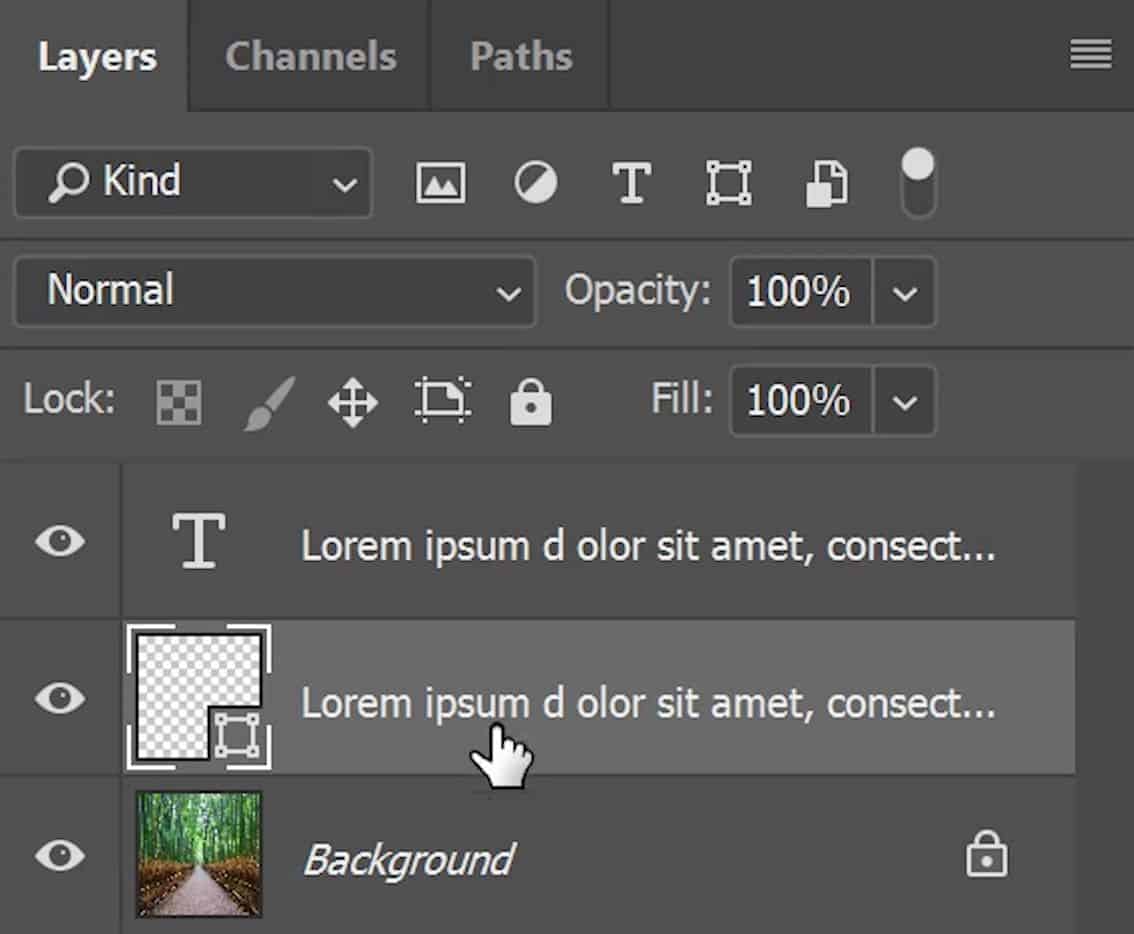
Duplicate the text layer by press Ctrl/Cmd+J and then go into the Character panel and enable the underline option. If you don’t see this panel, you can open it by going to Window > Character.
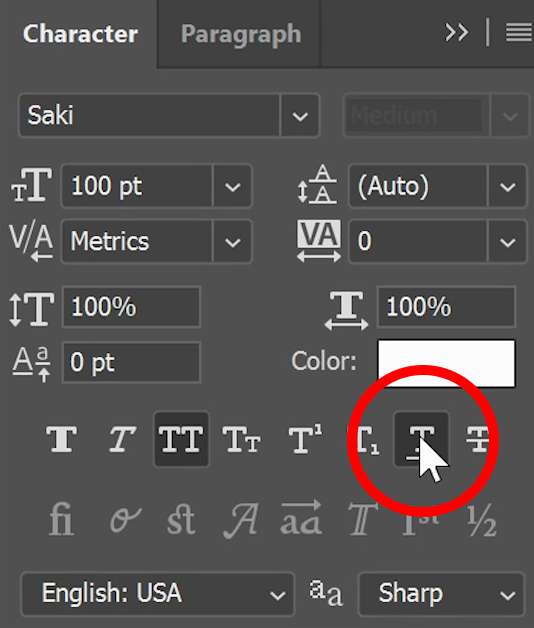
Change the color of this text layer to the color of your highlight. I’ll set mine to black because I want white text on a black background.
Transforming the Text Underline
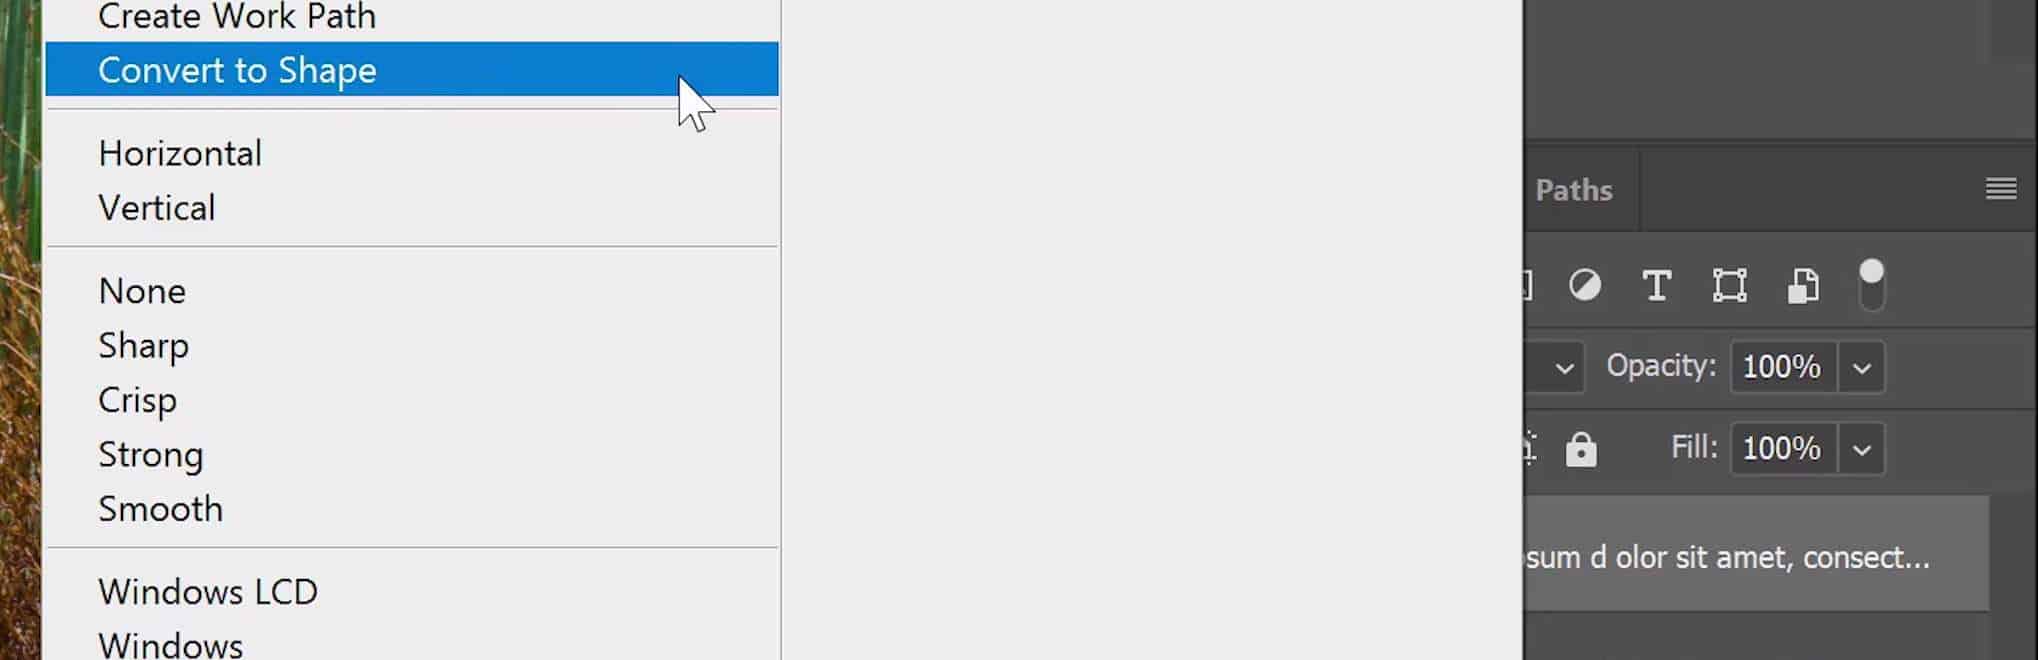
Now we’re going to transform the underlines into rectangles. First, we need to convert it from a text layer to a shape layer by right-clicking on the layer and choosing “Convert to Shape”.
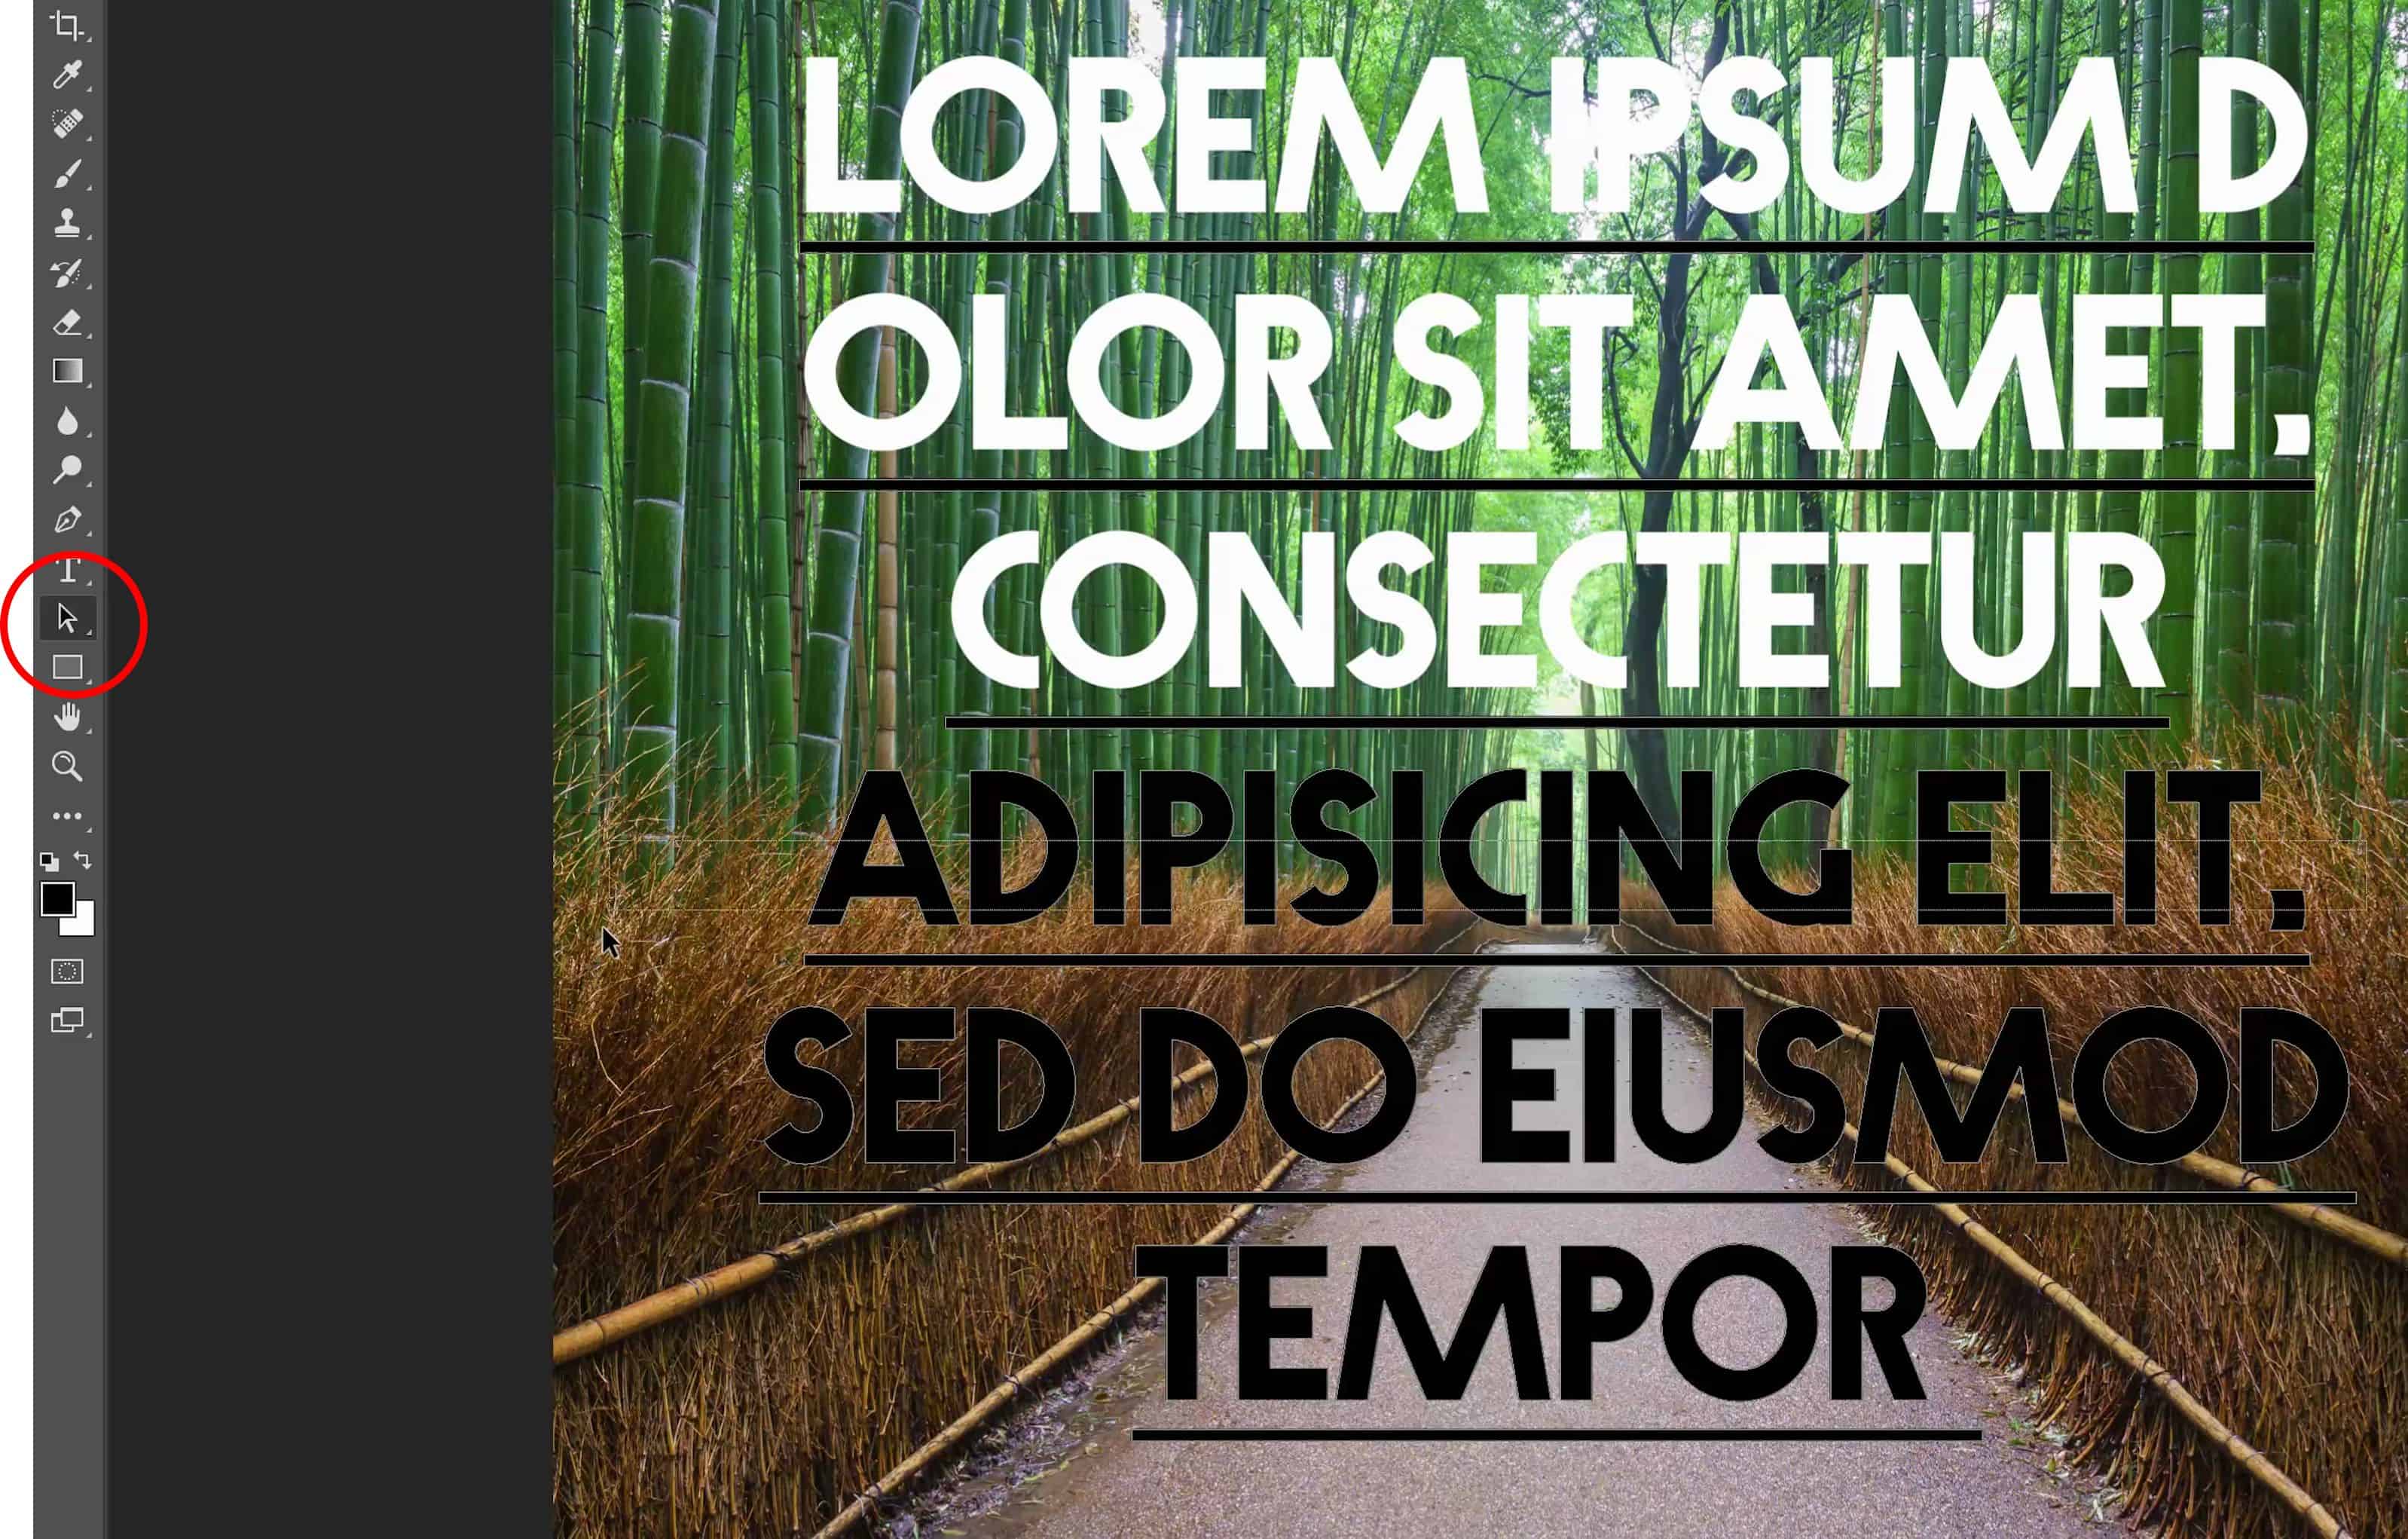
Now we can remove the text using the Path Selection tool. Select the text with the tool and then press the delete key on your keyboard to delete the text. Repeat this for all of the text.
Next, go into the Layers panel and position this layer below your other text layer.
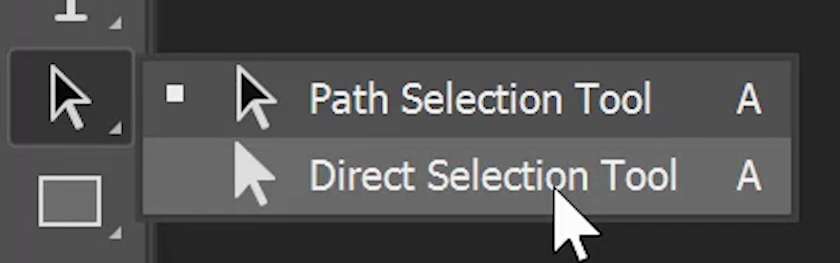
Switch to the Direct Path selection tool. Unlike the previous Path Selection tool, the Direct Path Selection tool will let you select the individual nodes in a shape as opposed to the entire shape.
Hold the shift key and then select the top-half of all the rectangles. Make sure to keep holding the shift key as you’re making the selections.
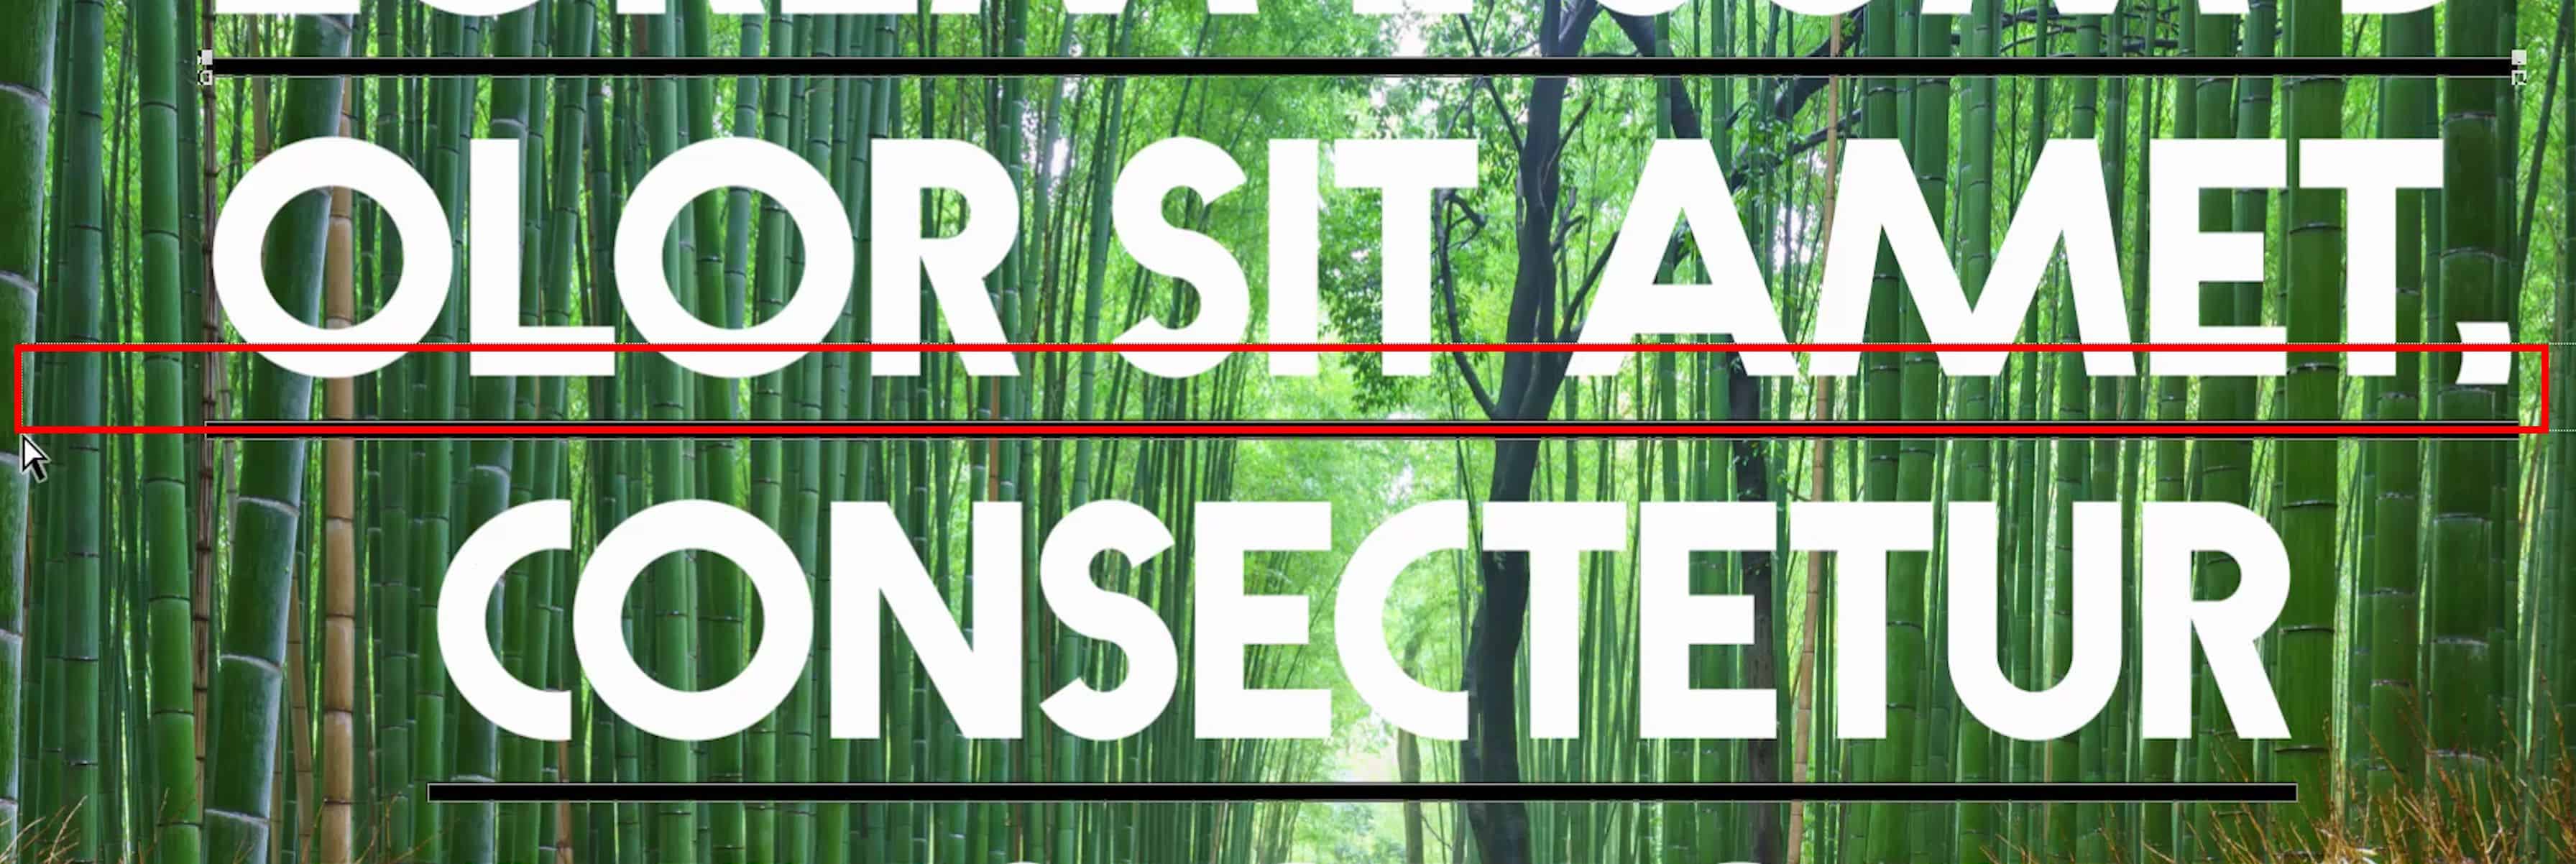
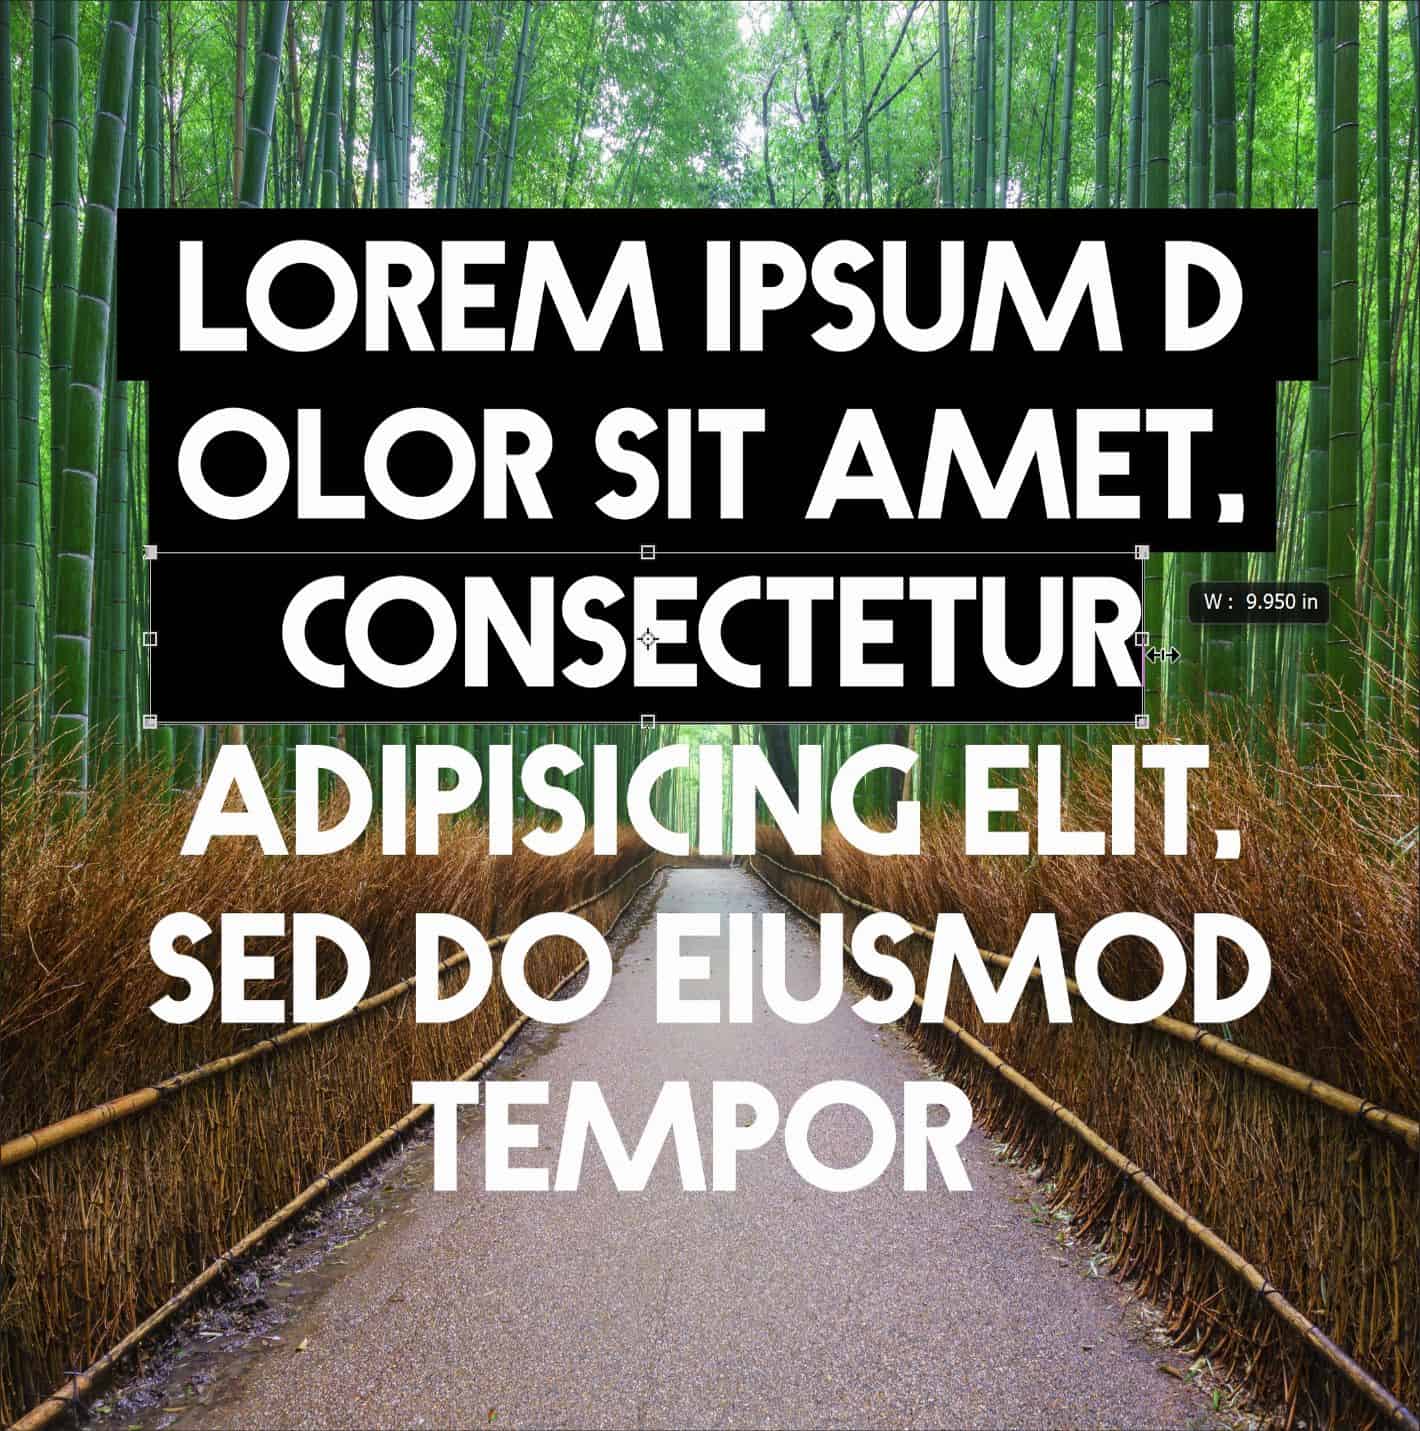
Once you have all of the rectangles selected, move them upwards by holding the shift key and pressing the up arrow on your keyboard until you get the height that you want.
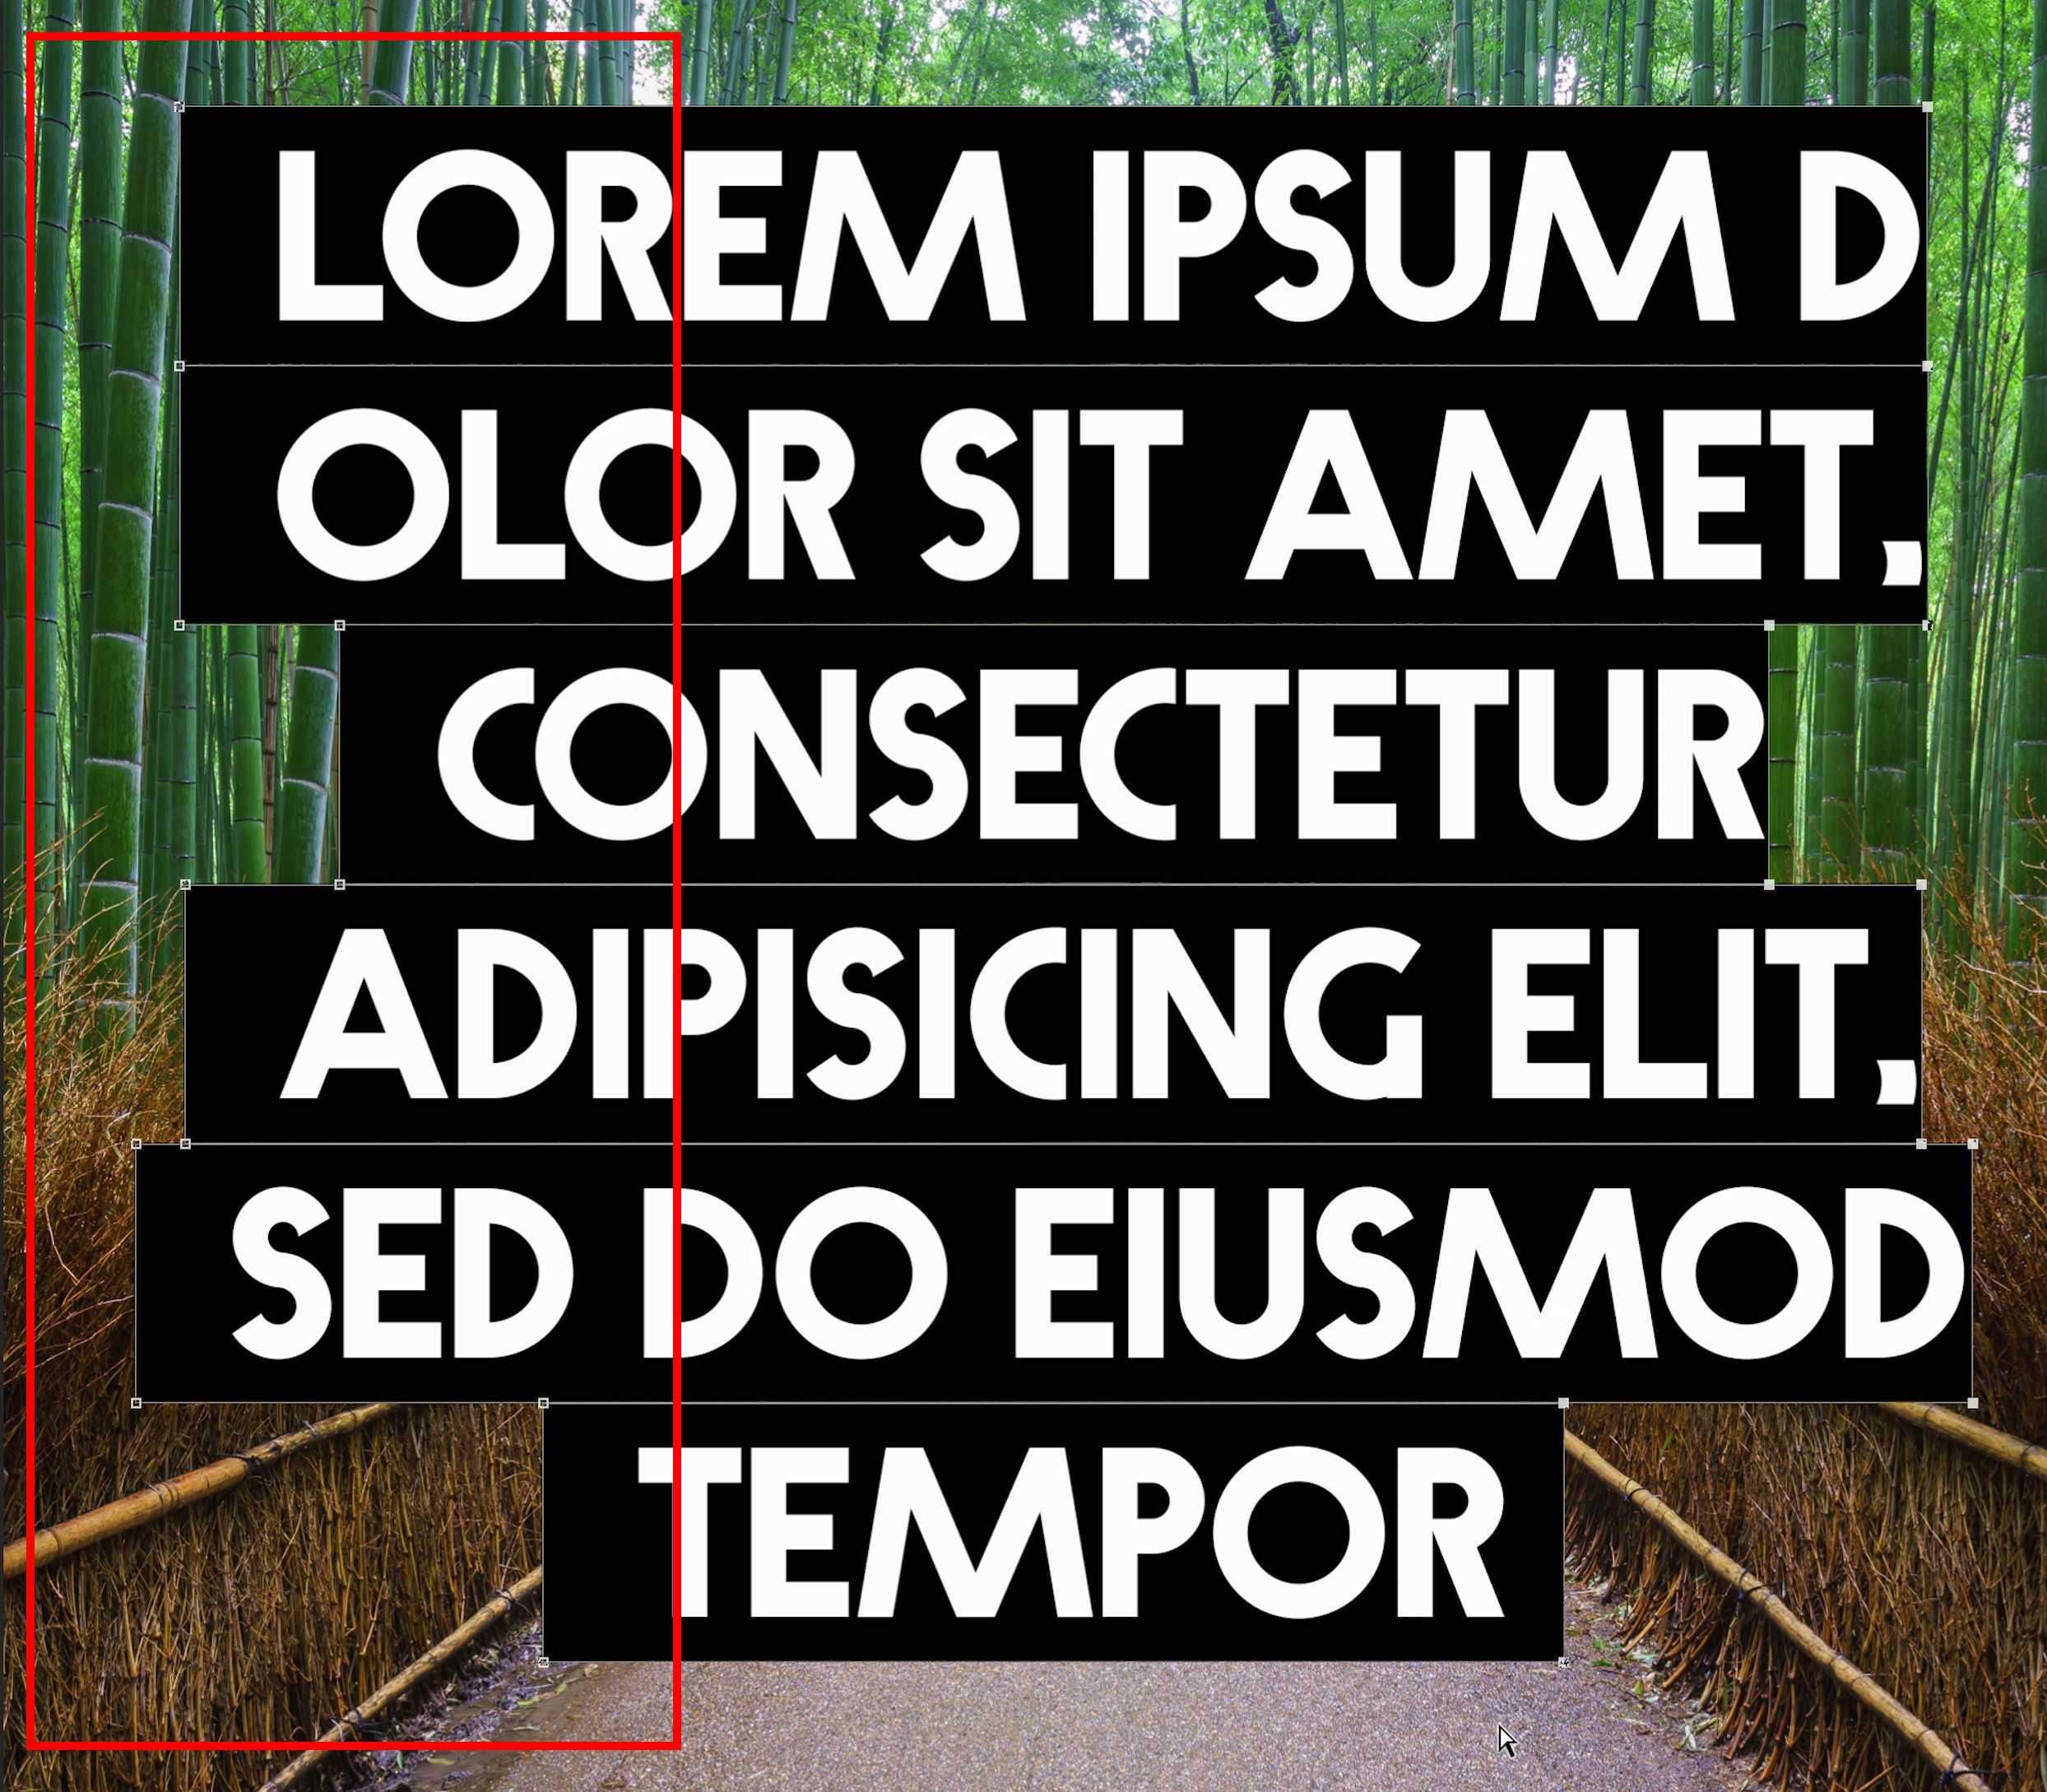
Next, select the left side of the text and then drag it outwards by holding the shift key and pressing the left arrow.
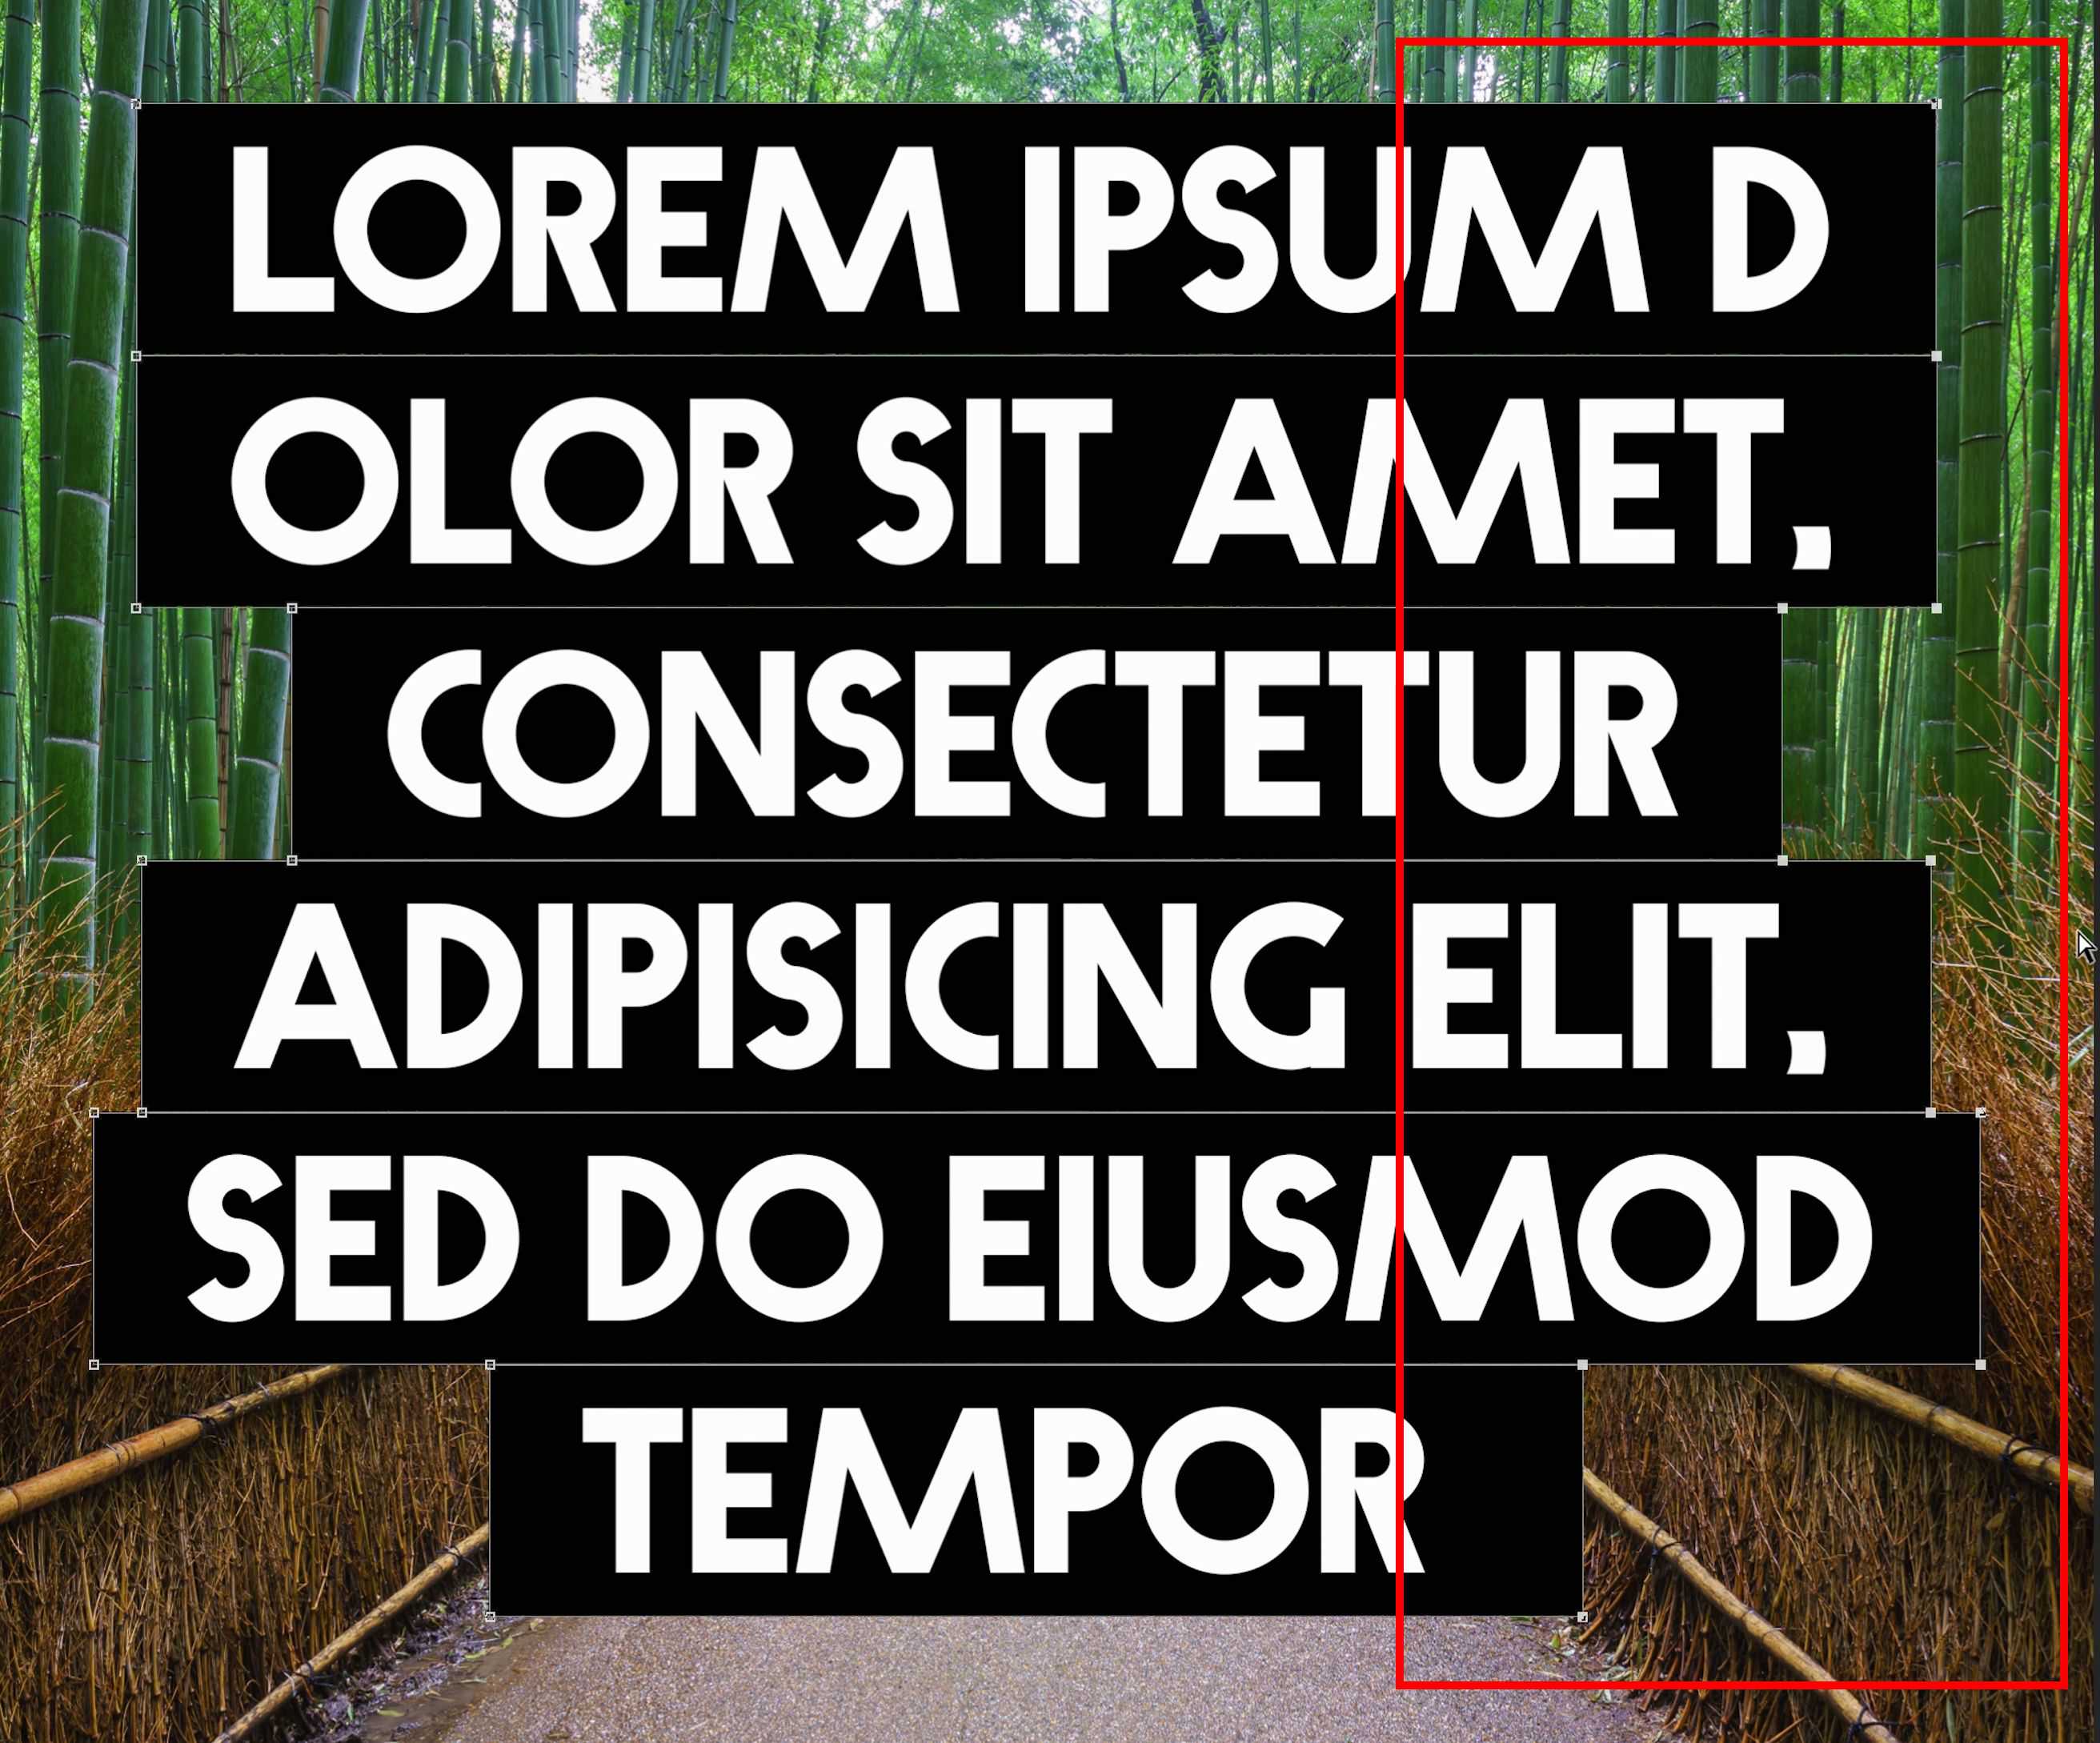
Repeat this for the right side.
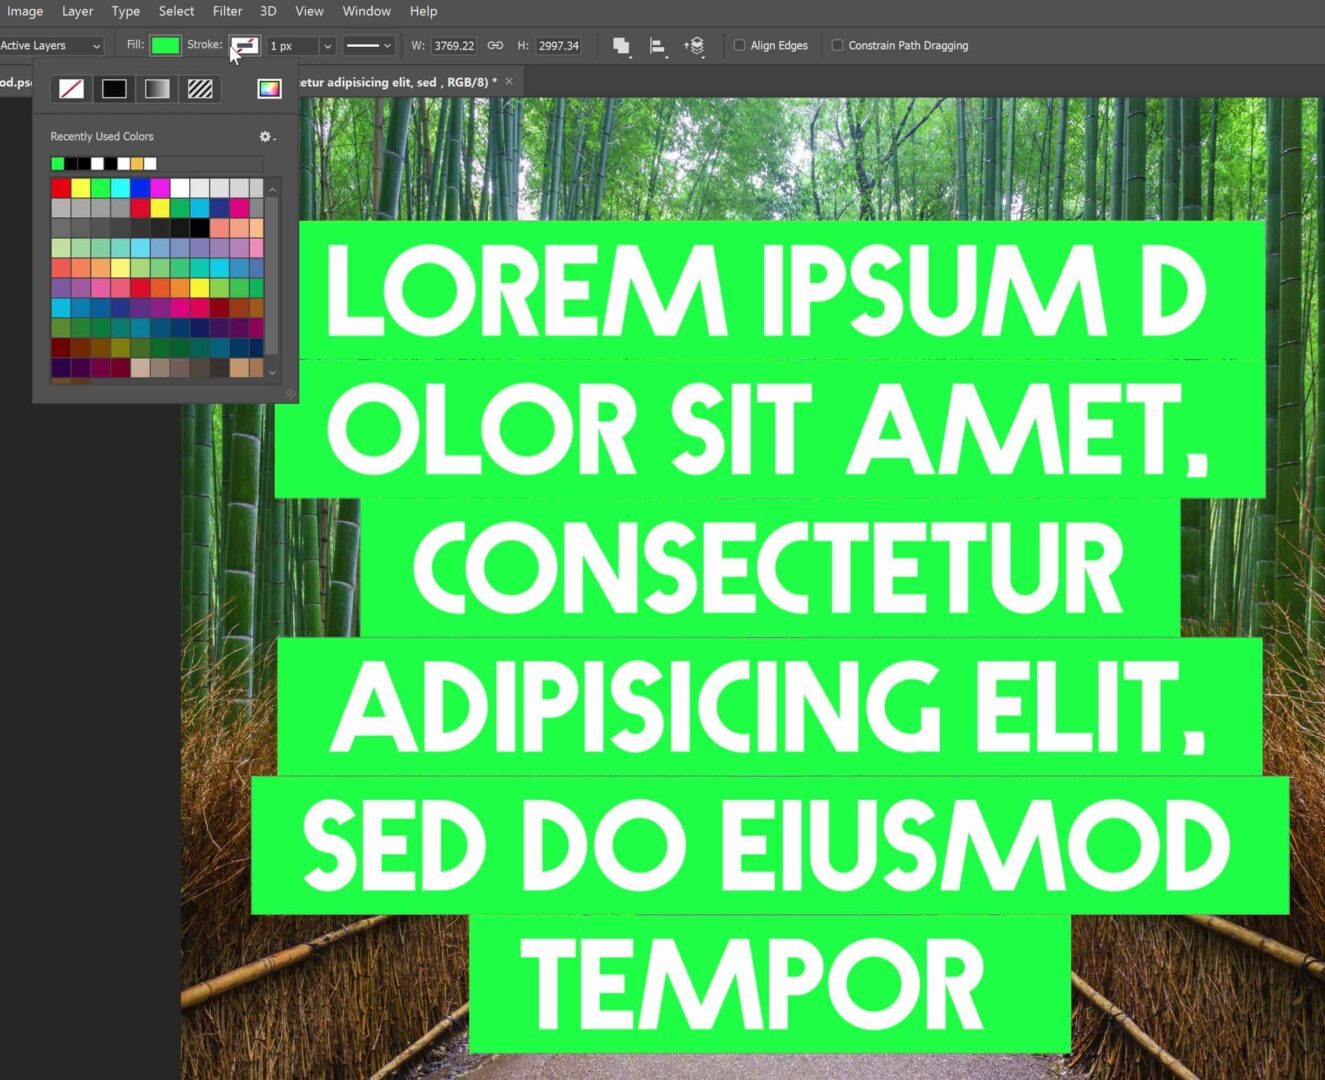
And we’re done. This is a great technique if you have many lines of text or if you have more than one image and you want to have the same highlight spacing. And because this is a vector shape object, you can always go into the options bar with any vector tool selected and change the color or outline.
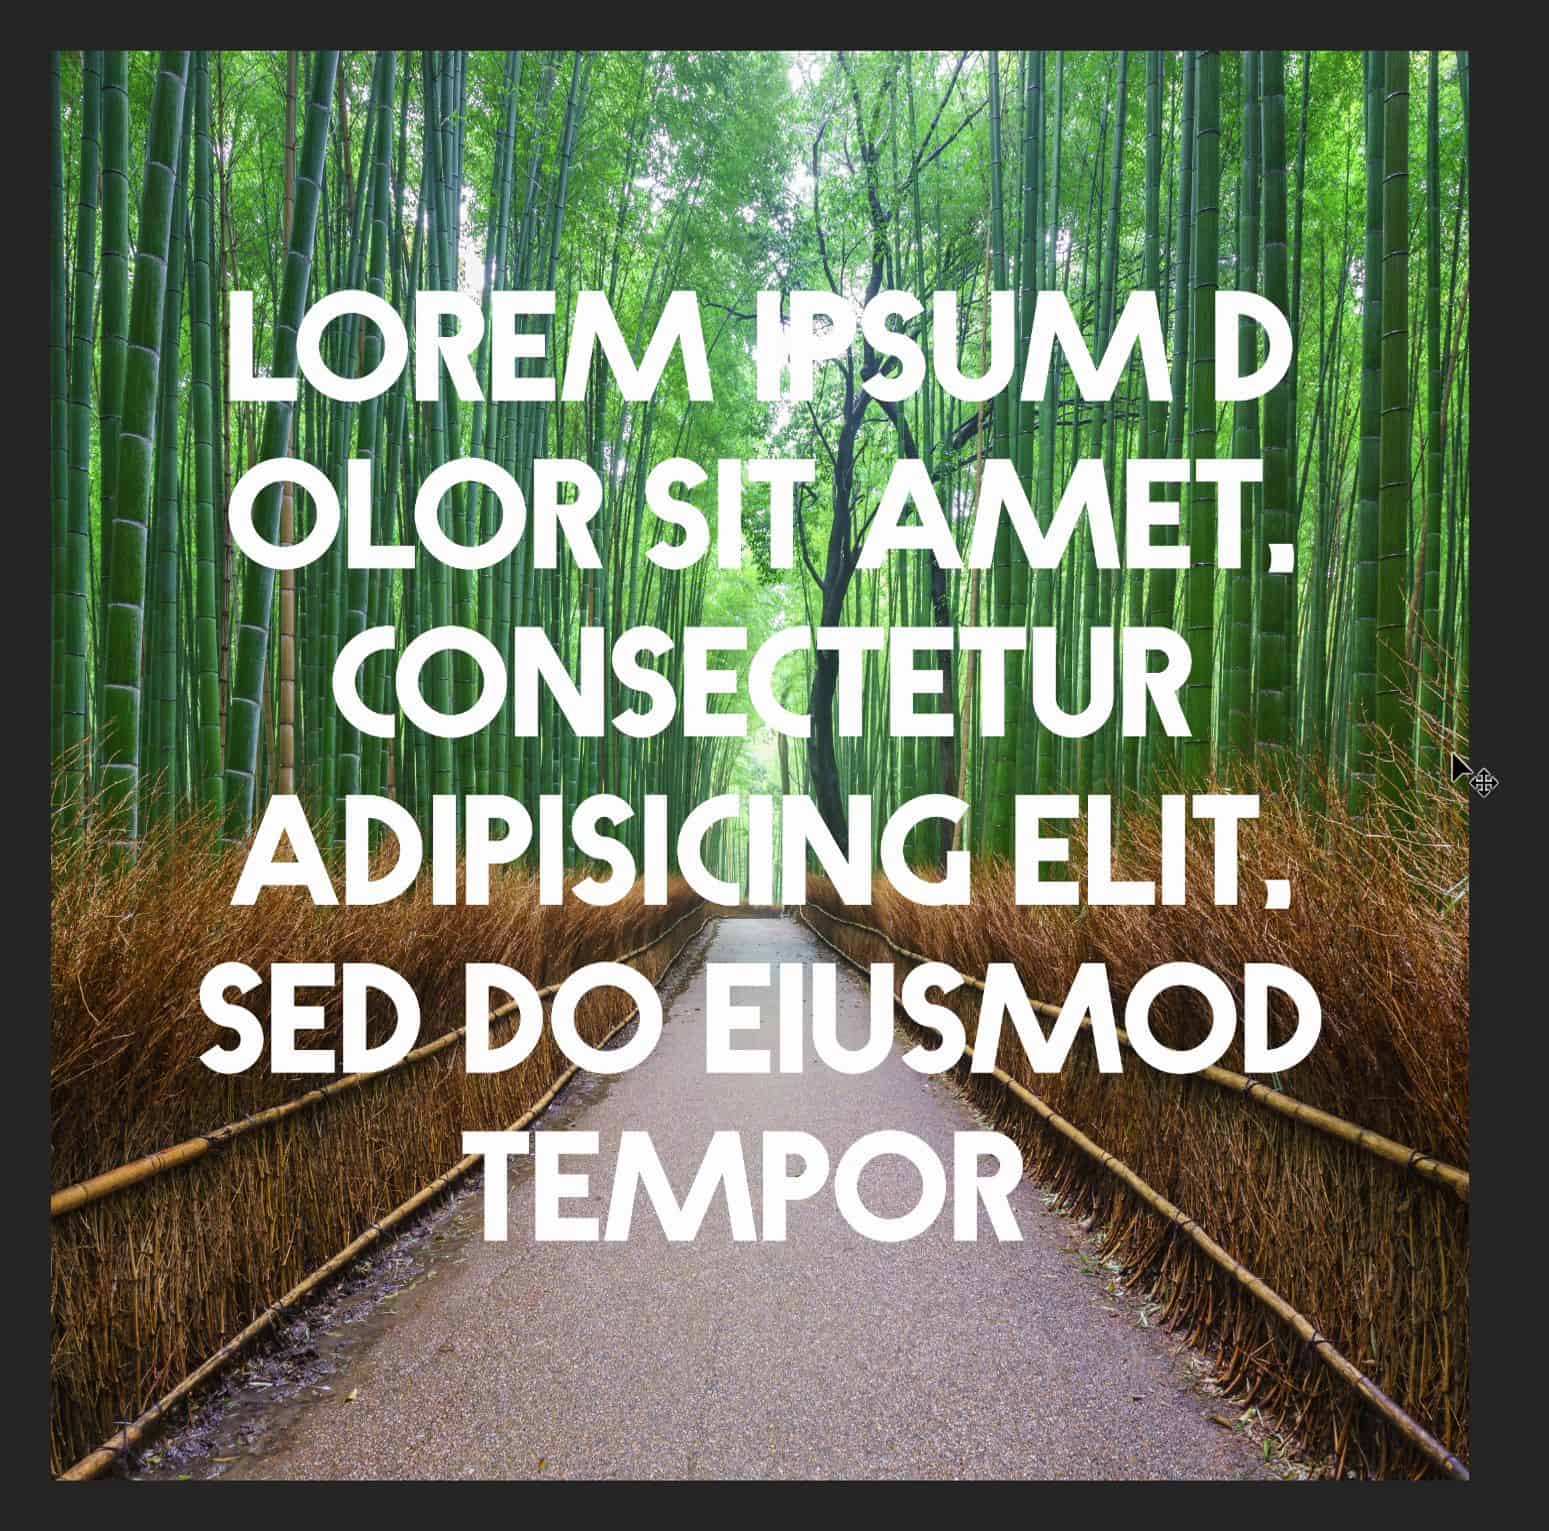
Examples
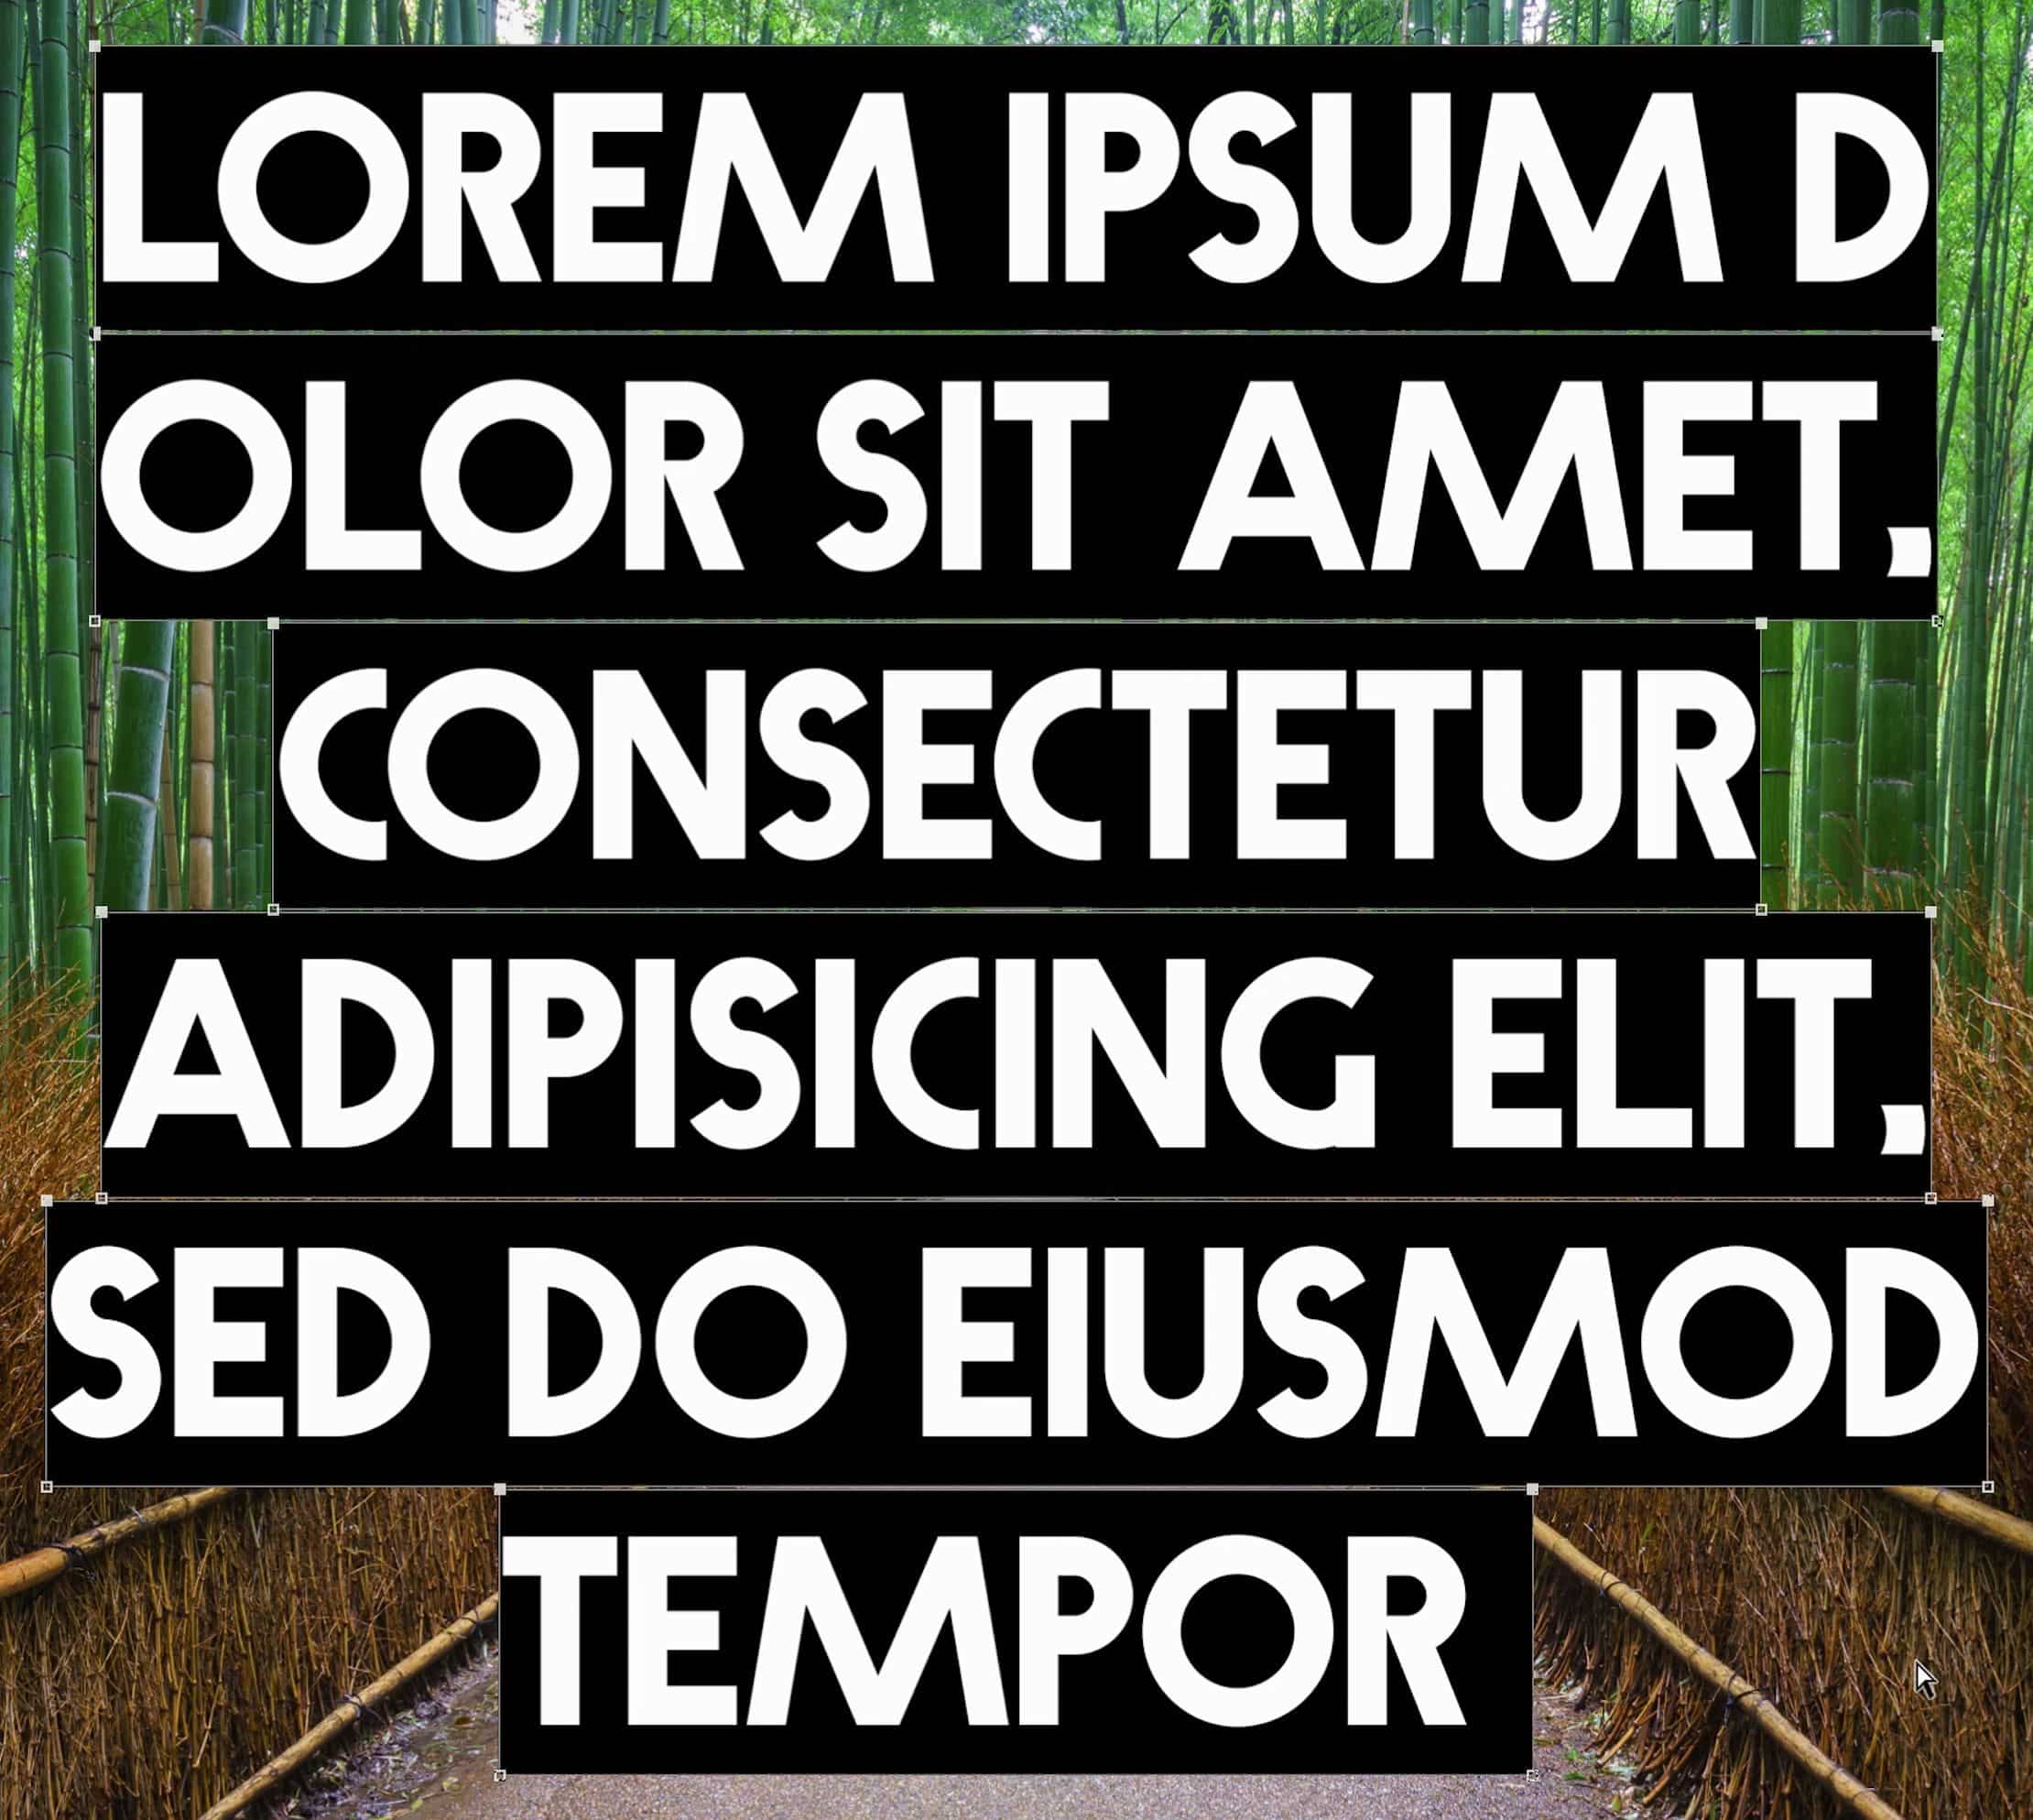
Here are some examples of different highlighted text styles you can apply.


Thanks for the tutorial. What are the fonts used in your tutorial and examples?